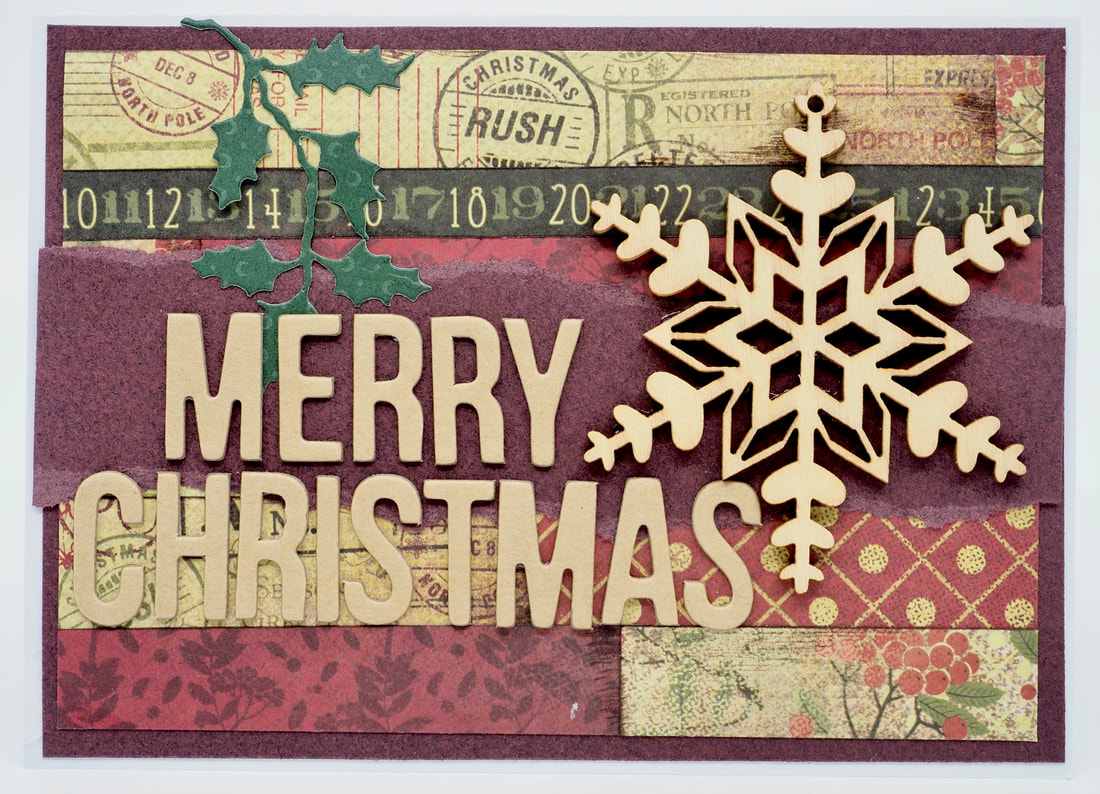
Hand Layered Paper Card
Please consider supporting me :)
This card uses hand-made paper created with strips of paper scraps. Perfect for using up all those spare off-cuts.
Instructions on making the hand-layered paper are found here
Instructions on making the hand-layered paper are found here
Materials
- White A4 Card (for the card base)
- Maroon A4 Card
- Double Sided Sticky Tape
- Hand-layered paper (hand made)
- White craft glue
- Wooden Snowflake embellishment
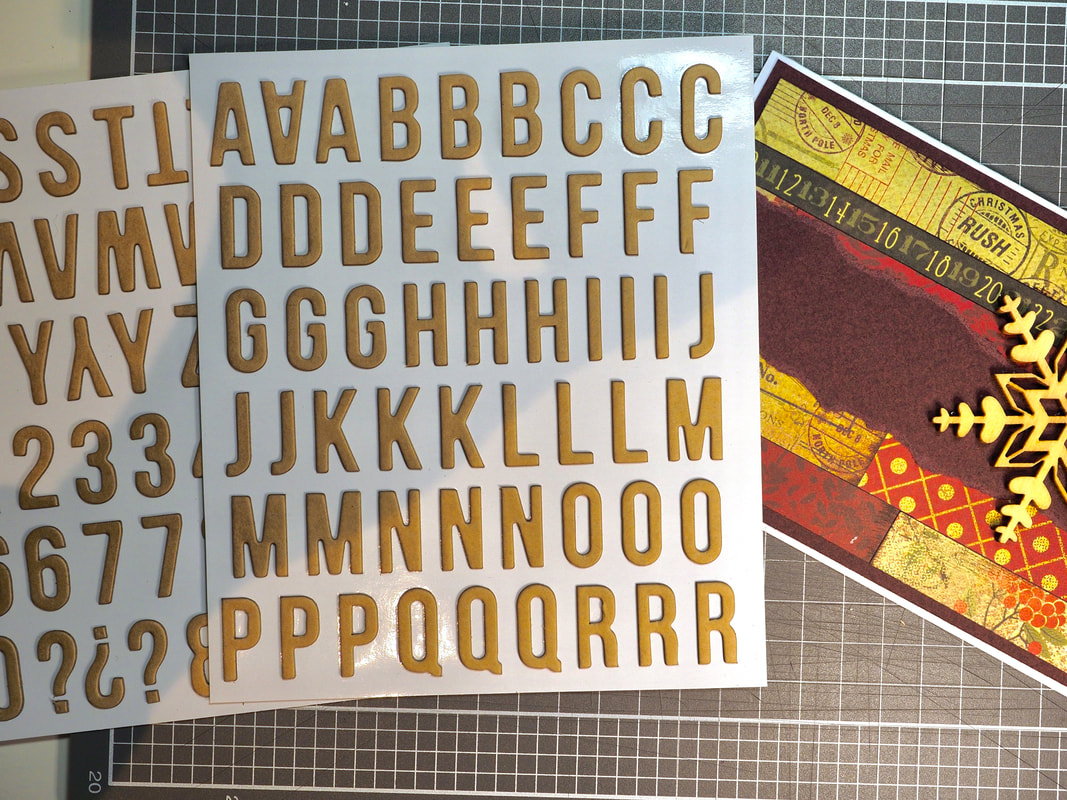
- Alphabet Stickers - I purchased the Kraft card stickers used in this project from Target Australia. They are 2cm high and 1-2 mm thick.
- Tweezers - helpful, but not essential
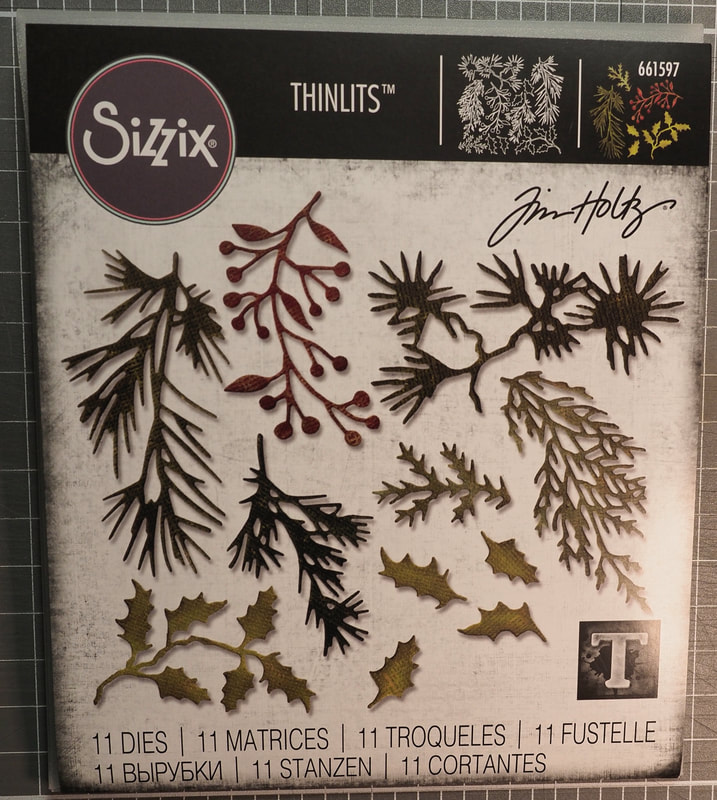
- Holly embellishment - I used Sizzix Thinlits Dies 661597 and a Sizzix Bigshot machine to make mine
- Holly green card or paper
- Sticker maker
Instructions
|
Make the base card
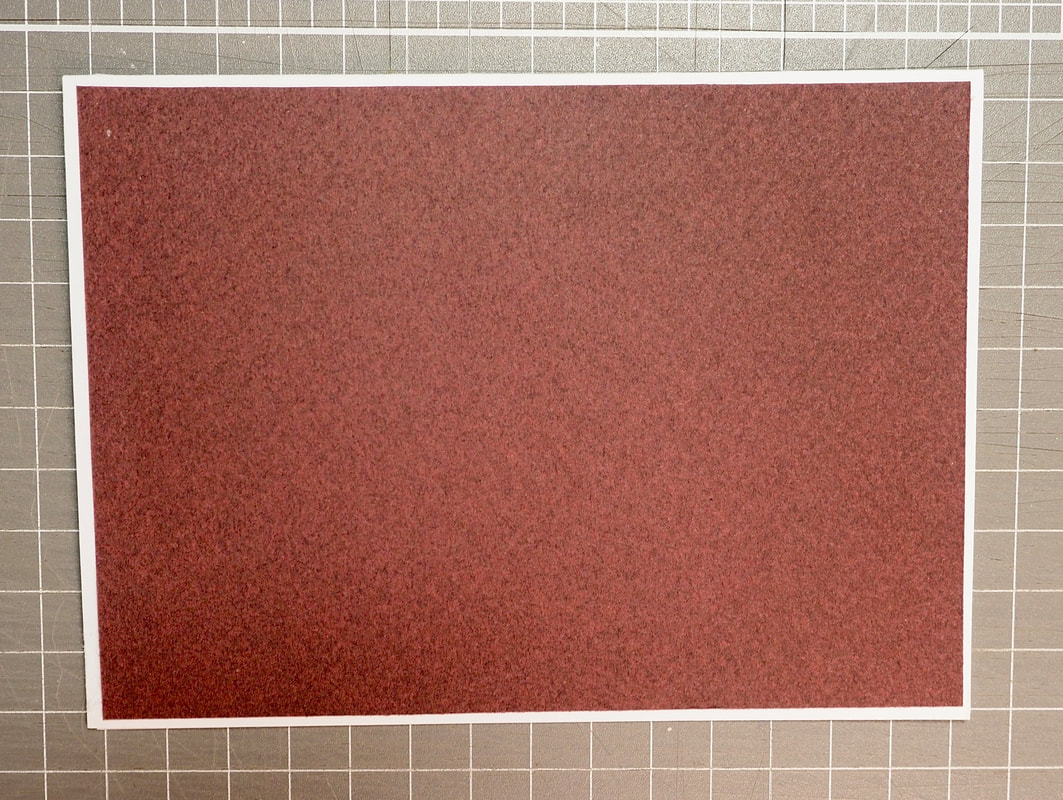
Cut a piece of white A4 card in half to create a piece of card 21cm x 14.5cm Score and fold this piece of card in half, creating a base card 14.5cm x 10.5cm Instructions on Scoring and Folding Card |
|
|
Add a piece of Maroon coloured card
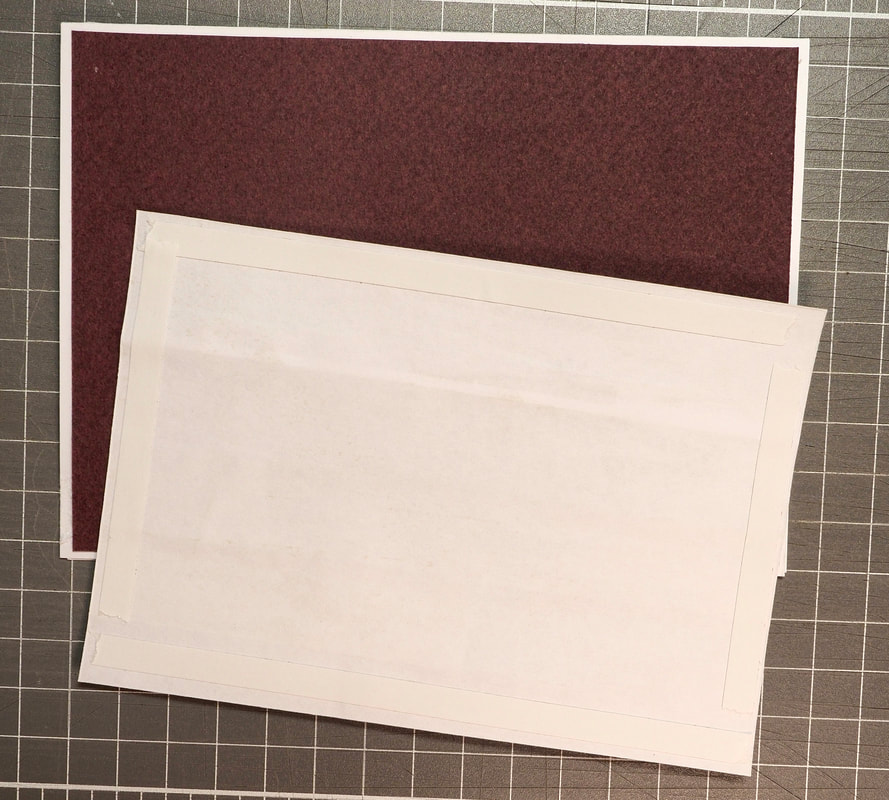
Cut a piece of Maroon coloured card 14cm x 10cm and position it centrally on the front of the card base (landscape orientation) using double sided sticky tape |
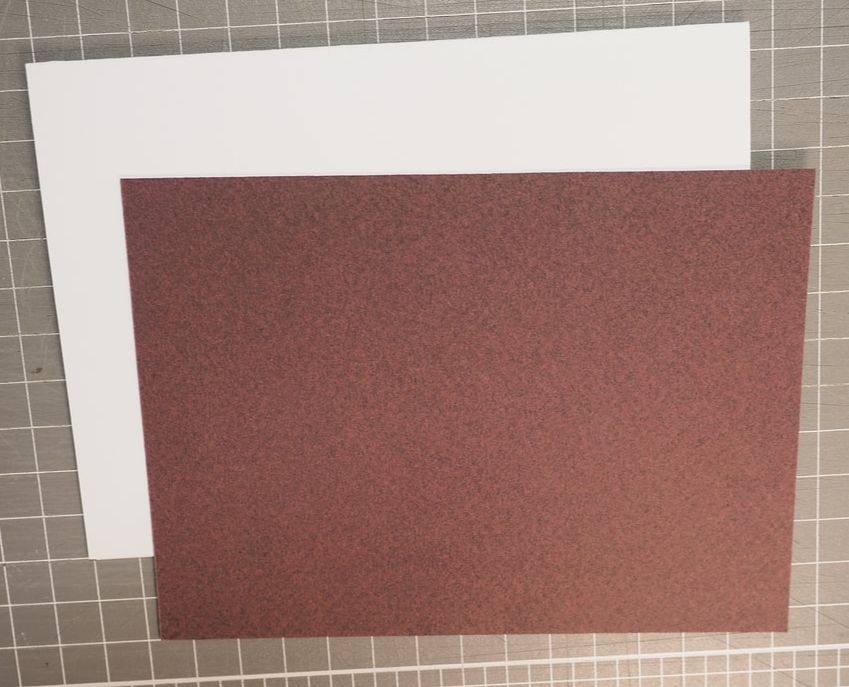
Maroon Card 10 x 14cm
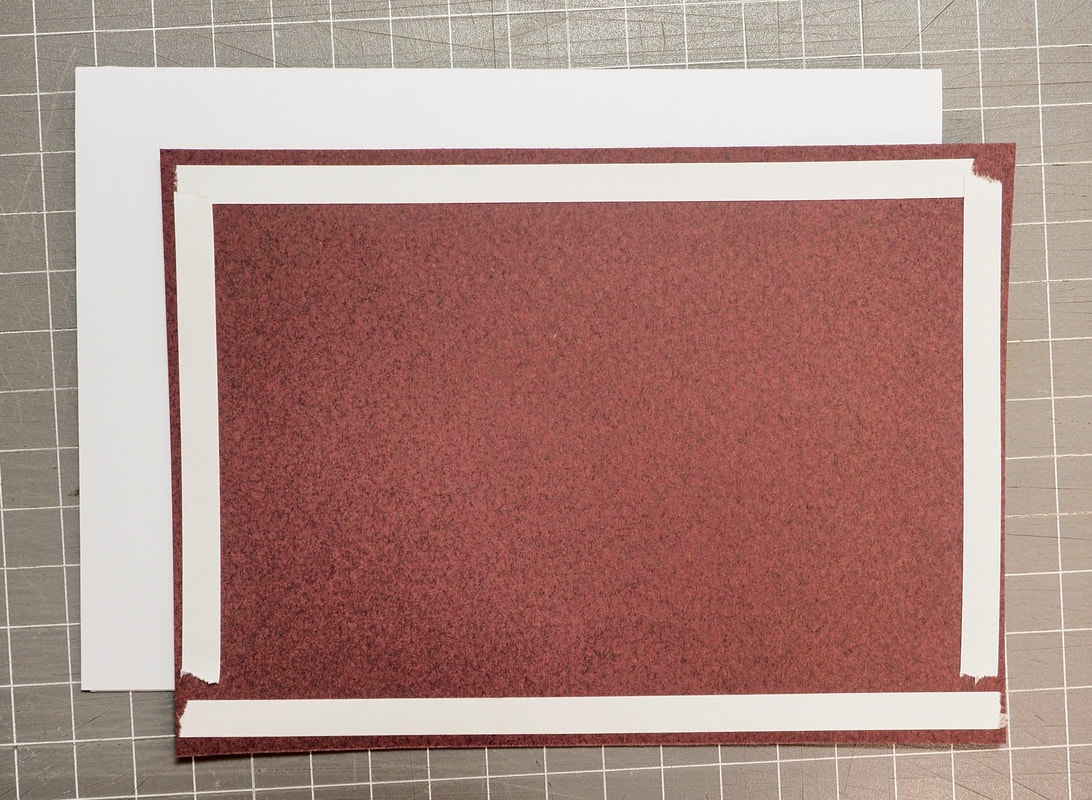
Double-sided Tape applied to the back of the Maroon Card
The Maroon Card is adhered - centred on the card base
|
|
Add the Strip-Layered paper
Cut a piece of Strip-Layered Paper 13.5cm x 9.5cm and position it centrally on the front of the card base using double sided sticky tape For Making your own Strip-Layered Paper see here |
Double Sided Sticky Tape on the back of the Strip-Layered paper

The Strip-Layered paper is adhered to the card
|
|
Add a piece of Torn Maroon Card
Cut a piece of Maroon Card 14cm wide and approximately 7-8cm high. Tear along the top and bottom of the piece of card leaving a rough edge. You need the piece to be approximately 3-4cm high. Tutorial on tearing card Use double-sided sticky tape to adhere it onto the front of the card as per the photos. |
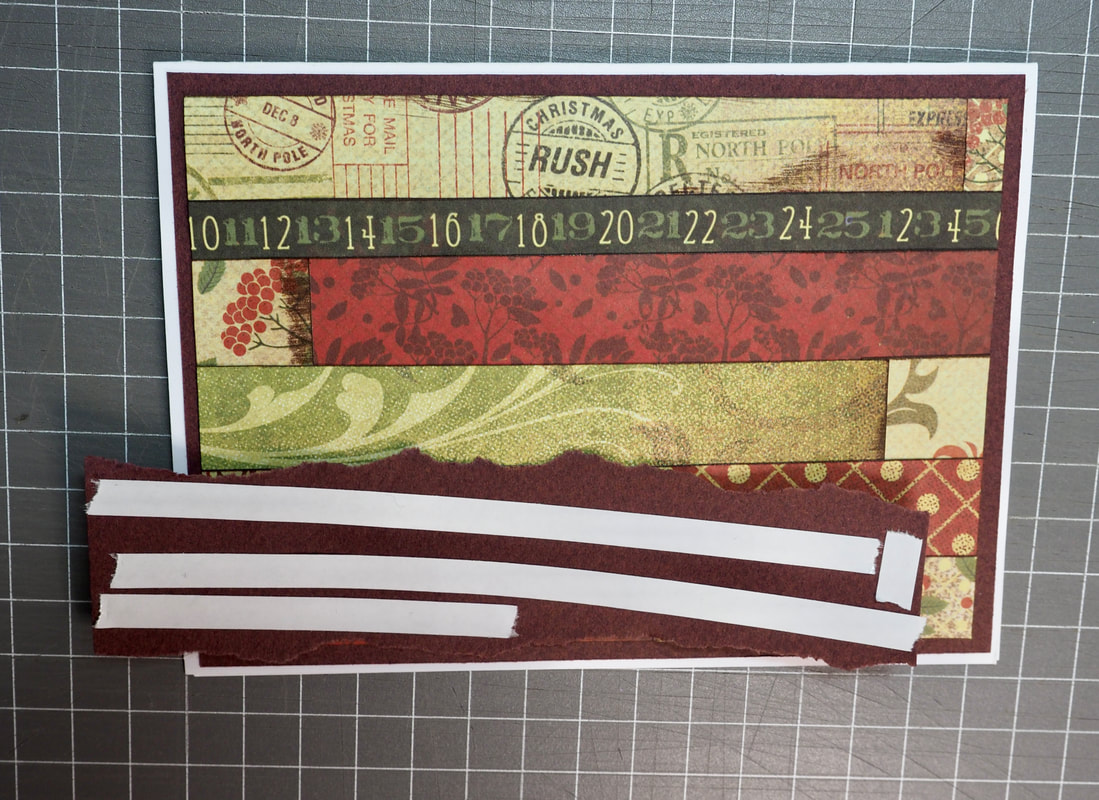
Double sided sticky tape on the back of the torn piece of card.

The torn piece of card has been adhered.
|
|
Glue the wooden embellishment onto the card
Spread glue onto the back of the wooden embellishment Place it onto the card in the desired position. Weigh it down while it dries - I used the glue bottle. |

Glue is spread on the back of the embellishment
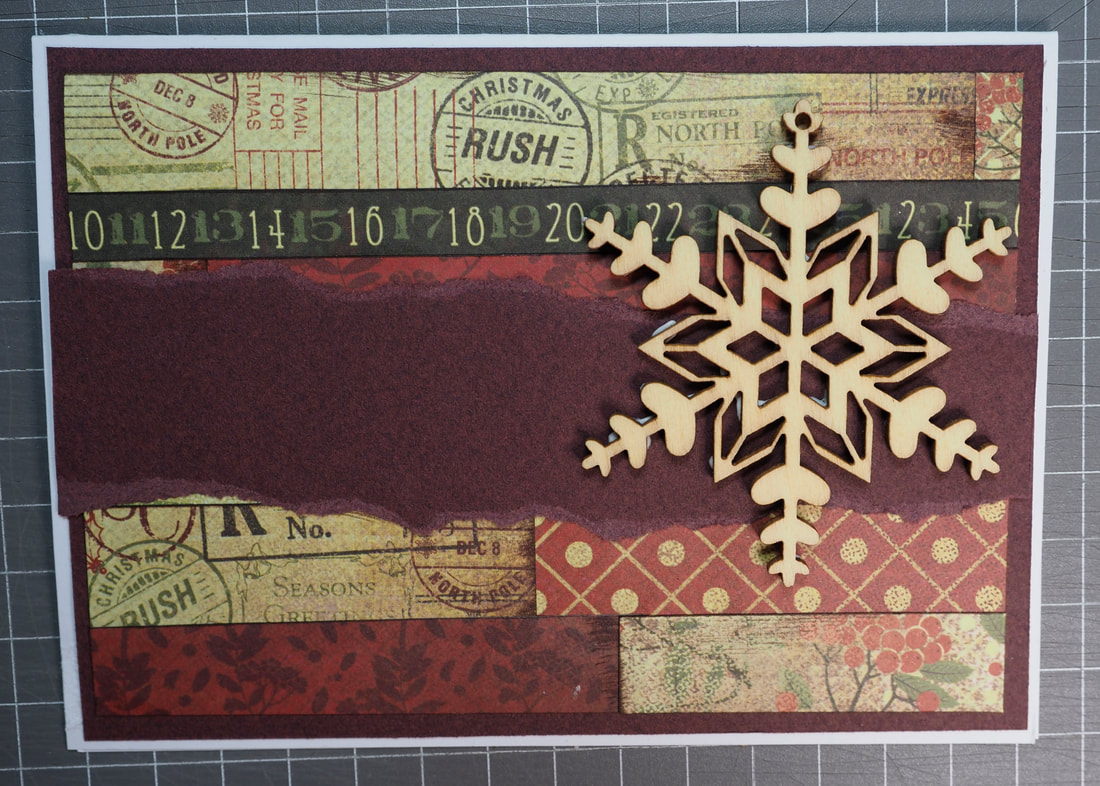
The embellishment is positioned onto the card

Weigh it down while it dries
|
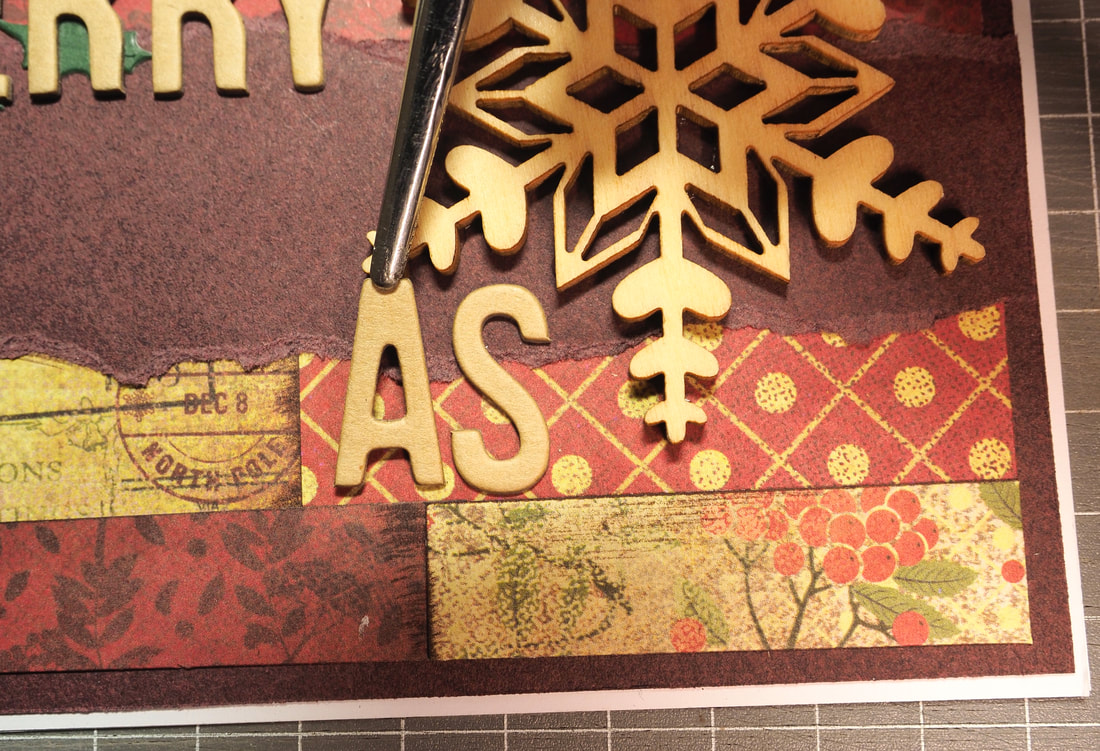
Position the first of the letters
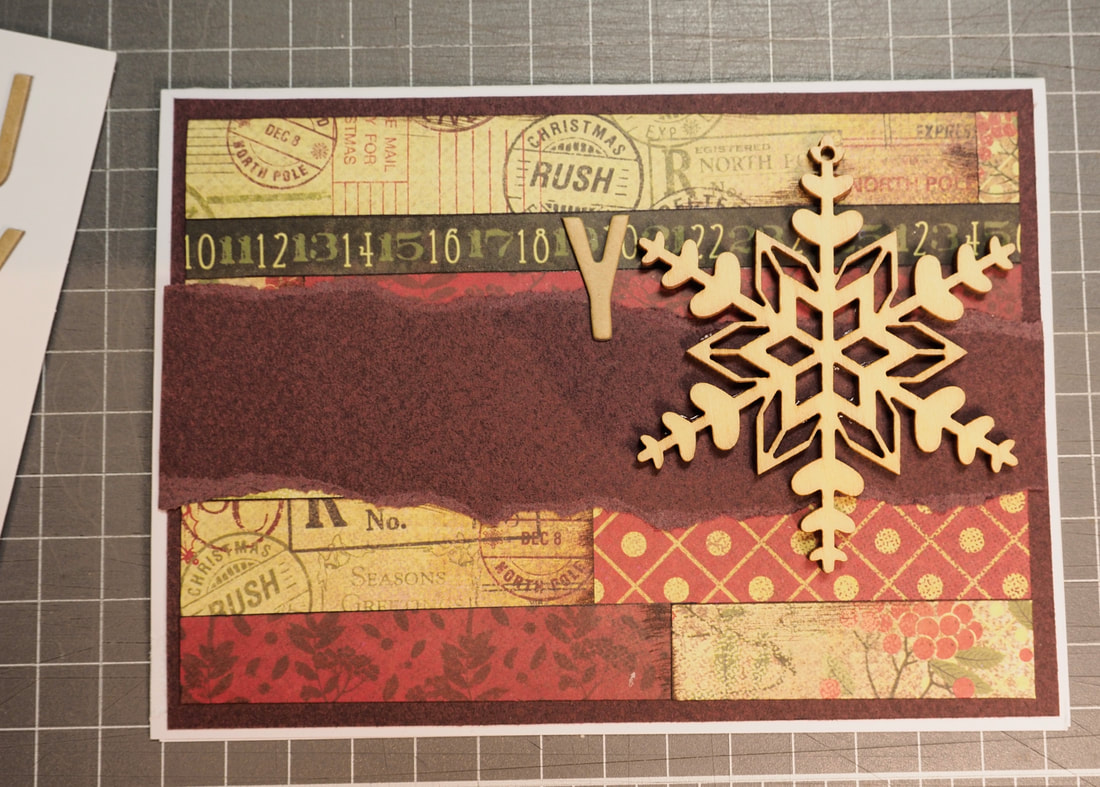
Once the glue is dry, position a "Y" adjacent the embellishment (see photo below).
I placed the Y at this point as it helped me visualise how the letters would look on the finished card.
I find using tweezers helpful when positioning letters onto a card.
Once the glue is dry, position a "Y" adjacent the embellishment (see photo below).
I placed the Y at this point as it helped me visualise how the letters would look on the finished card.
I find using tweezers helpful when positioning letters onto a card.
|
|
|
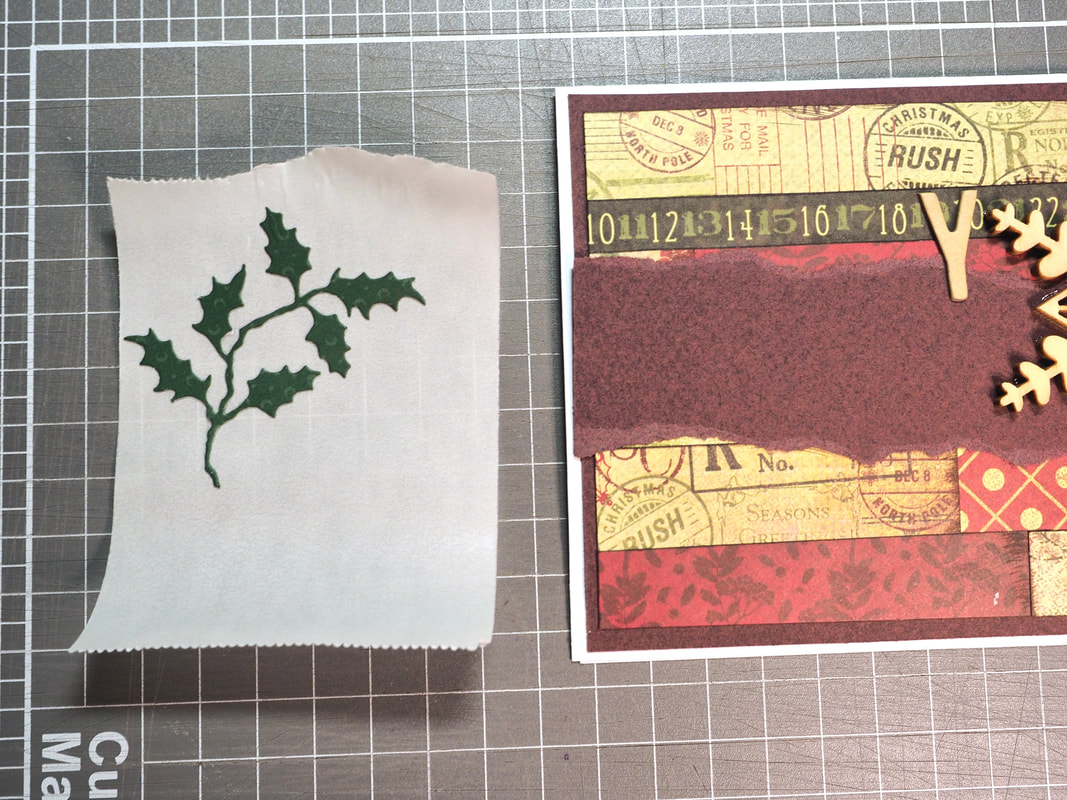
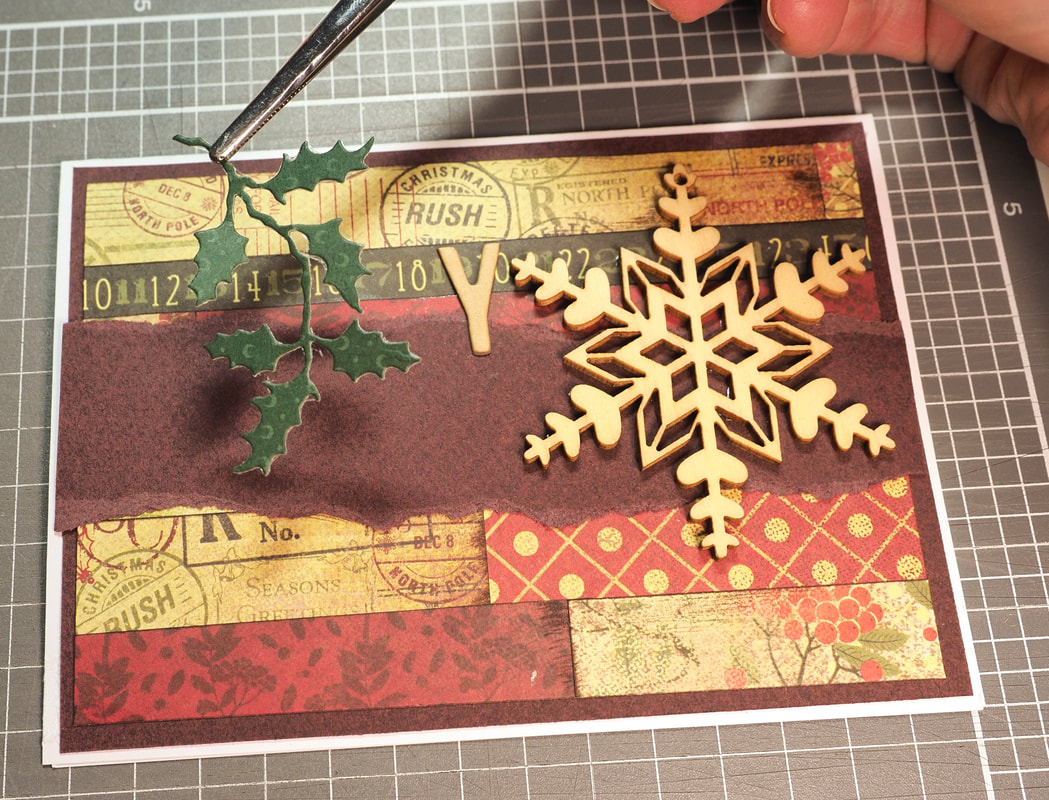
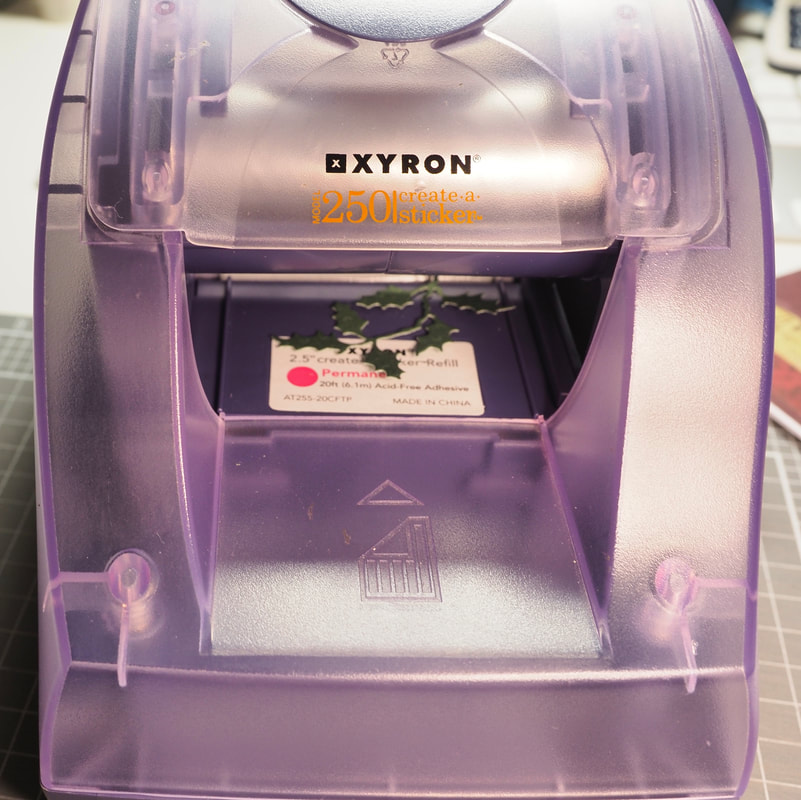
Cut out a holly embellishment and adhere it onto the card
I used Sizzix Thinlits die set 661597 to cut a holly embellishment from green card. I then used a Xyron sticker maker to adhere it to turn it into a sticker. Glue would work just fine, but is a bit messier and takes time to dry. Position it onto the card where it will sit partially under the letters when you adhere them in the next step. Again, tweezers are handy when positioning embellishments onto the card. Aim to overlap the other layers of the card, giving a sense of dimensions.
|
|
|
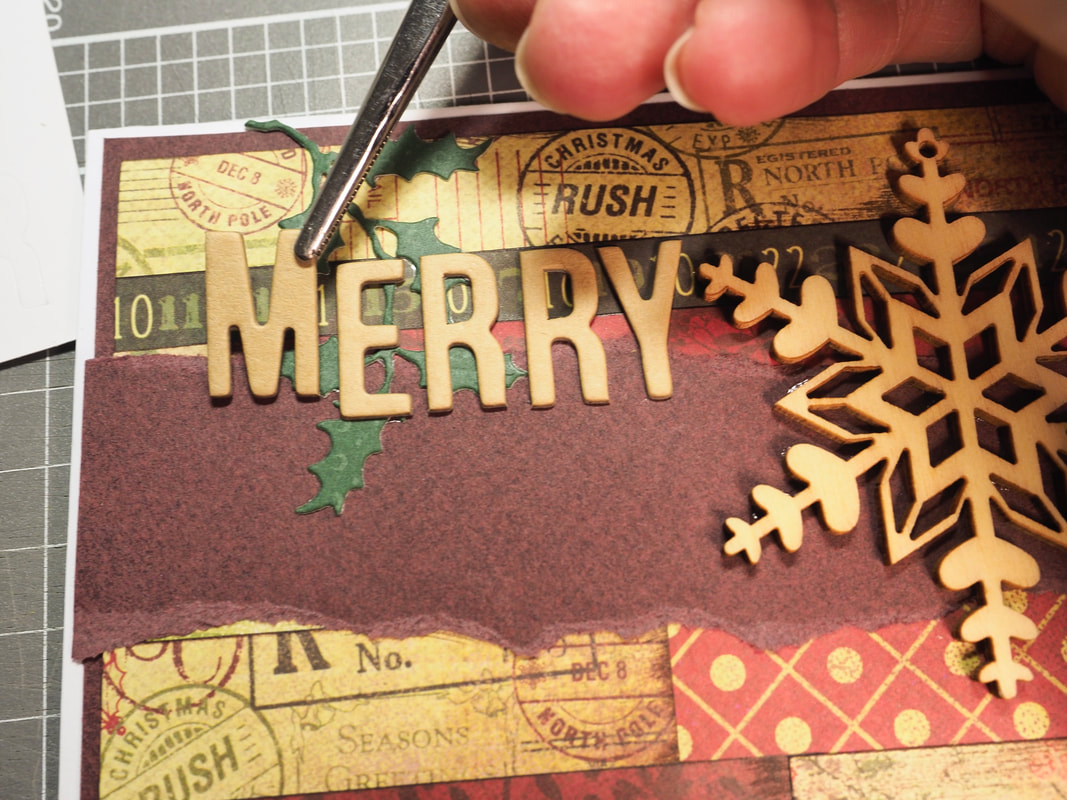
Finish adding the letters to the card to spell out "Merry Christmas".
Stick them down lightly at first, so you can rearrange them if necessary to fit onto the card with even spacing. Then press then down firmly once you are happy with the arrangement. I found it helpful to work backwards with the letters on this card as the wooden embellishment is a fixed element that you need to work around. If necessary, use glue to strengthen the hold of the letter stickers onto the card. |
|
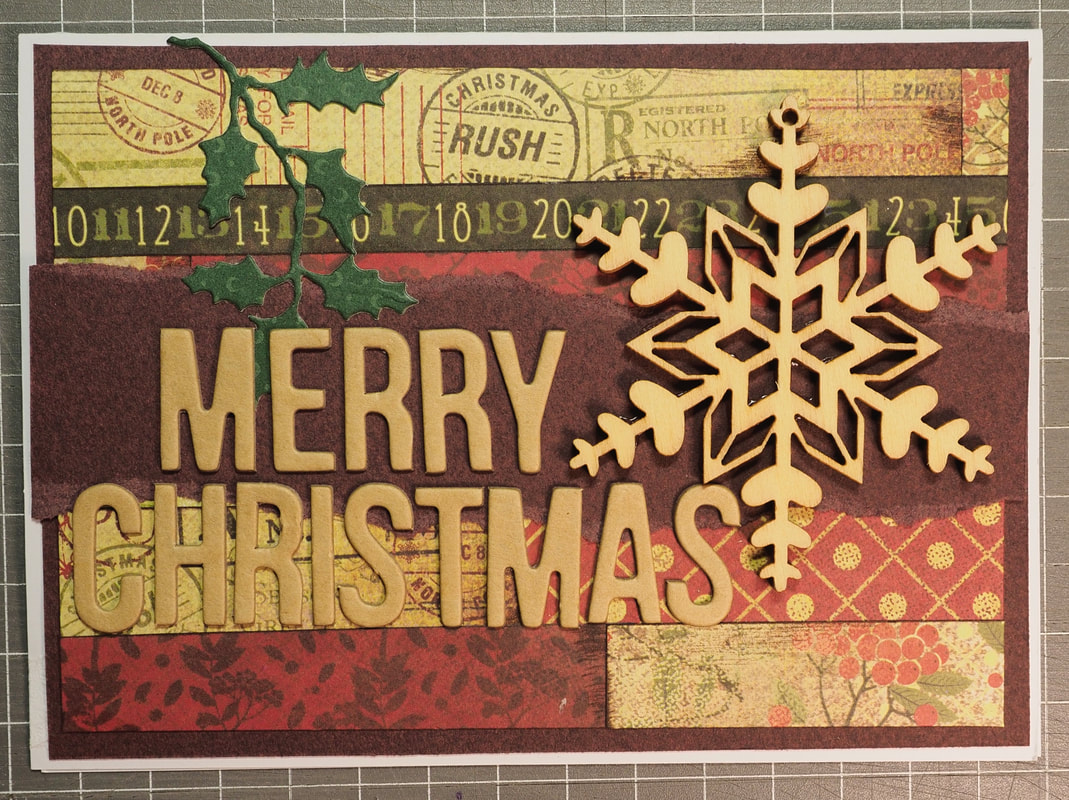
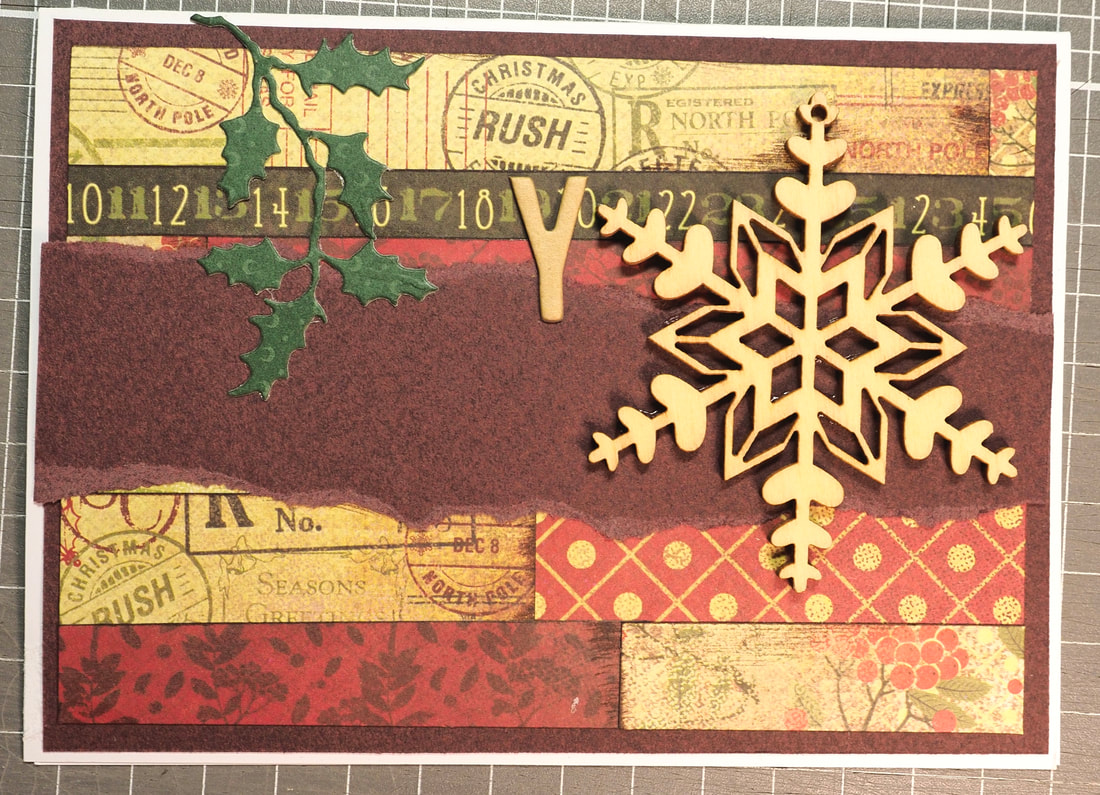
Finished Card