How To... Paper tearing Basics
Thanks for your support
Plain Torn Edge
Hold the paper with the image / right side up and tear the paper away from you
|
|
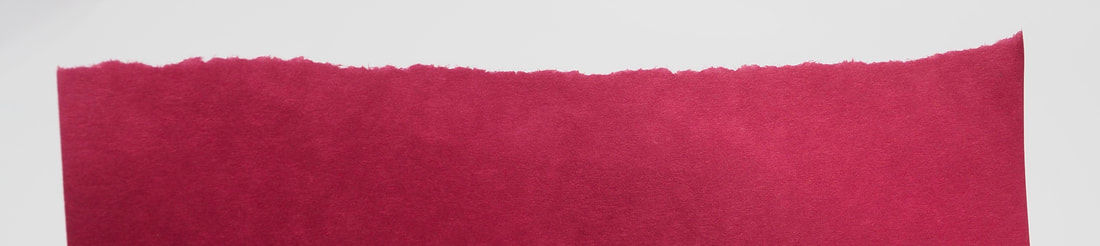
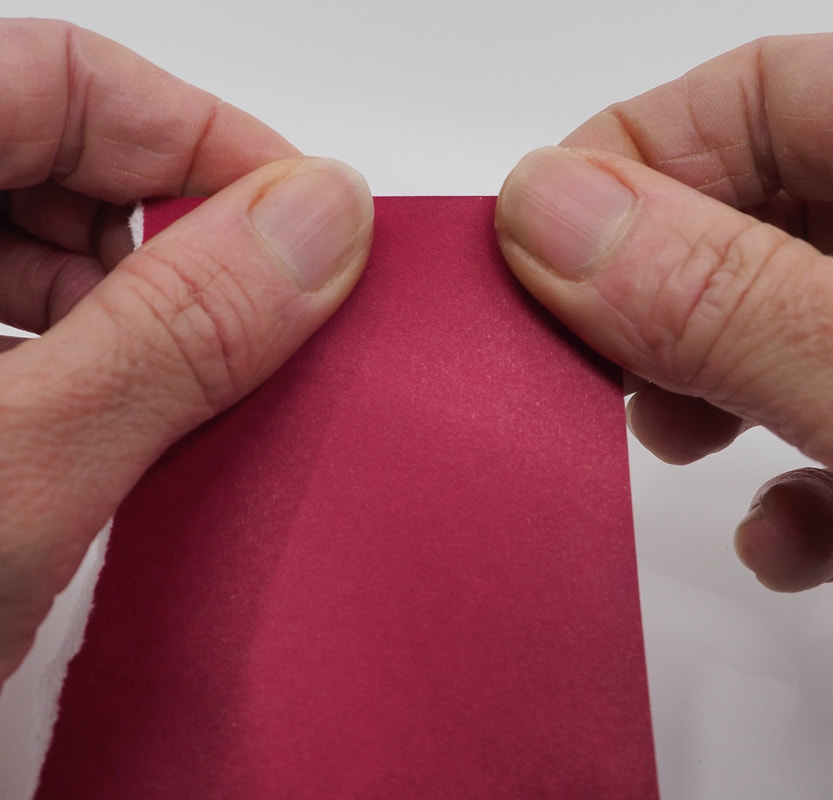
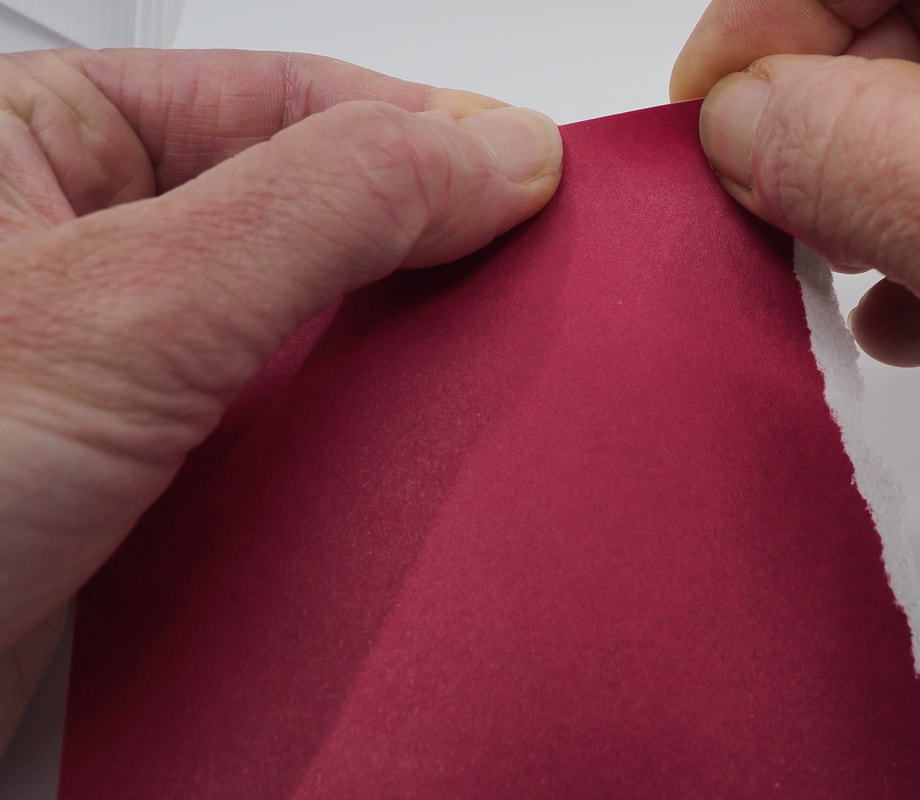
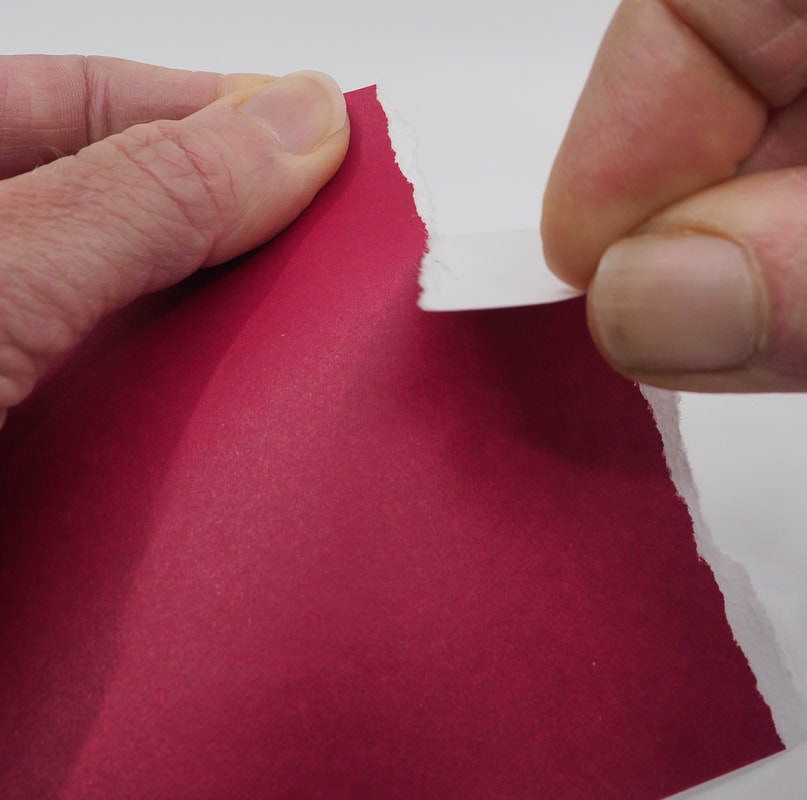
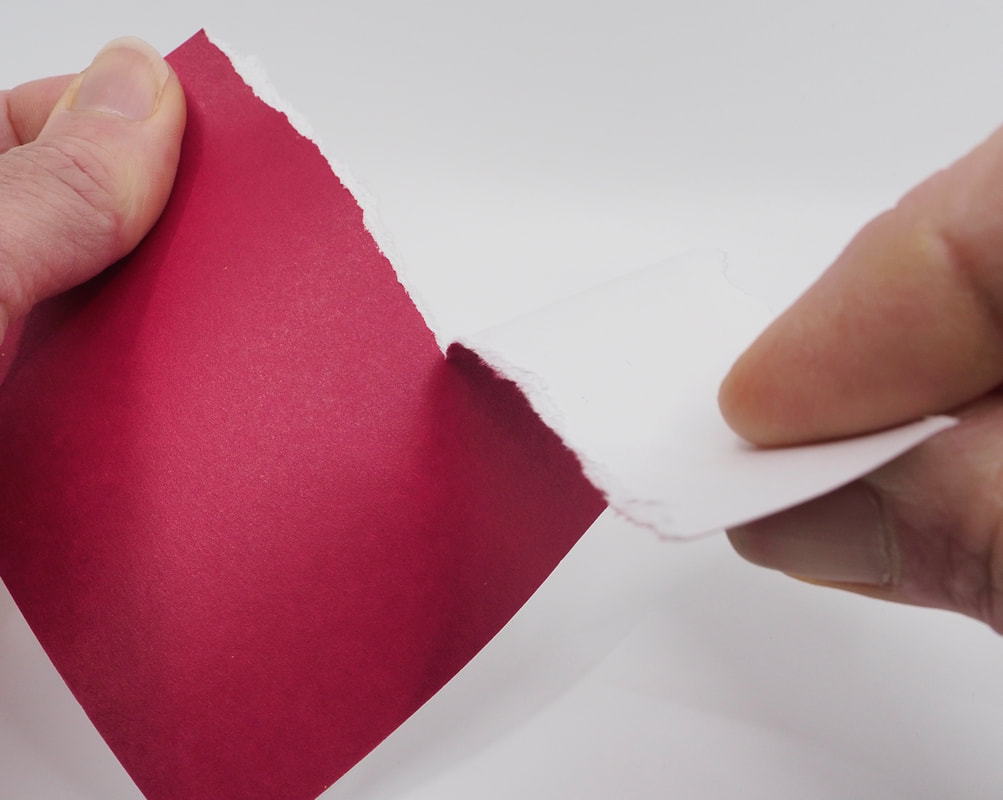
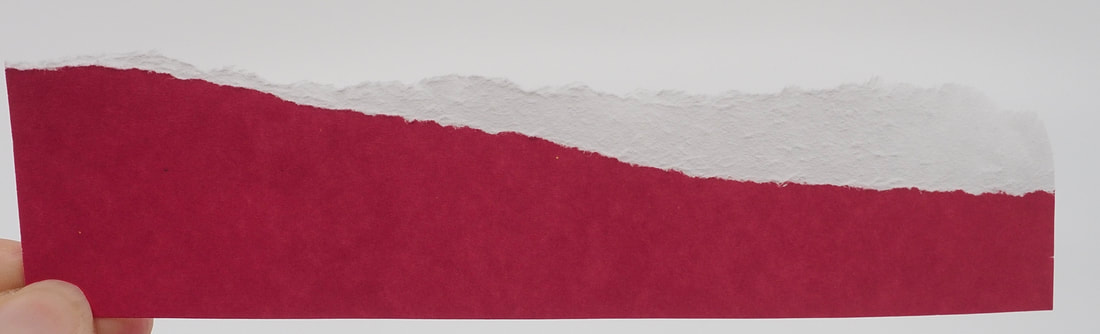
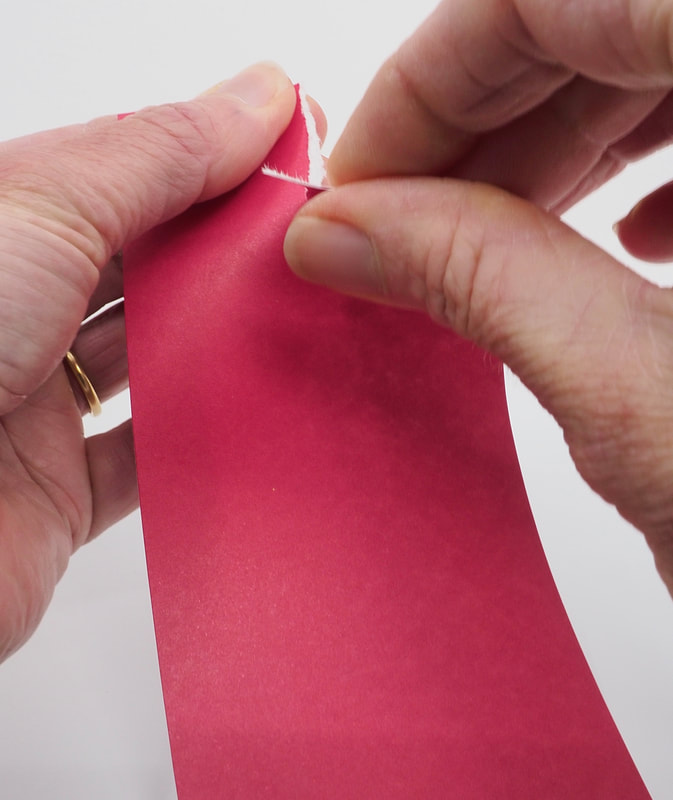
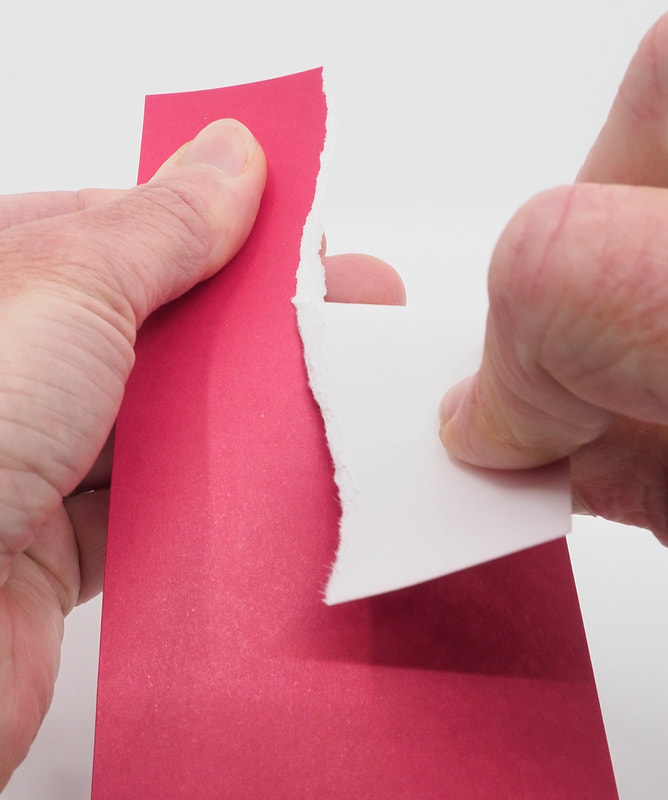
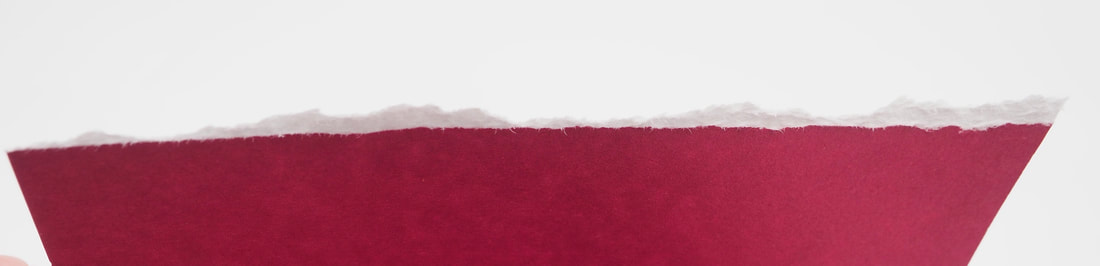
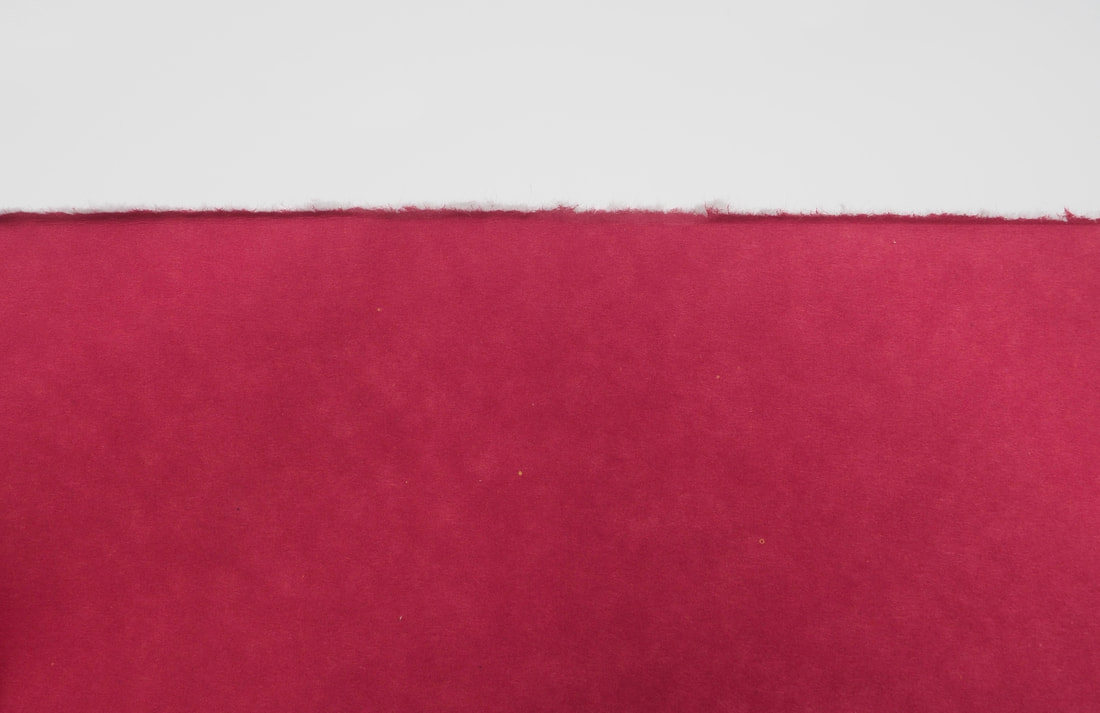
Rough Torn Paper Edge with texture
This tear reveals the paper colour underneath the top layer.
Hold the paper with the image / right side up and tear the paper towards you
Hold the paper with the image / right side up and tear the paper towards you
|
|
|
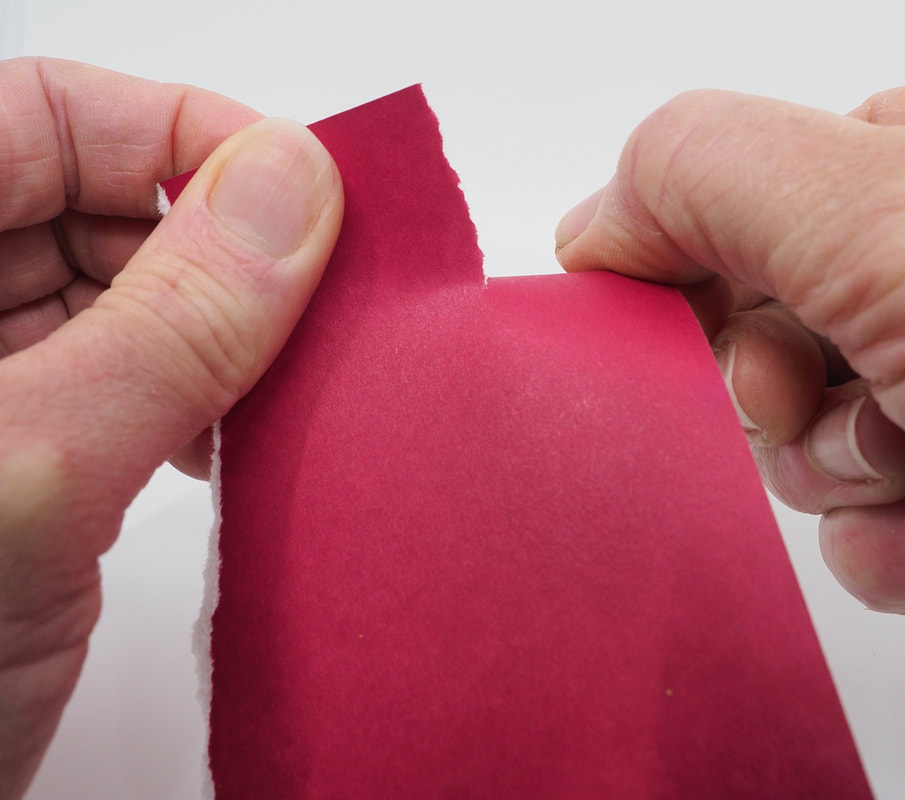
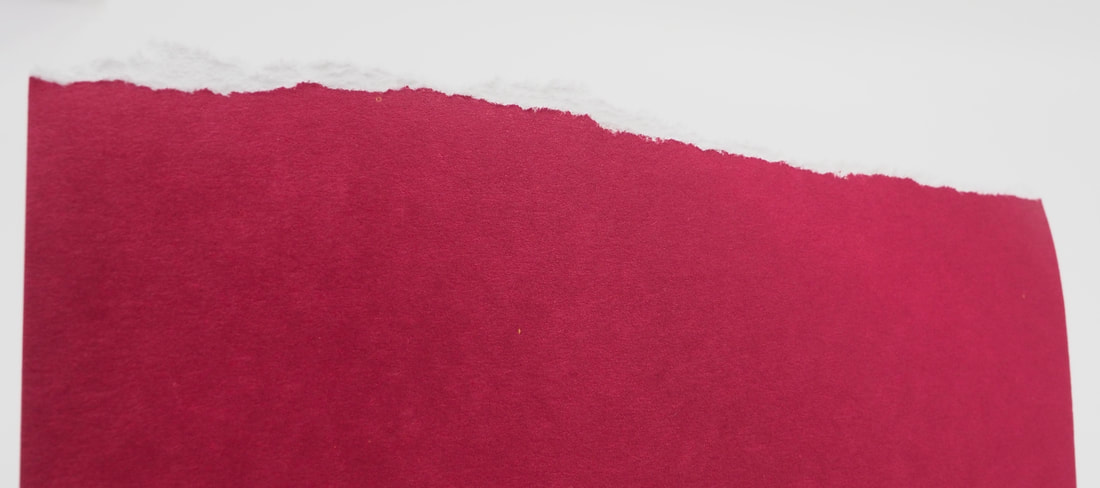
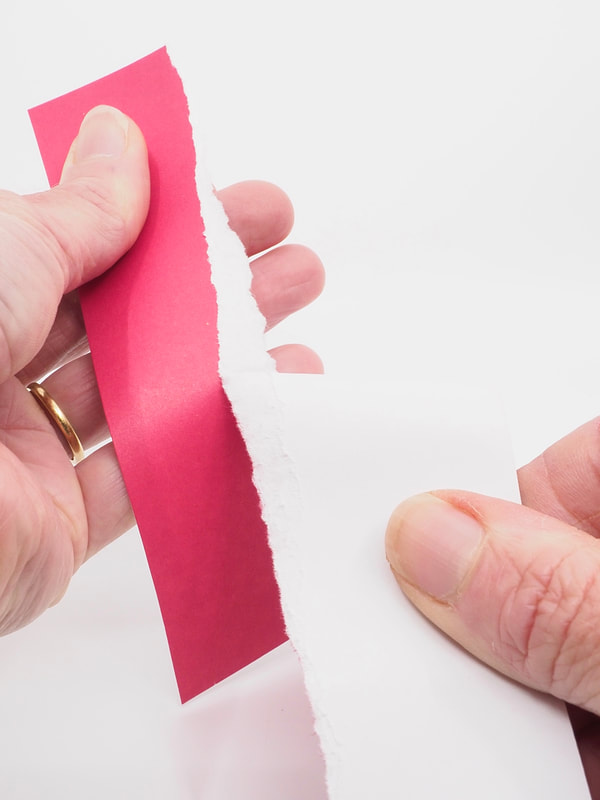
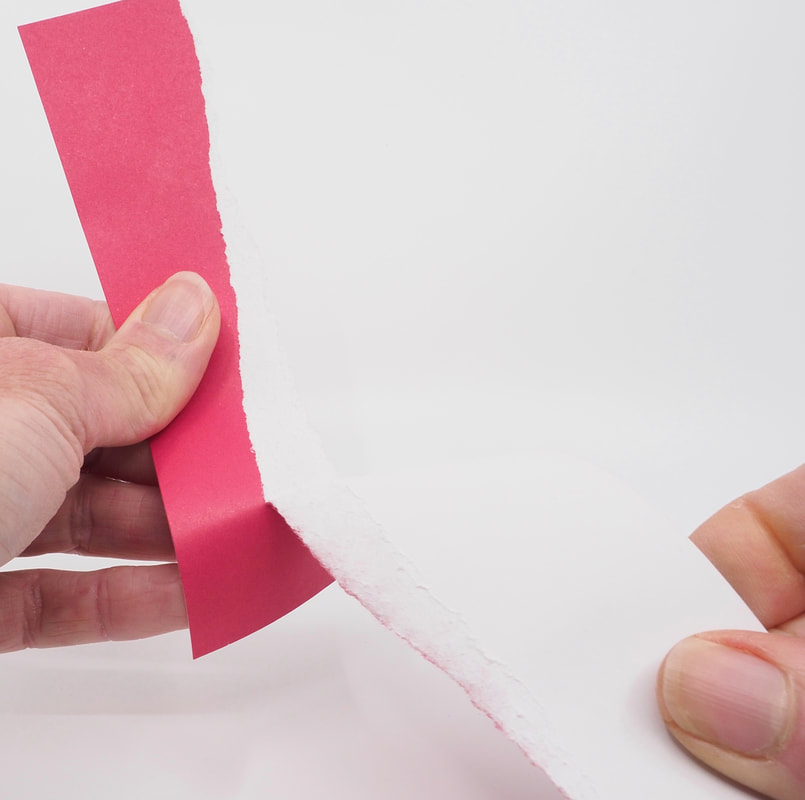
Rough Torn Edge with Exaggerated Texture
This tear reveals the paper colour underneath the top layer in random & larger amounts.
Hold the paper with the image / right side up and tear the paper slowly towards you. Angle the piece of paper that you are tearing to widen the tear edge. Changing the angle of the tear as you go along can help to exaggerate the tear edge
Practice this technique on scrap bits of paper to work out how to get your desired effect before trying it on your good paper.
|
|
|
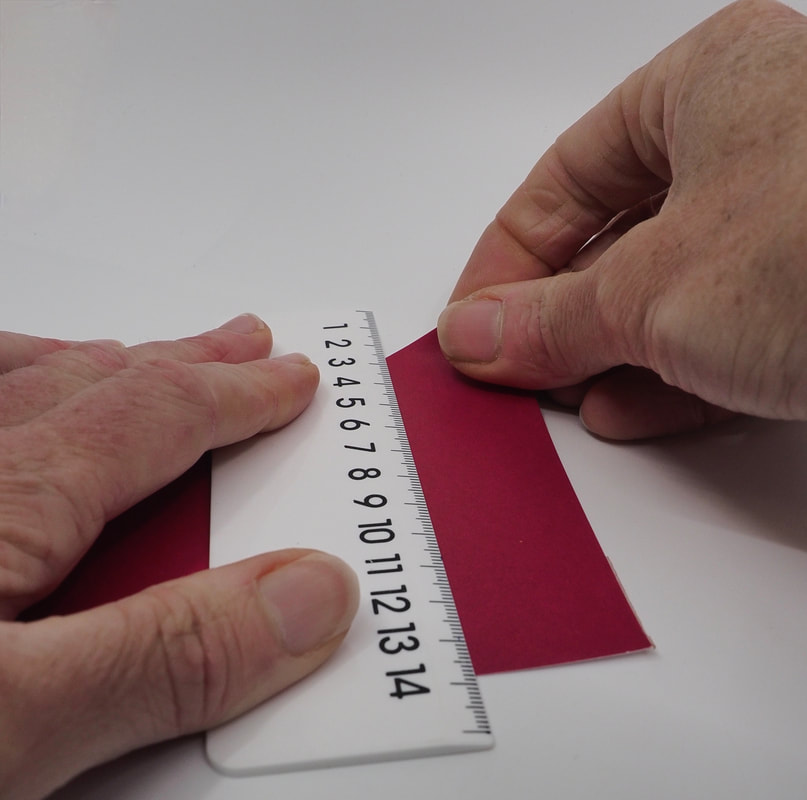
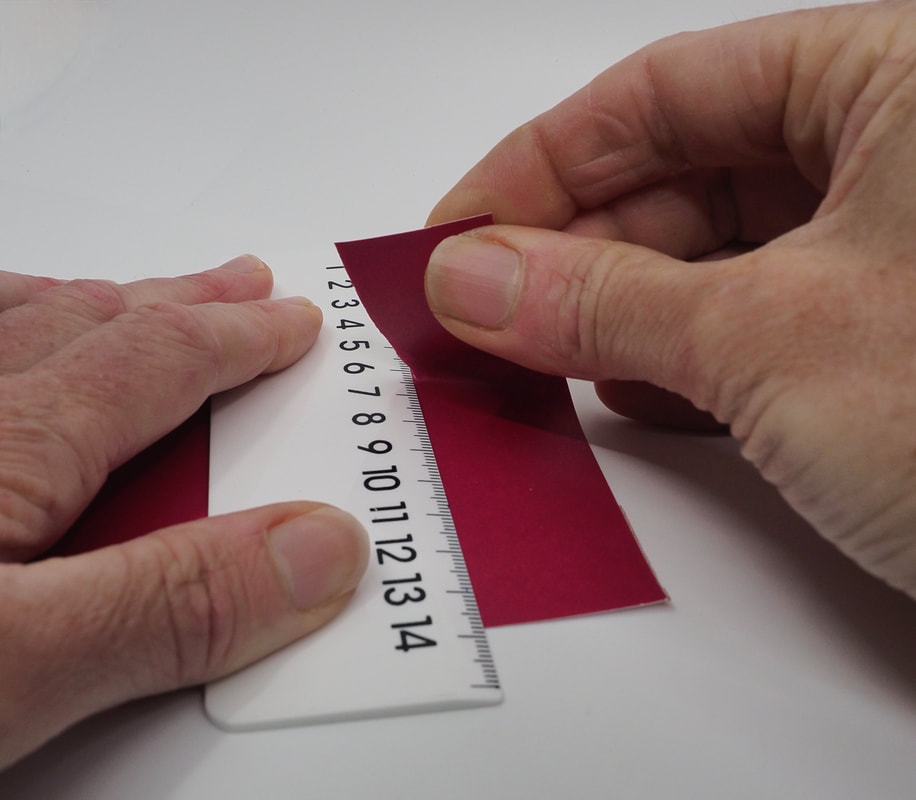
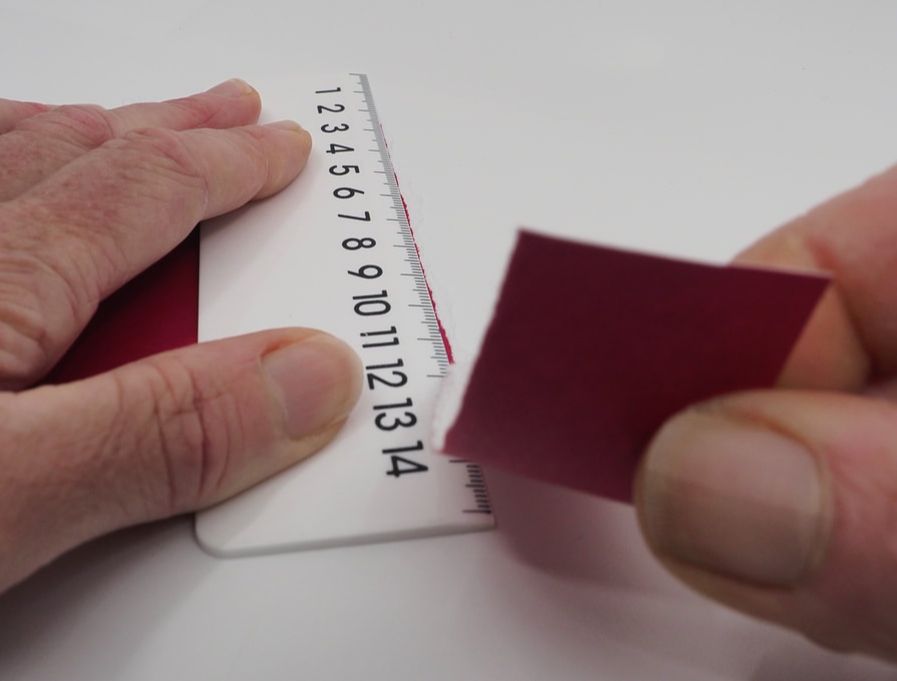
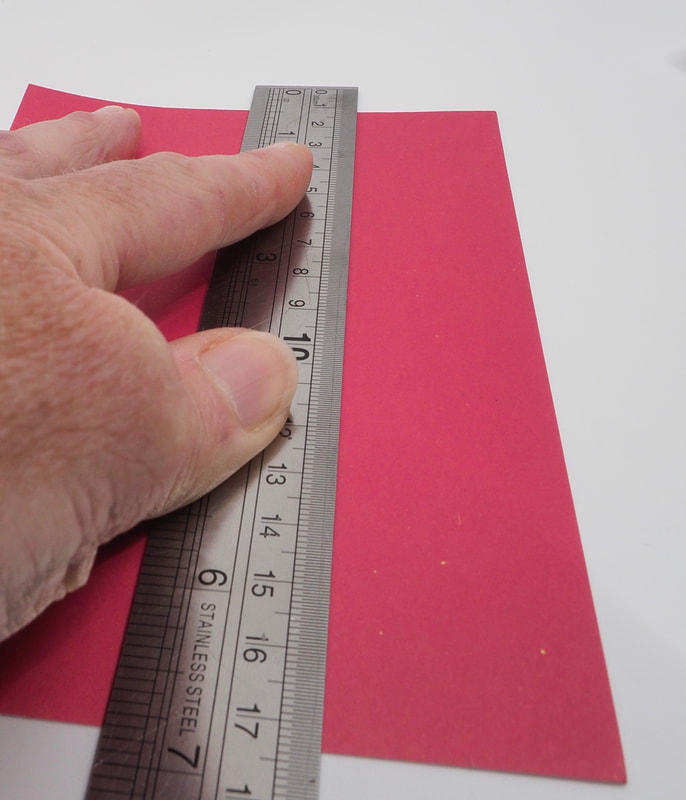
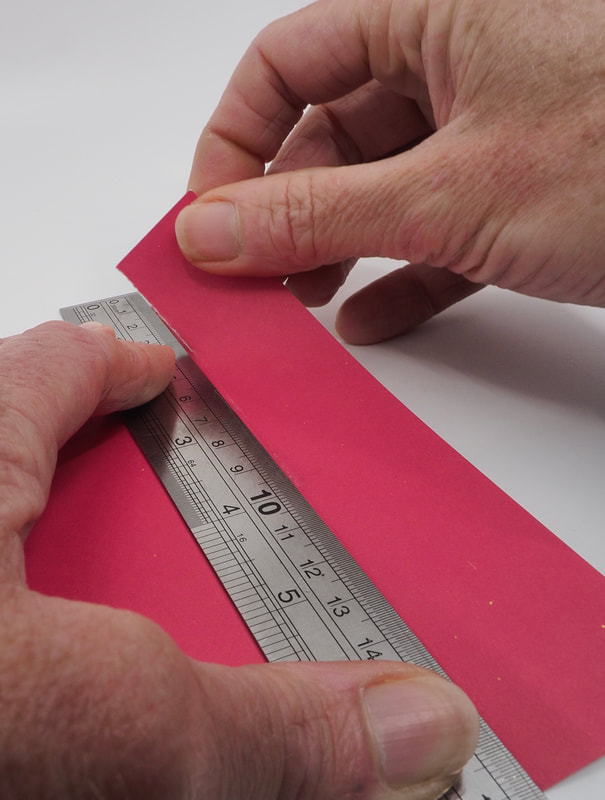
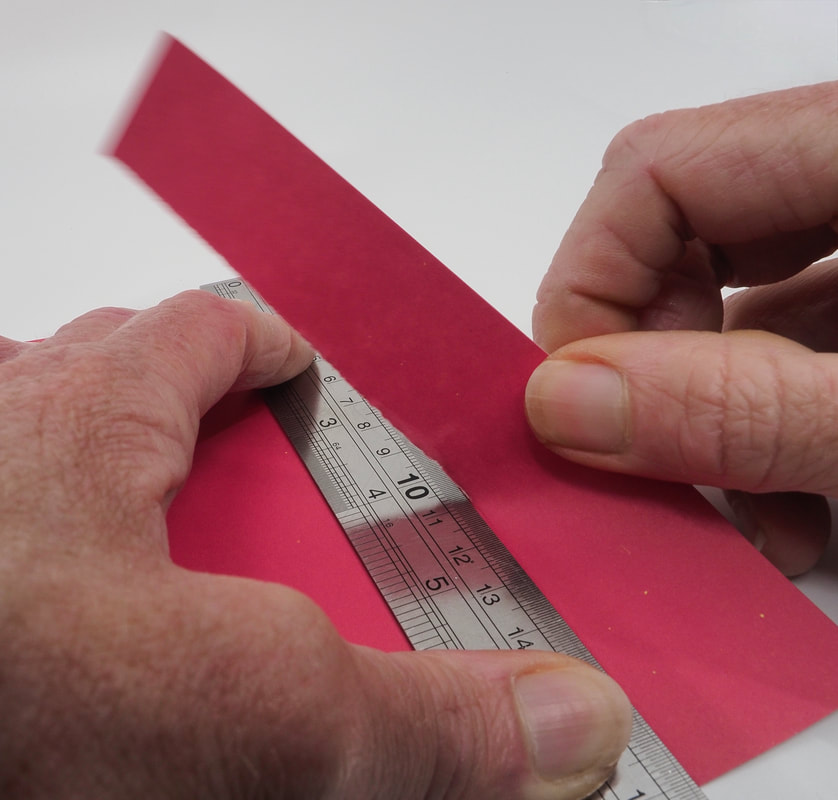
Ruler Torn paper Edge
This allows a straight tear, but still with some texture along the edge.
Hold the paper with the image / right side up. Place a ruler along the desired tear line then tear the paper towards you
Hold the paper with the image / right side up. Place a ruler along the desired tear line then tear the paper towards you
|
|
|
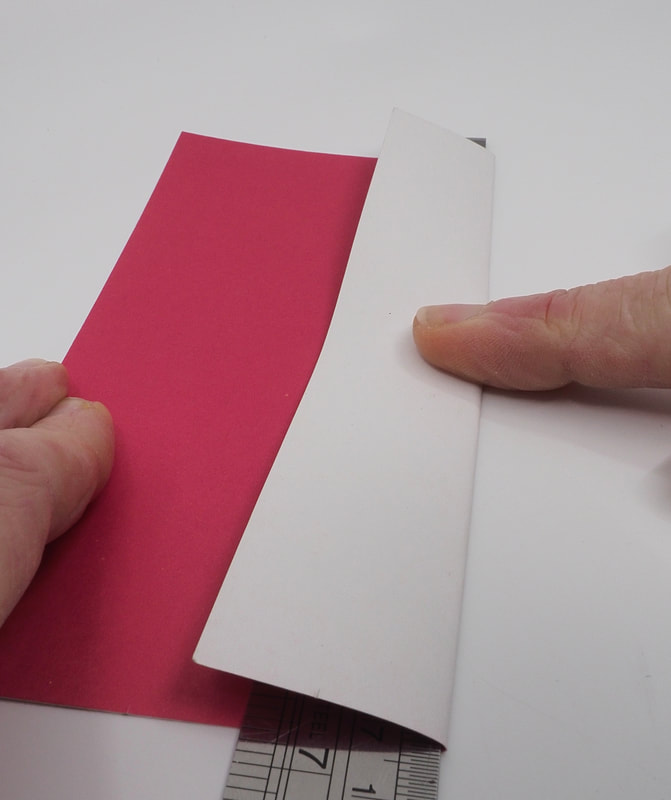
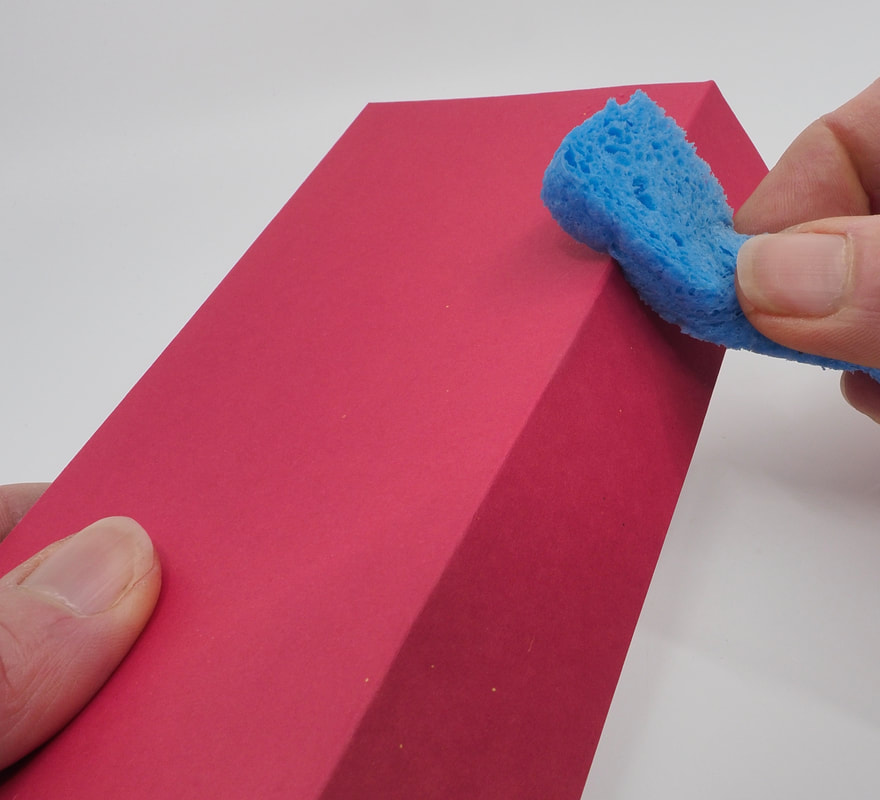
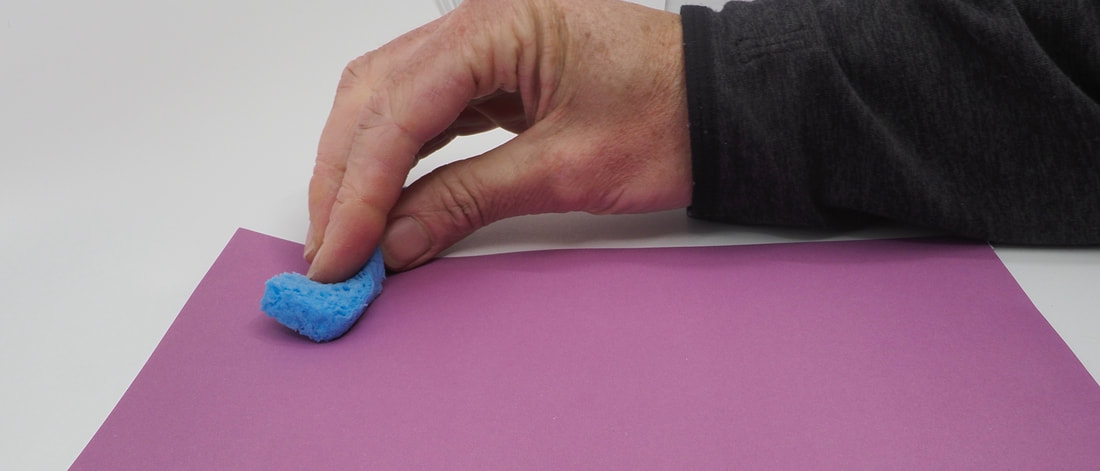
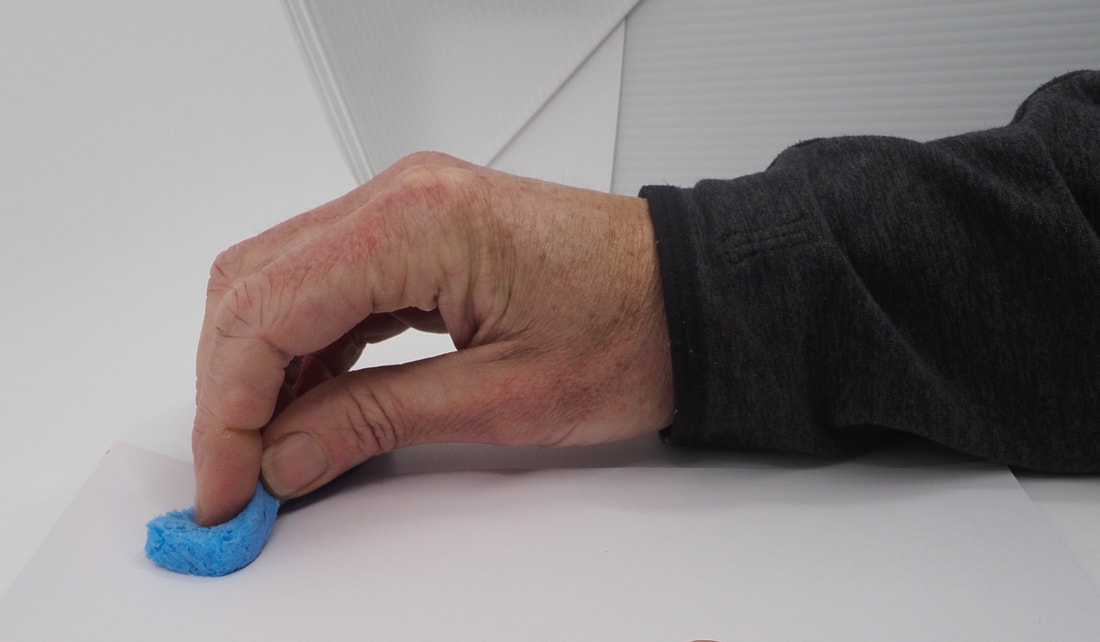
RULER TORN PAPER EDGE using water
This tear produces a straight edges with only a small amount of texture on the edge.
Hold the paper with the image / right side up.
Place a ruler along the desired tear line and fold the paper upwards along the ruler edge. Remove the ruler and flatten the fold down to make the crease sharper.
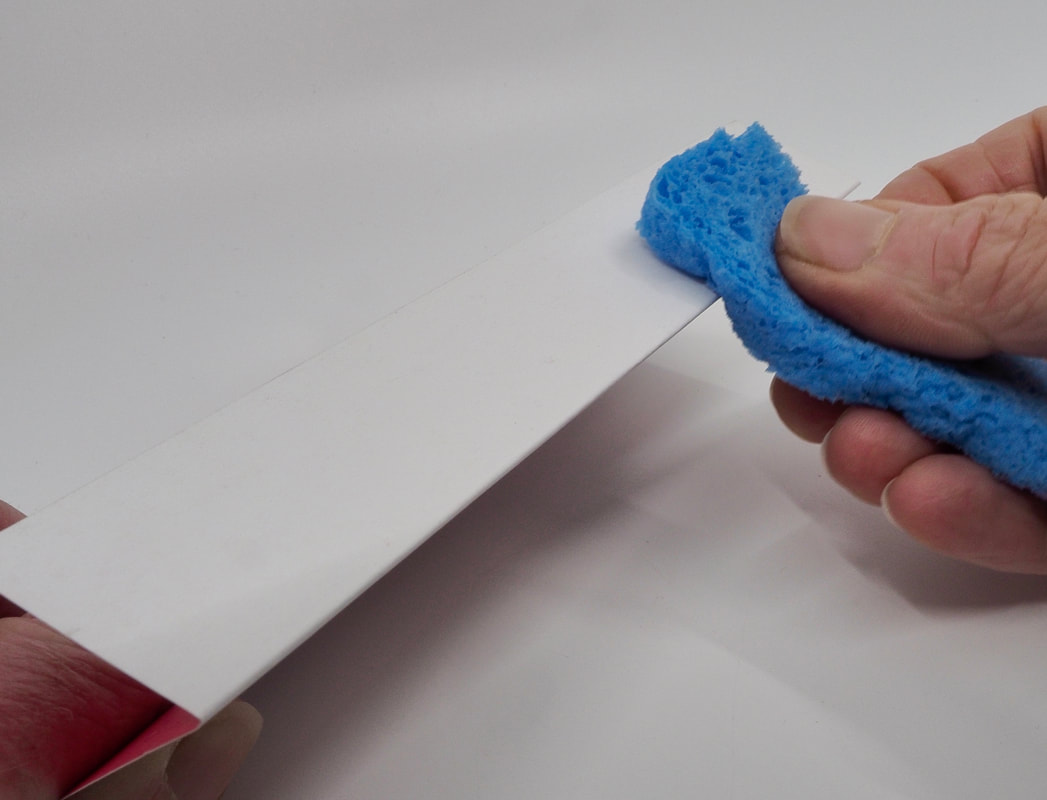
Run a damp piece of sponge (not too wet or it will saturate the paper) along the fold line.
Fold it in the opposite direction, and then run the sponge along the other side of the fold.
Place the ruler back along the fold line.
Smoothly lift the paper up tearing along the length of the ruler.
Hold the paper with the image / right side up.
Place a ruler along the desired tear line and fold the paper upwards along the ruler edge. Remove the ruler and flatten the fold down to make the crease sharper.
Run a damp piece of sponge (not too wet or it will saturate the paper) along the fold line.
Fold it in the opposite direction, and then run the sponge along the other side of the fold.
Place the ruler back along the fold line.
Smoothly lift the paper up tearing along the length of the ruler.
|
|
|
|

|
|
|
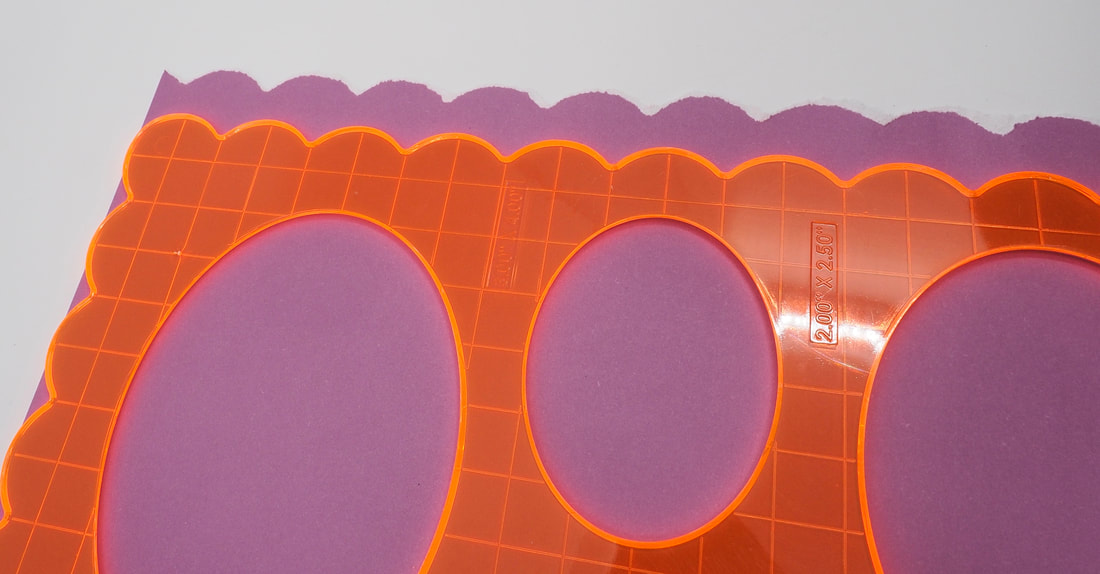
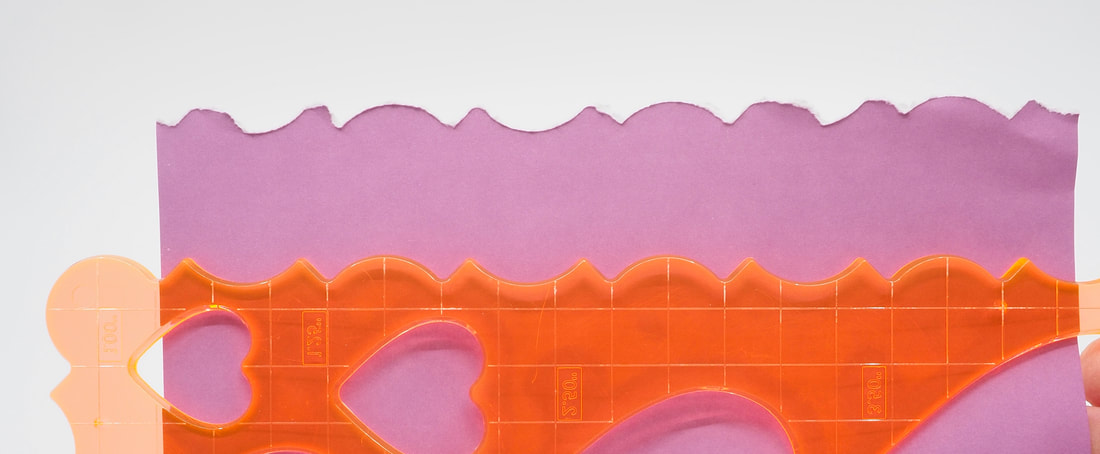
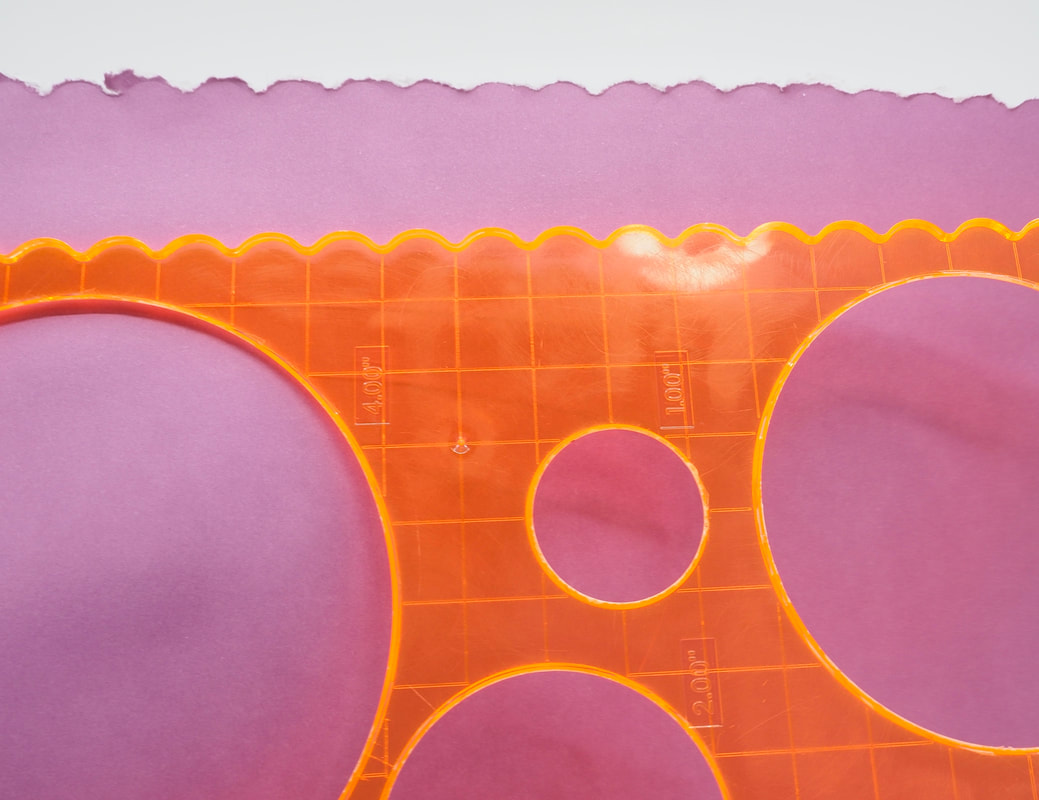
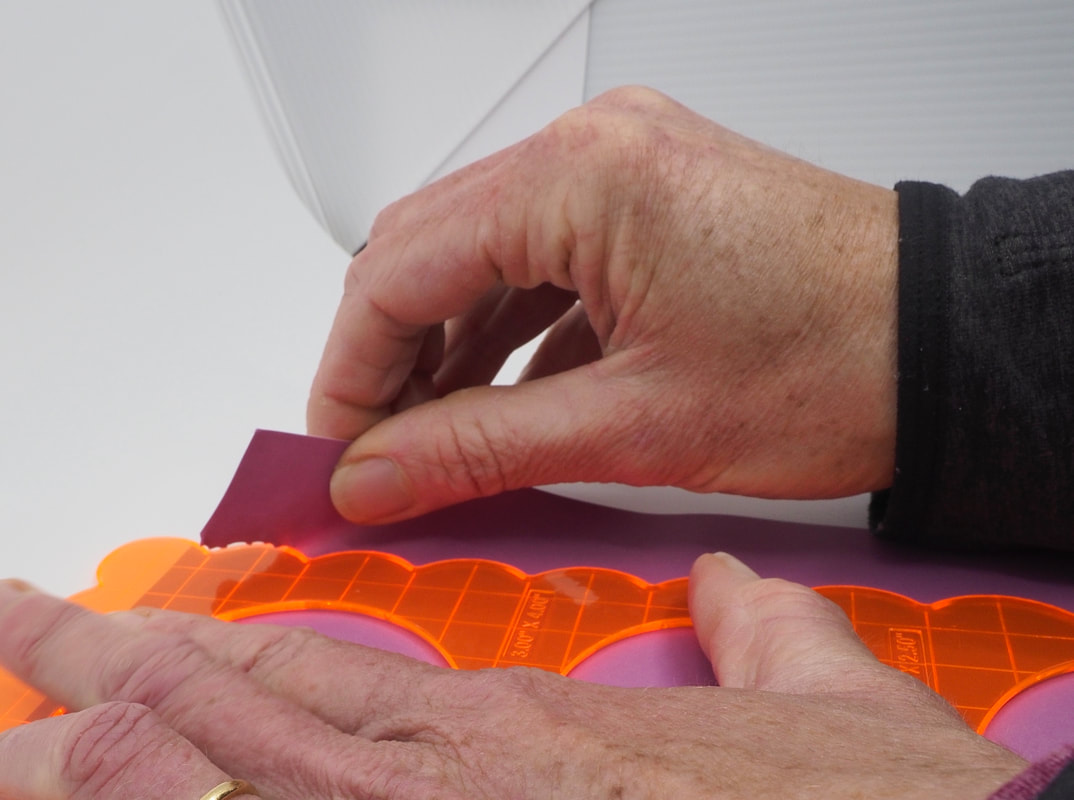
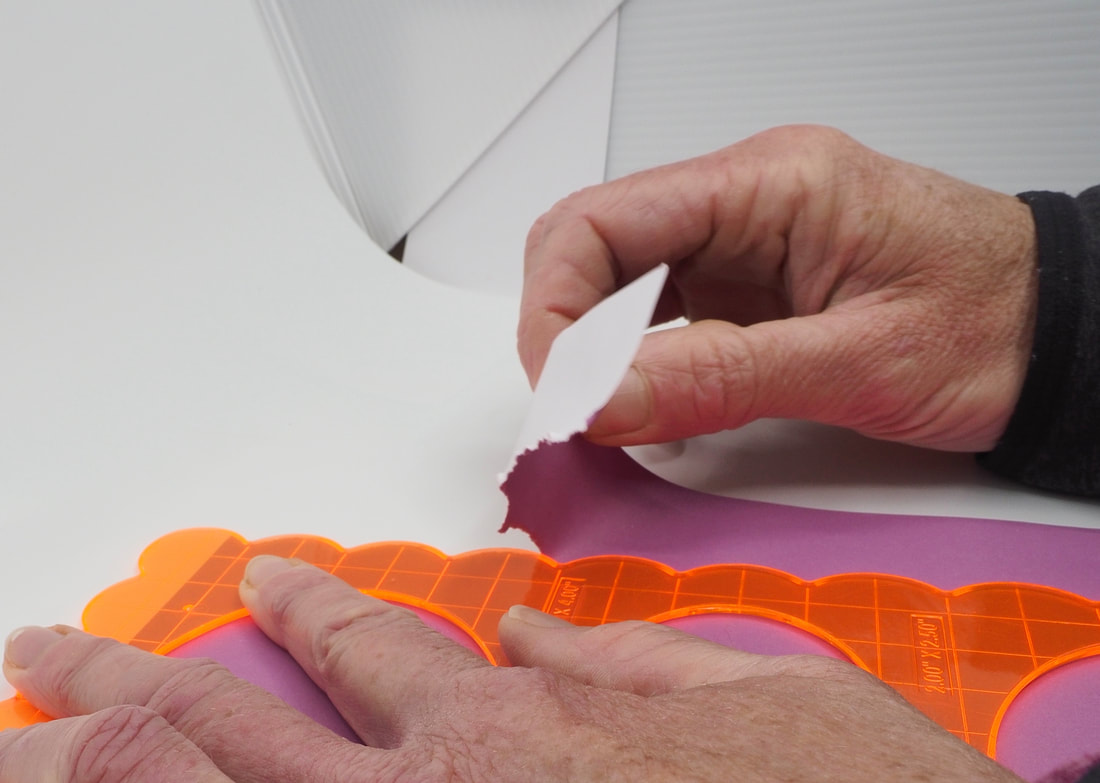
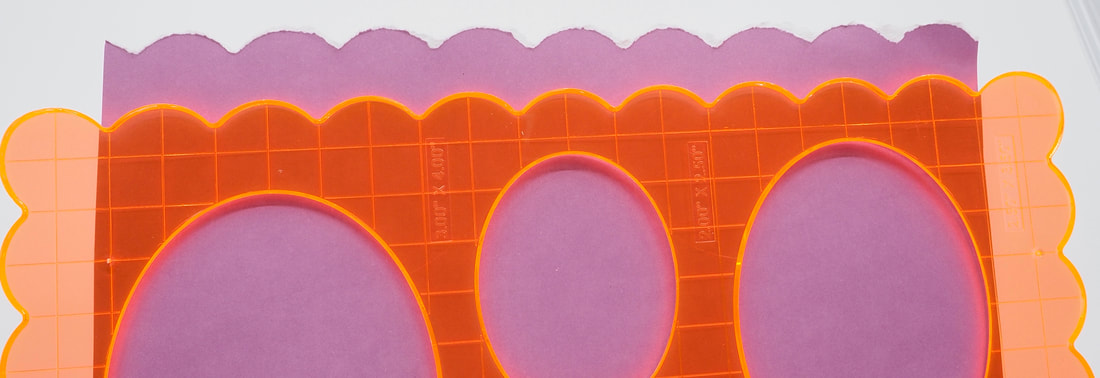
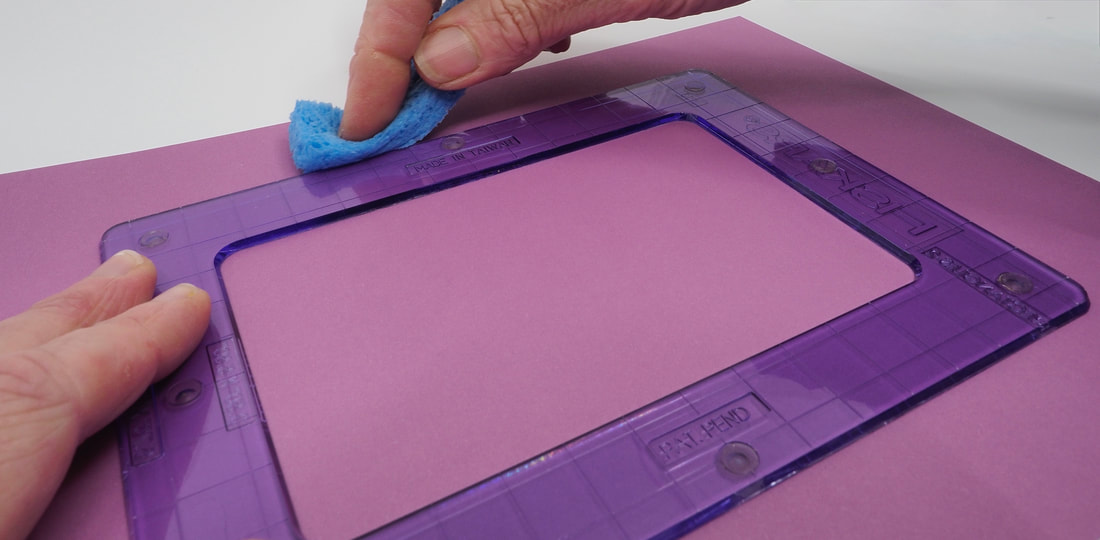
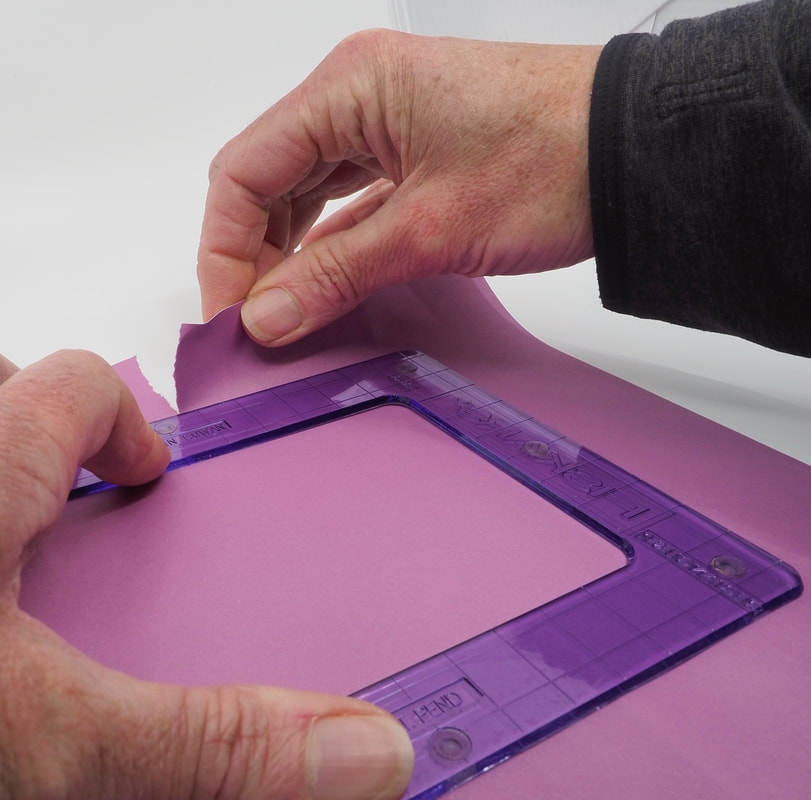
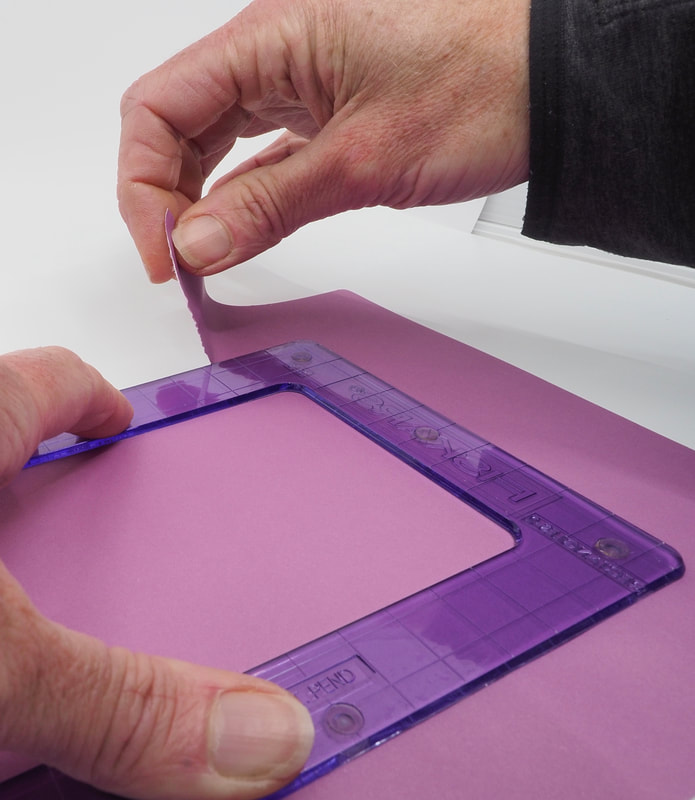
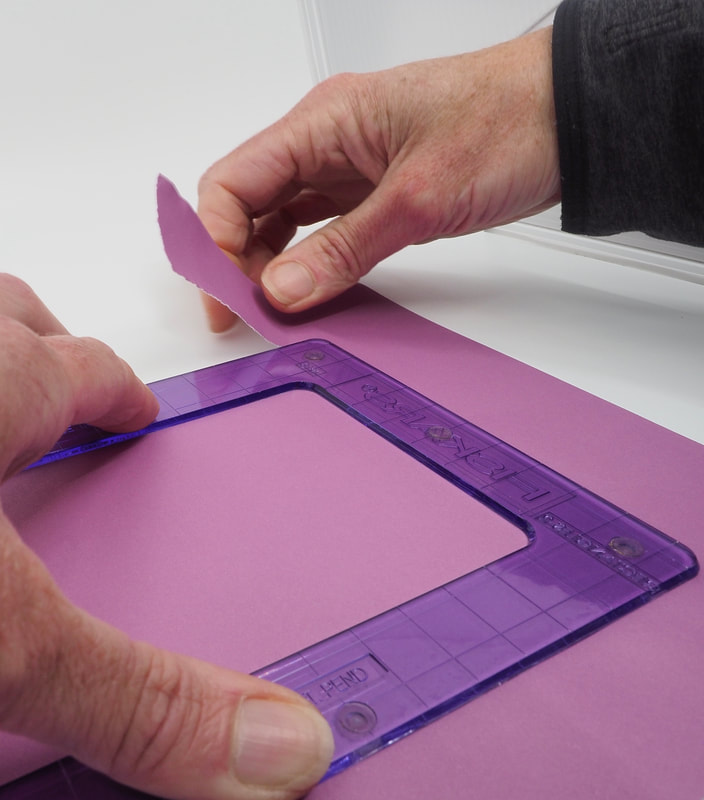
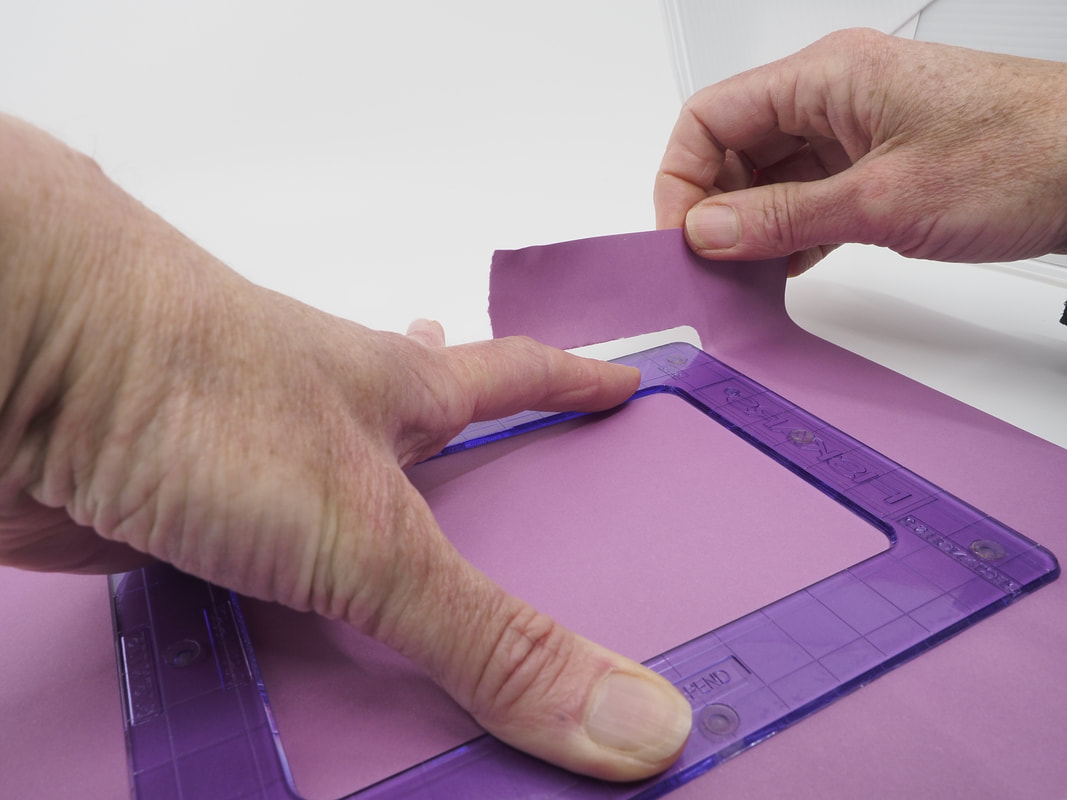
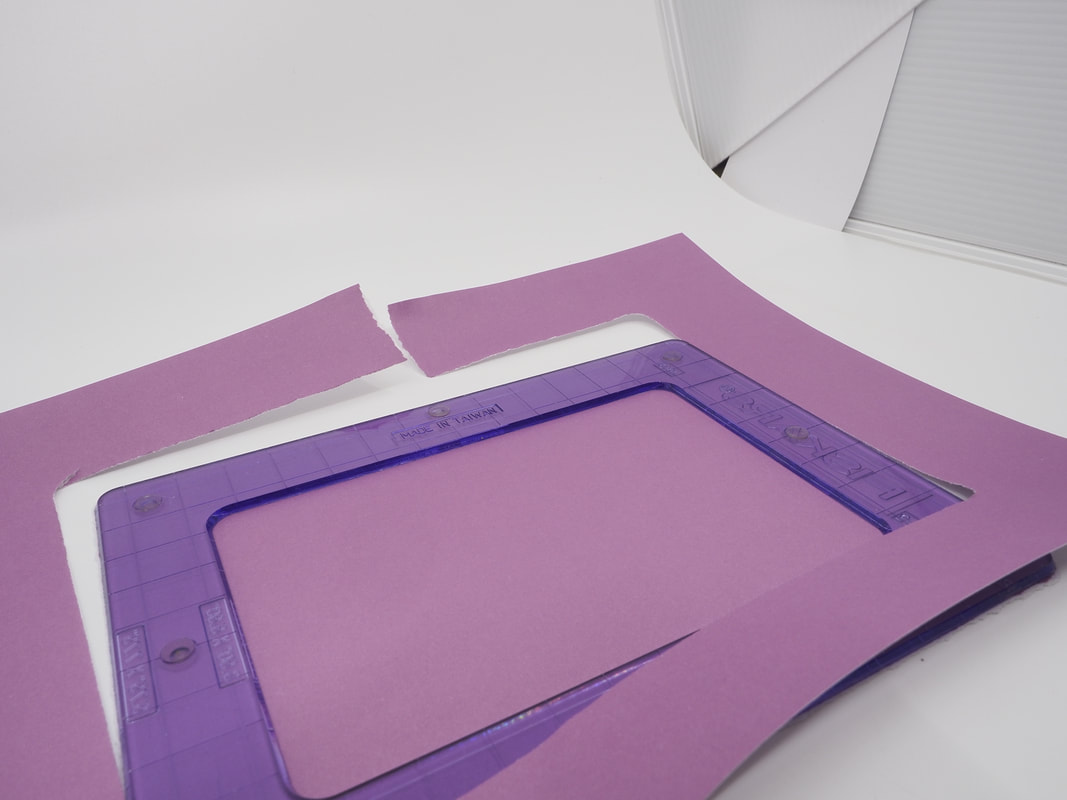
Patterned Guide TOrn Paper Edge
|
|
This tear produces a decorative edge with only a small amount of texture on the edge.
Hold the paper with the image / right side up.
Run a damp piece of sponge (not too wet or it will saturate the paper) along edge to be torn. (Alternately run a water marker along the edge of the ruler). Turn the paper over and run the sponge over the back of this edge as well.
Position the patterned guide on the paper. Hold it down firmly and tear slowly, moving you fingers down the length of the paper as you tear, and pulling the paper back against the guide as you tear.
Handy Hints:
It is more difficult to tear against a finer detailed pattern to get a clear patterned tear line. Larger and simpler designs are easier to tear.
I used the decorative edges of a "Fiskars Shape Cutter" cutting template for the above photos.
|
|
|
|
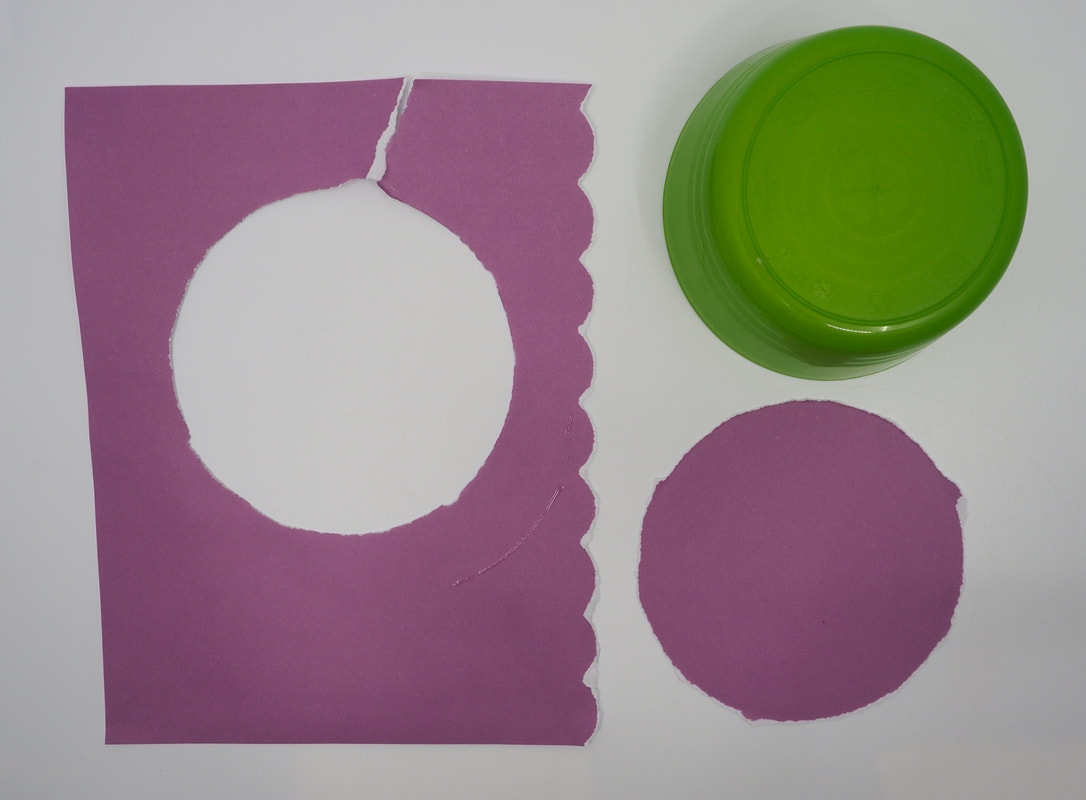
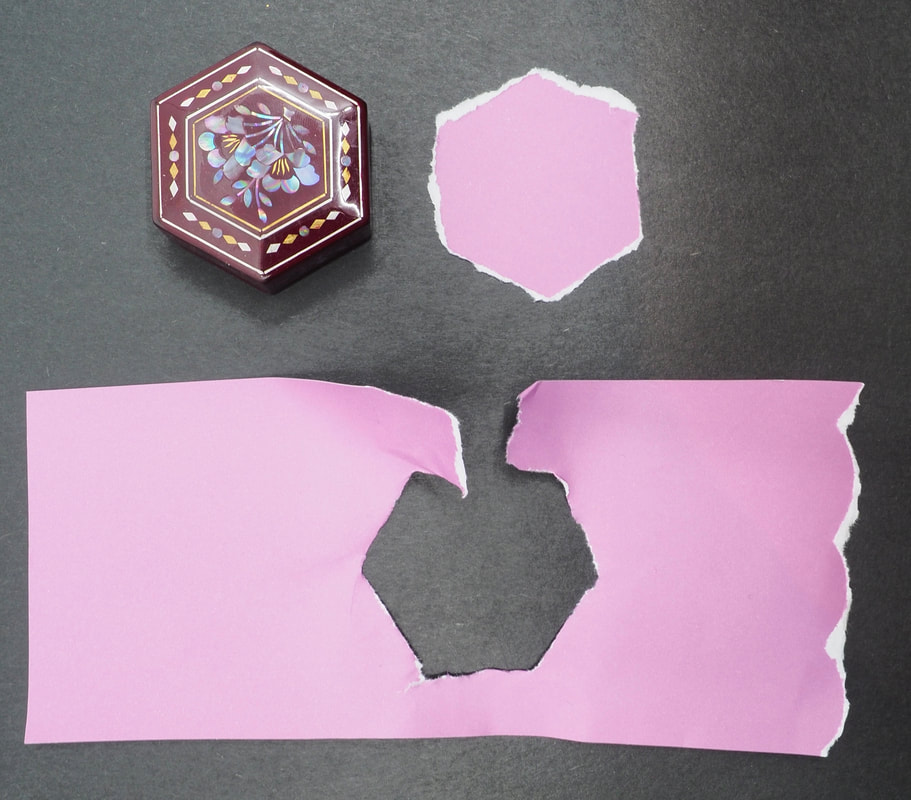
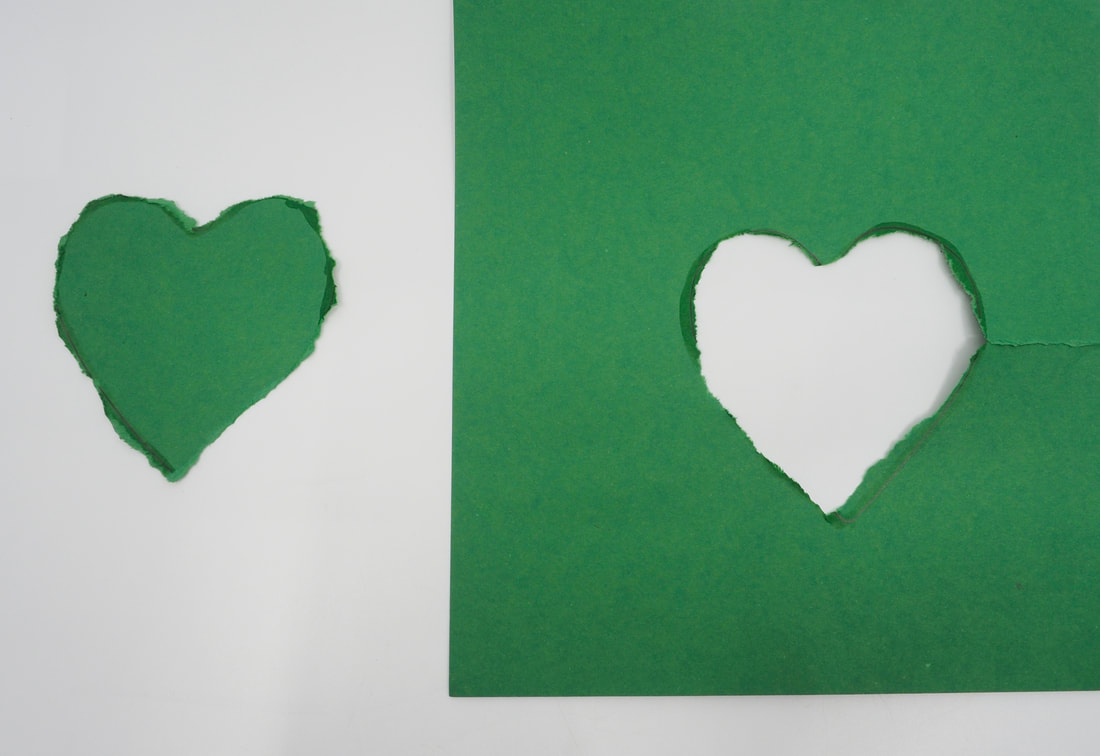
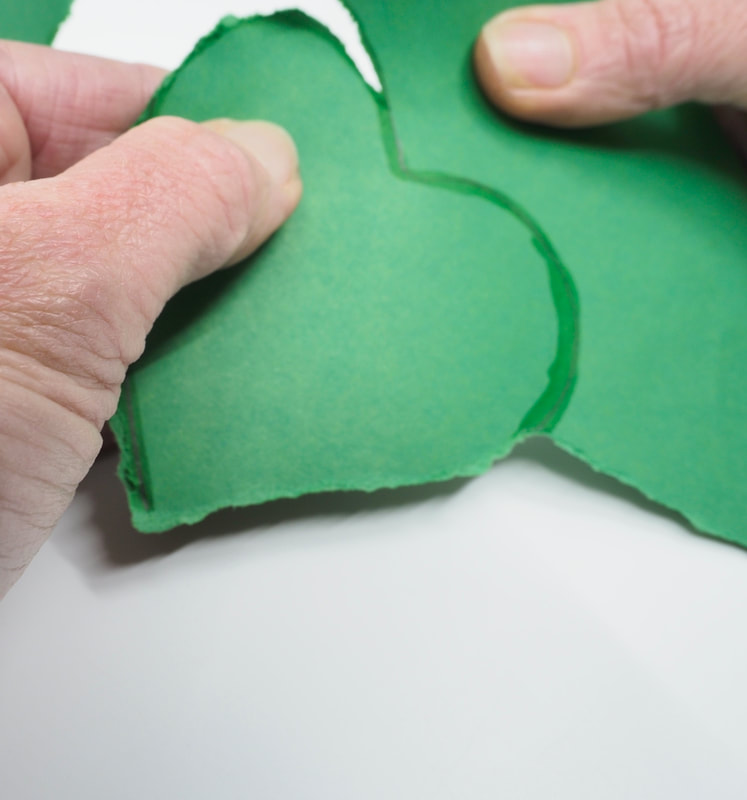
Tearing out a Shape
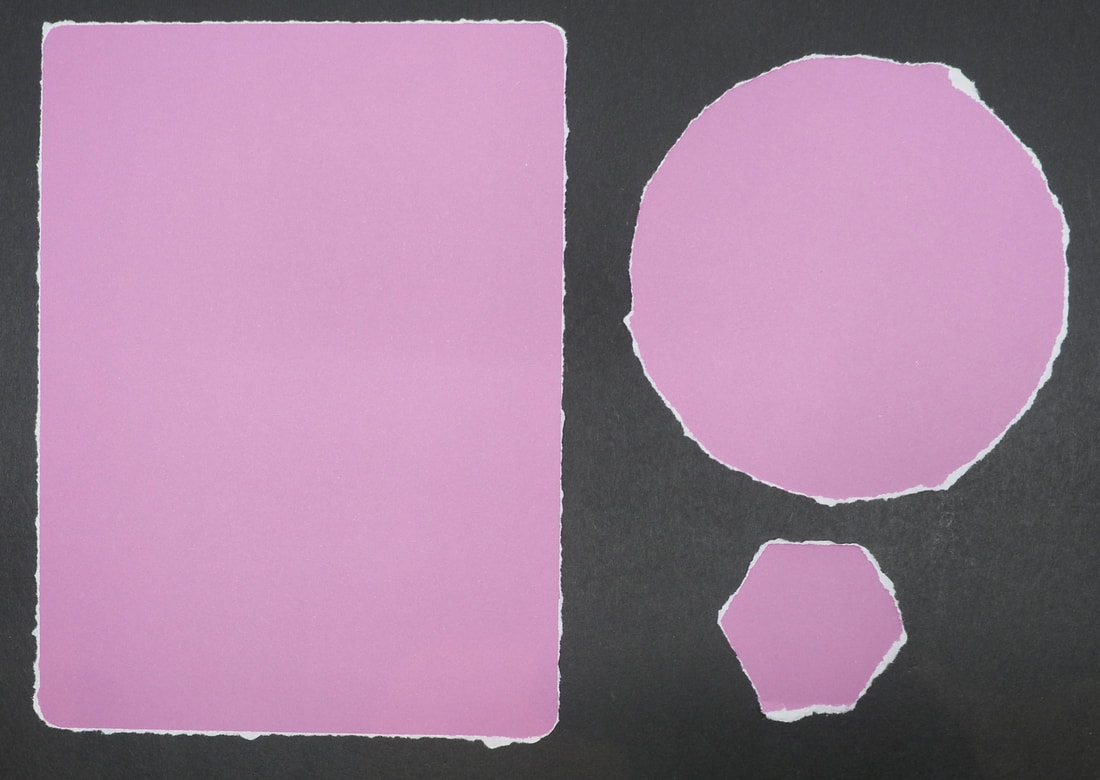
Tear around an object to create torn shapes.
Hold the paper with the image / right side up.
Place your chosen object onto the paper and run a damp piece of sponge (not too wet or it will saturate the paper) around the edge of the object (alternately trace around the shape with a water marker).
Hold the object down firmly with one hand, and tear the paper around the object slowly, moving you fingers along the paper as you tear around it.
In the demo photos below I am tearing around a Fiskars Shape Cutters Template. I also used a plastic bowl and a jewellery box lid.
|
|
|
|
|
|
|
|
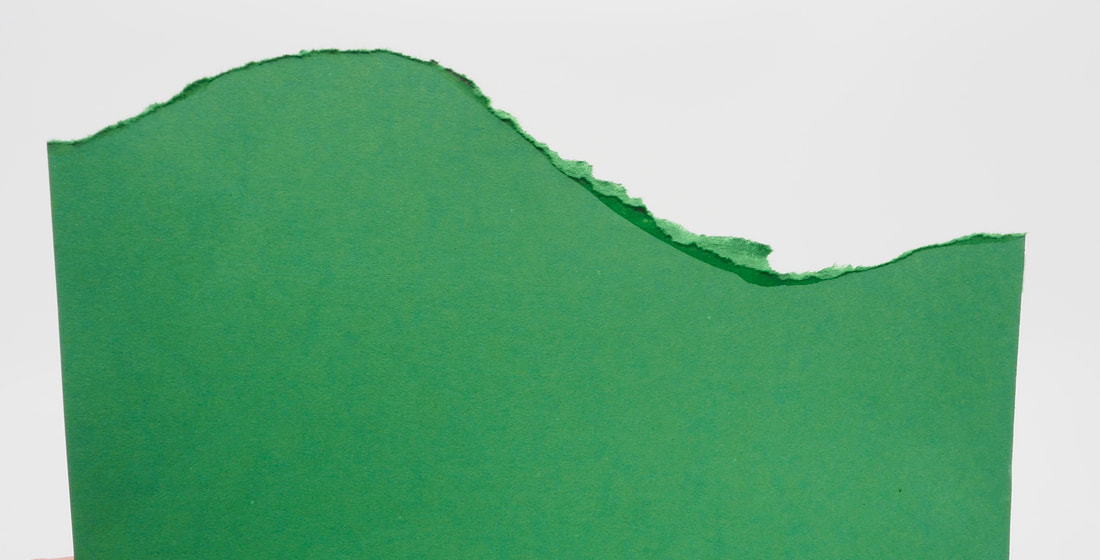
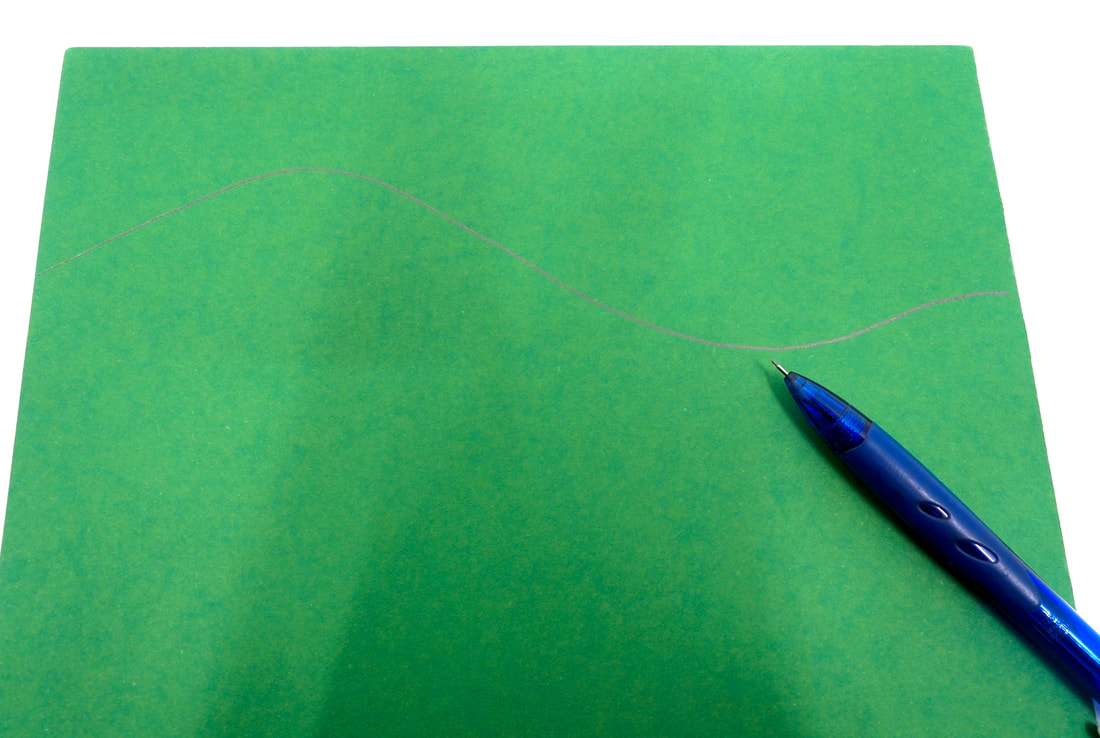
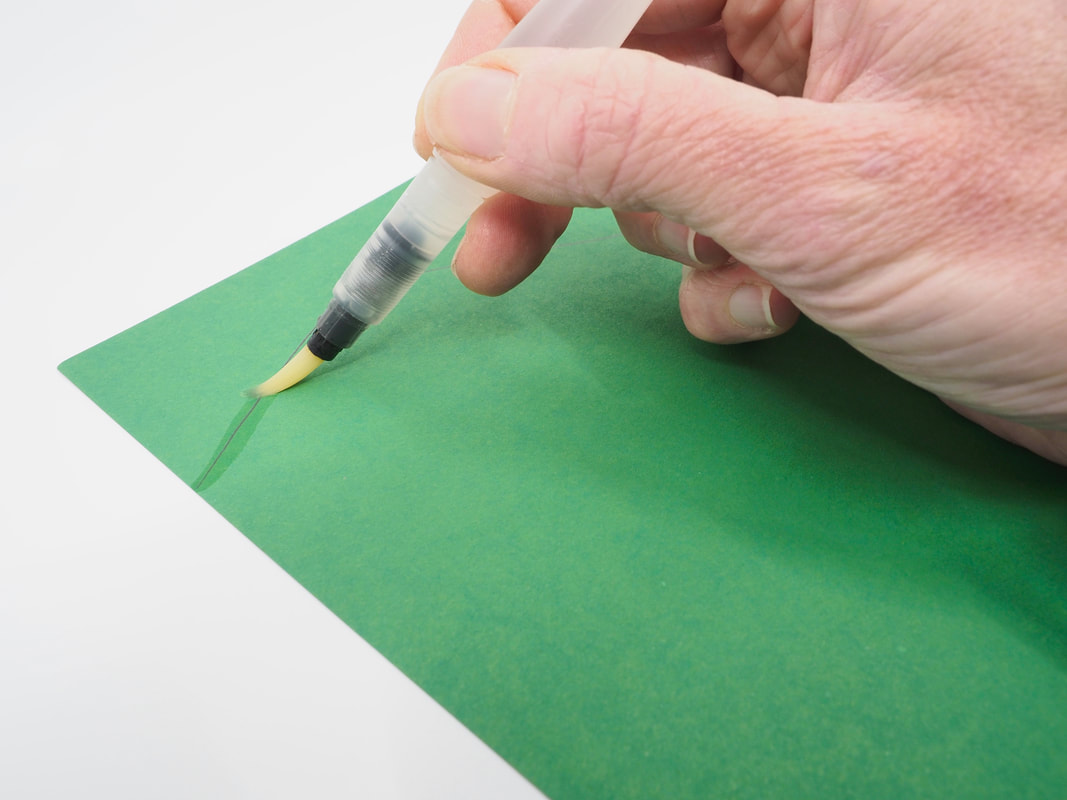
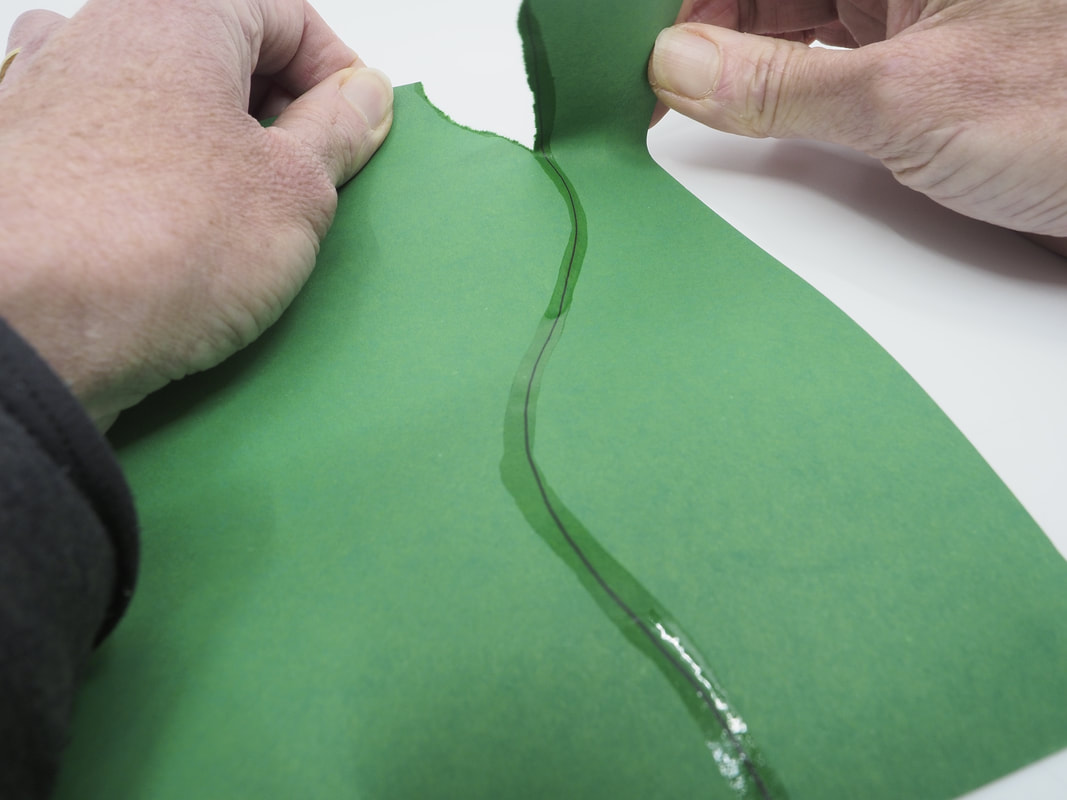
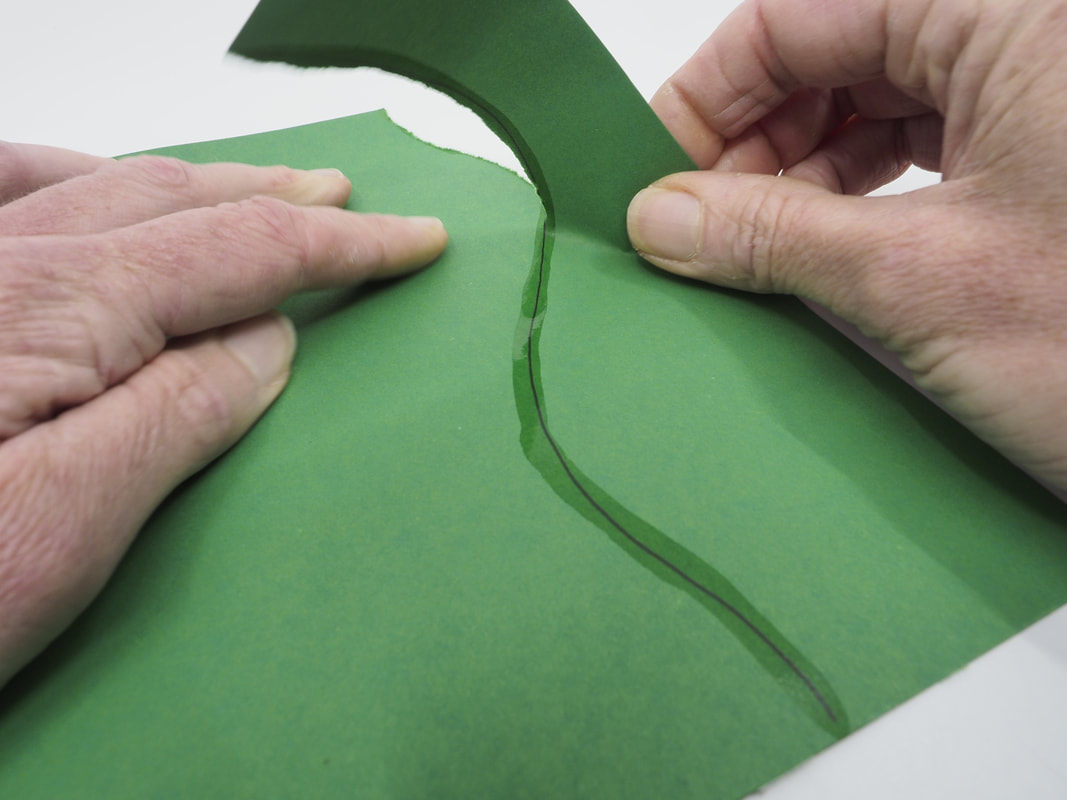
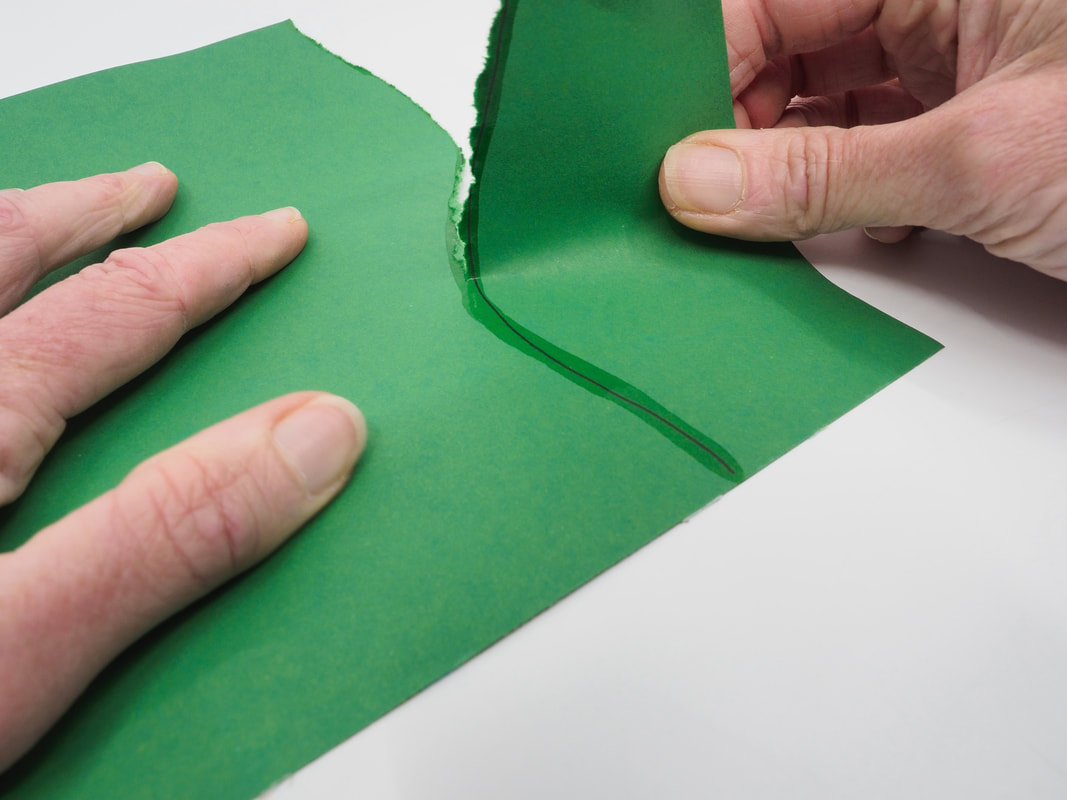
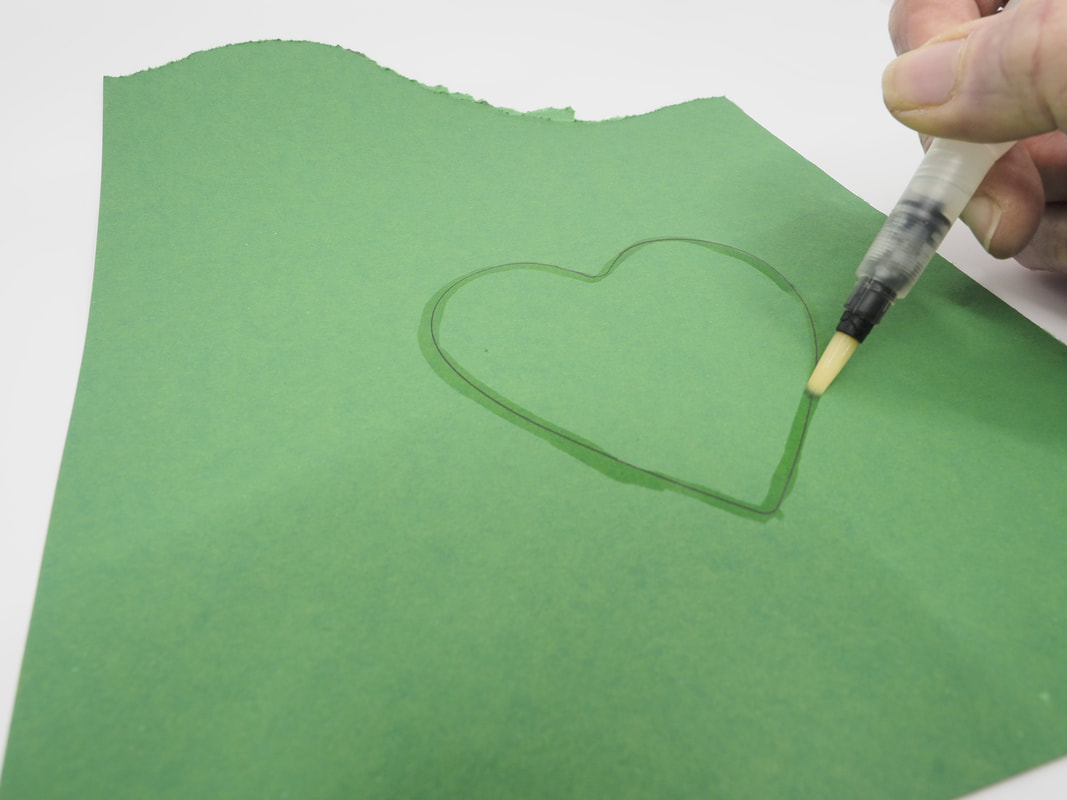
Water-Guided Tears
|
|
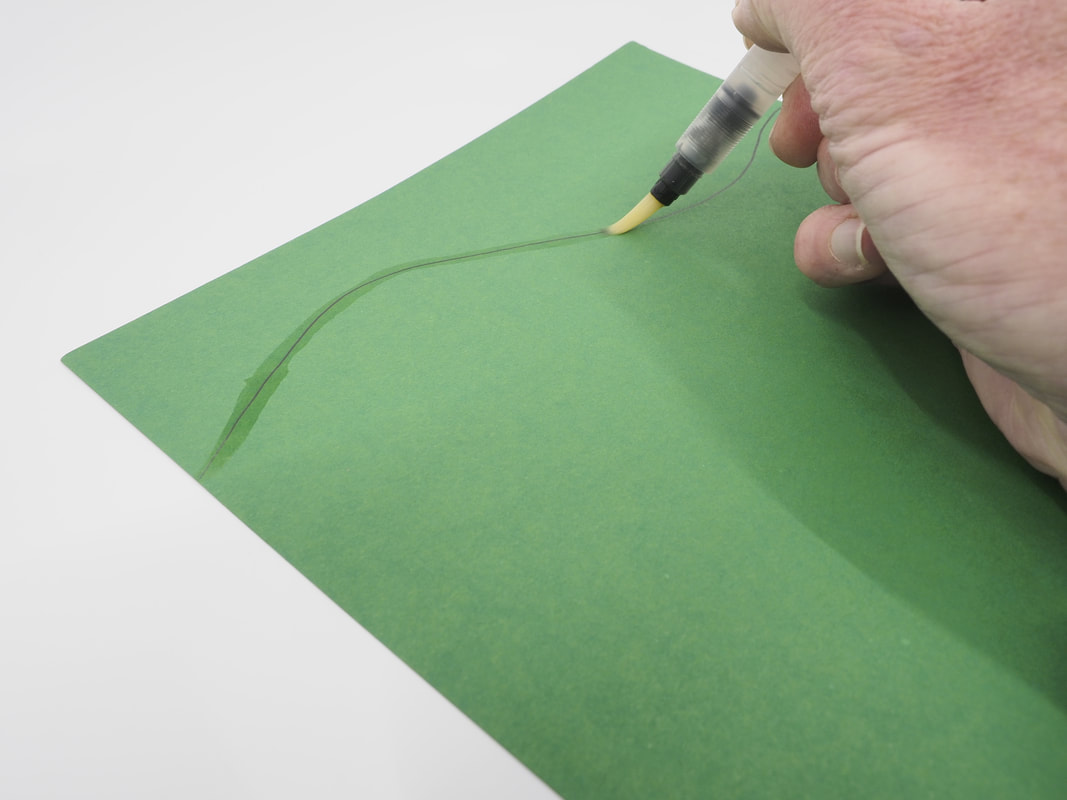
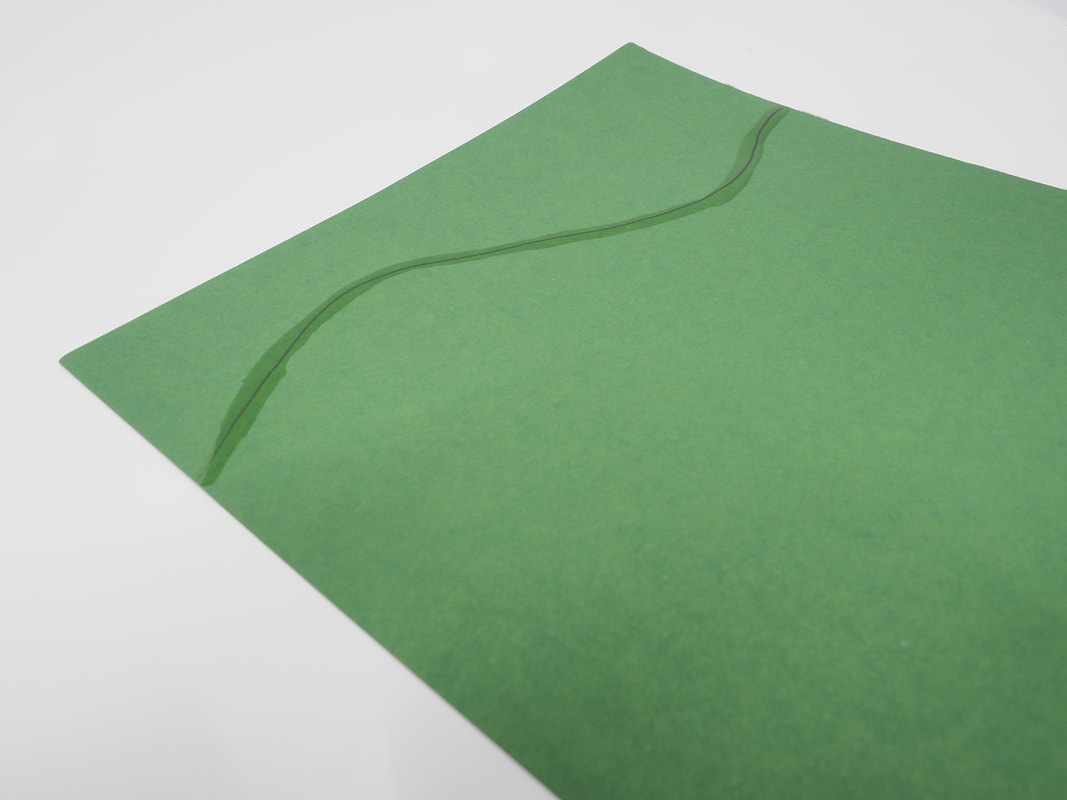
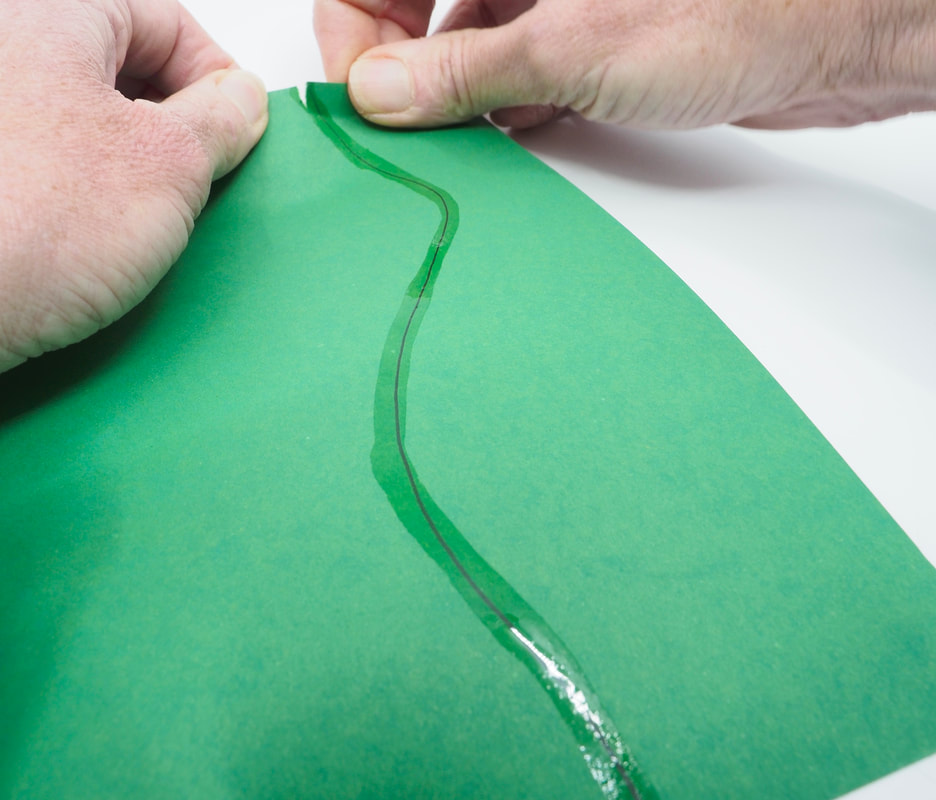
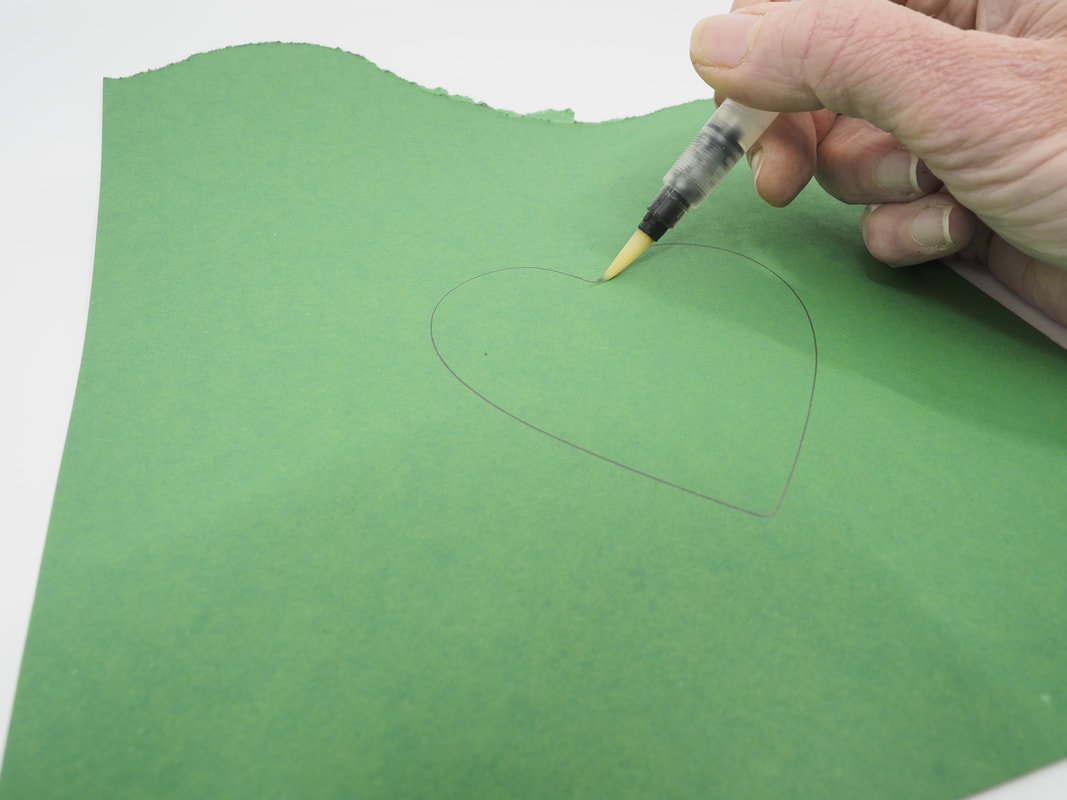
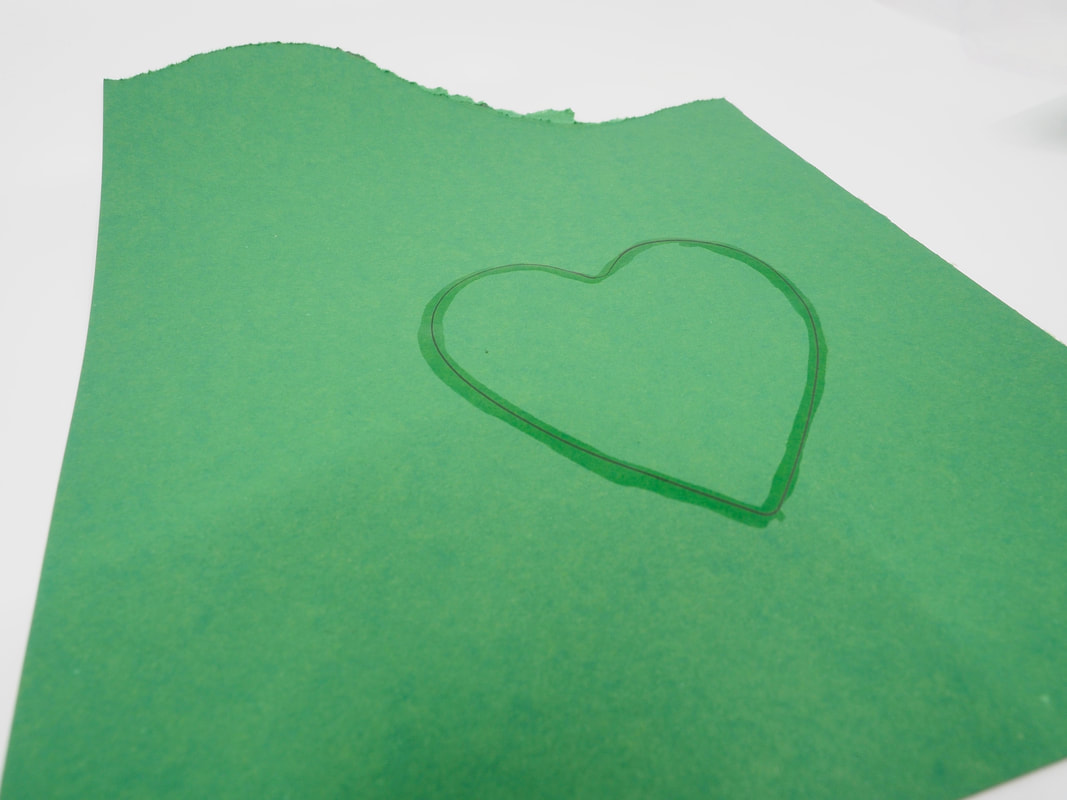
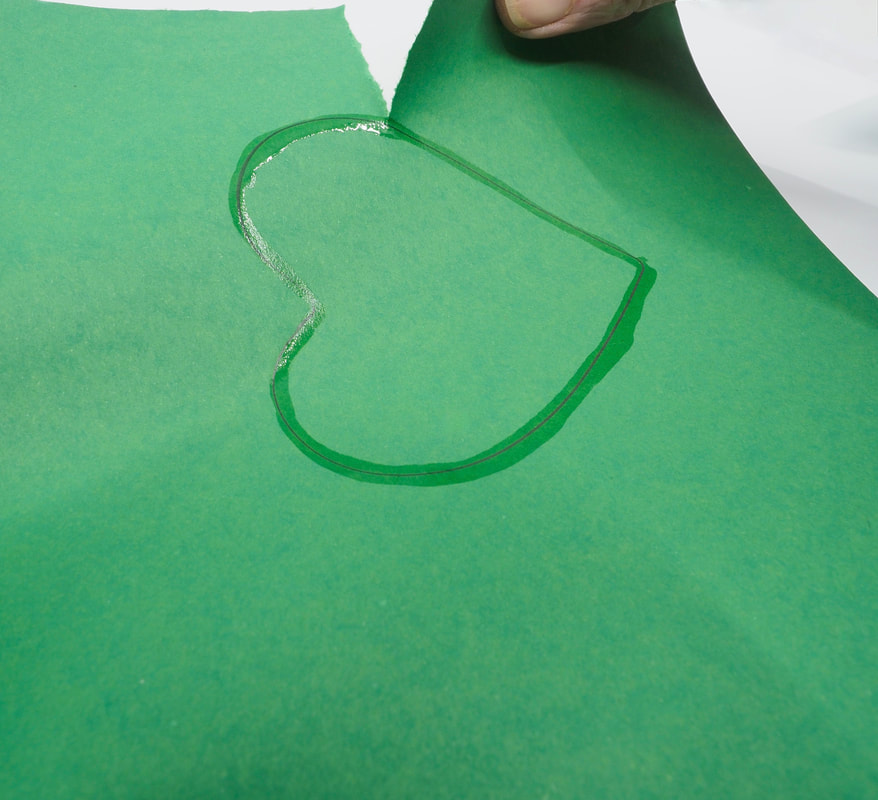
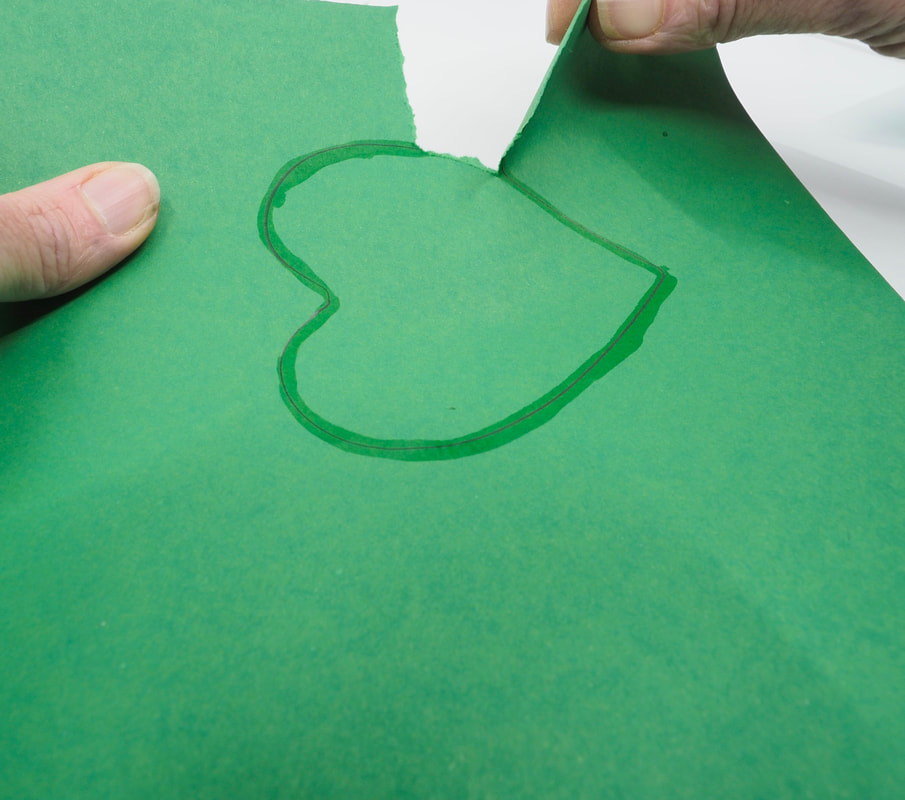
If you need a tear in a precise line, paint a line of water along the piece of paper where you would like it to tear. Let the water soak in for 1-2 minutes and then tear along the wet line.
This works best on paper that absorbs water (not shiny or glossy paper)
You can draw the intended tear line on the REVERSE side of the paper, and then paint the water along it. This makes it easier when painting the water and tearing the paper.
This works best on paper that absorbs water (not shiny or glossy paper)
You can draw the intended tear line on the REVERSE side of the paper, and then paint the water along it. This makes it easier when painting the water and tearing the paper.

|
|
|
|
|
|
|
|

|
|
|
|
|
|
|
|