Wind Spinner
Please consider supporting me :)
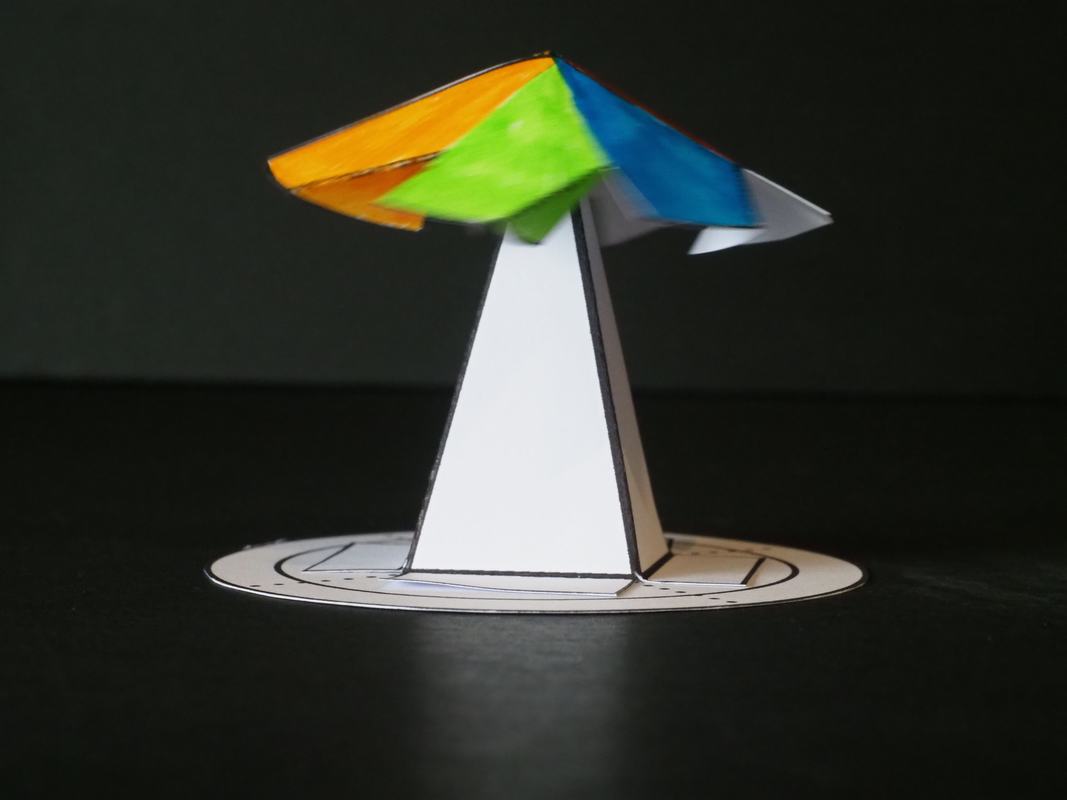
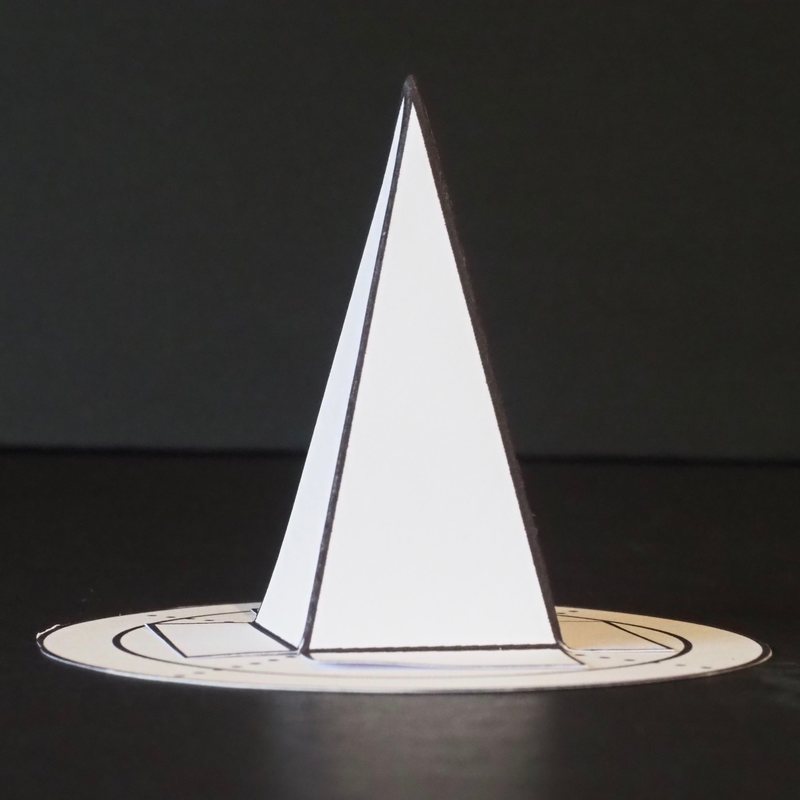
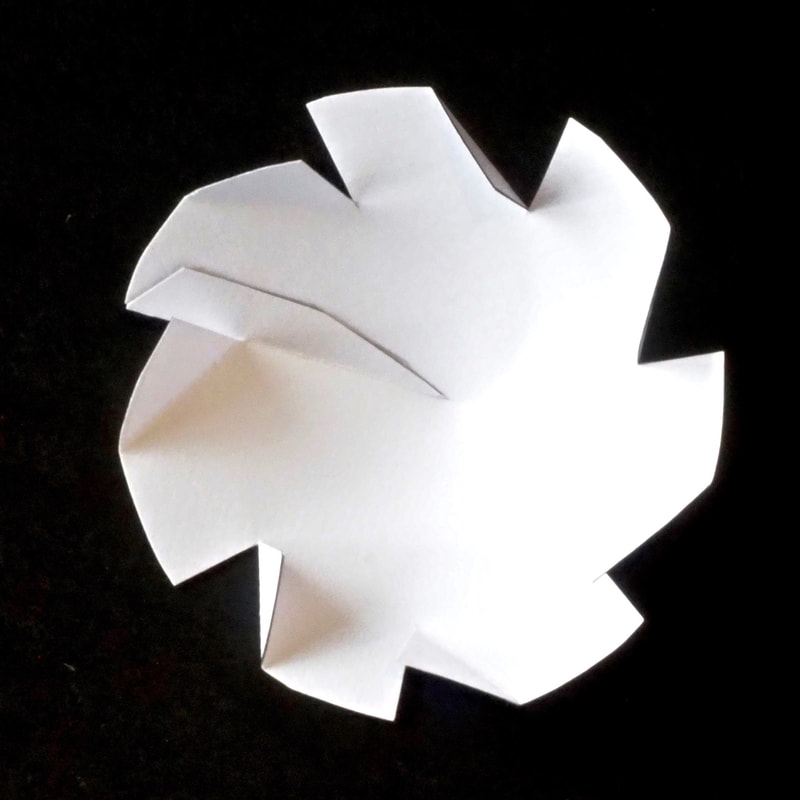
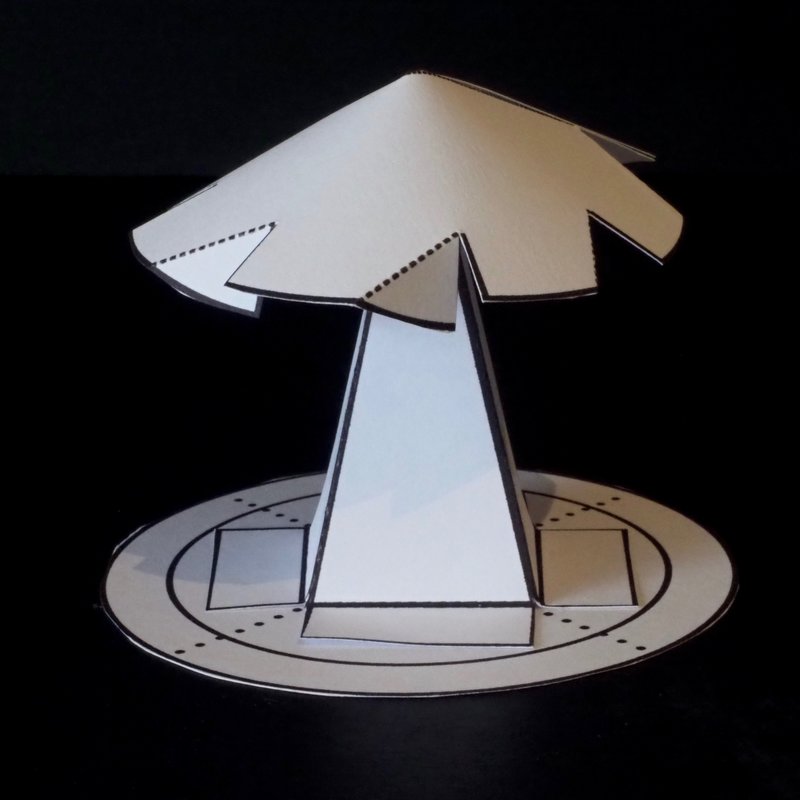
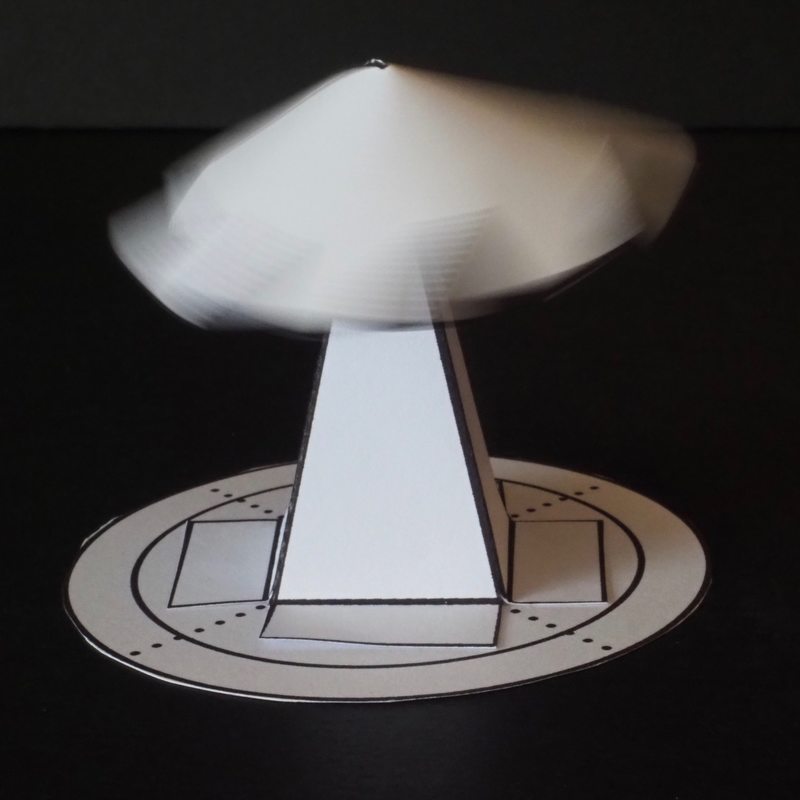
Make a wind spinner. Blowing gently at the top will cause it to spin around on the base.
Materials
1. Printer
2. A4 light card. (card is stronger than paper and will work better)
3. Scissors
4. Sticky tape. Double sided sticky tape is recommended.
5. Colouring tools (optional) eg. pens, pencils, crayons
1. Printer
2. A4 light card. (card is stronger than paper and will work better)
3. Scissors
4. Sticky tape. Double sided sticky tape is recommended.
5. Colouring tools (optional) eg. pens, pencils, crayons
Instructions
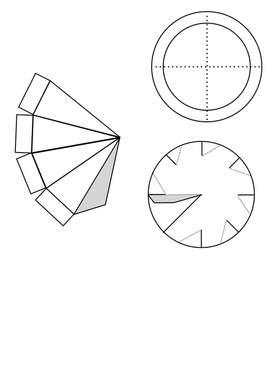
1. Print out the template (available as jpg or pdf, below) onto a piece of light A4 card.
1. Print out the template (available as jpg or pdf, below) onto a piece of light A4 card.
| |||||||
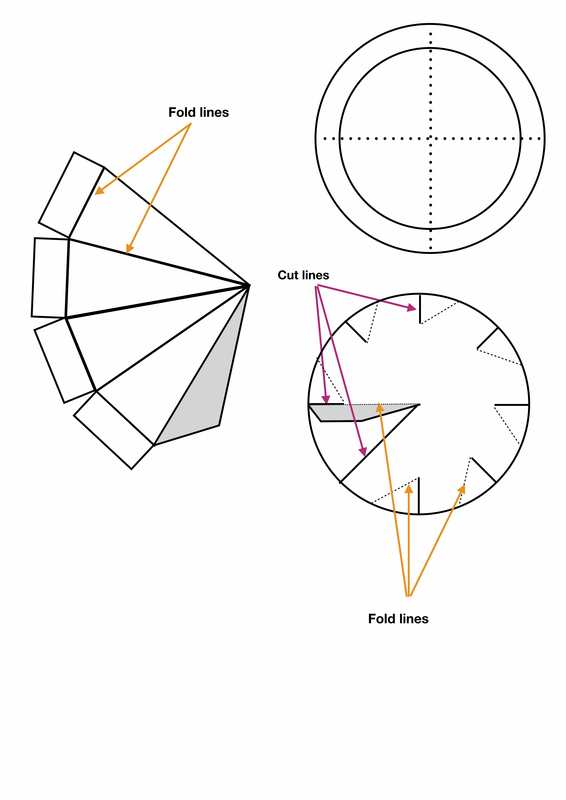
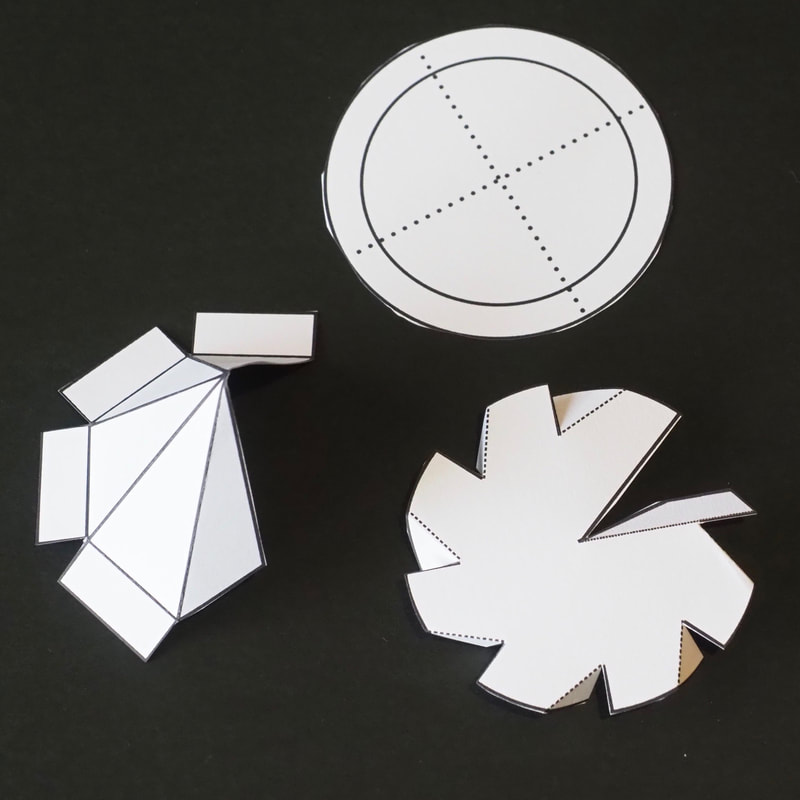
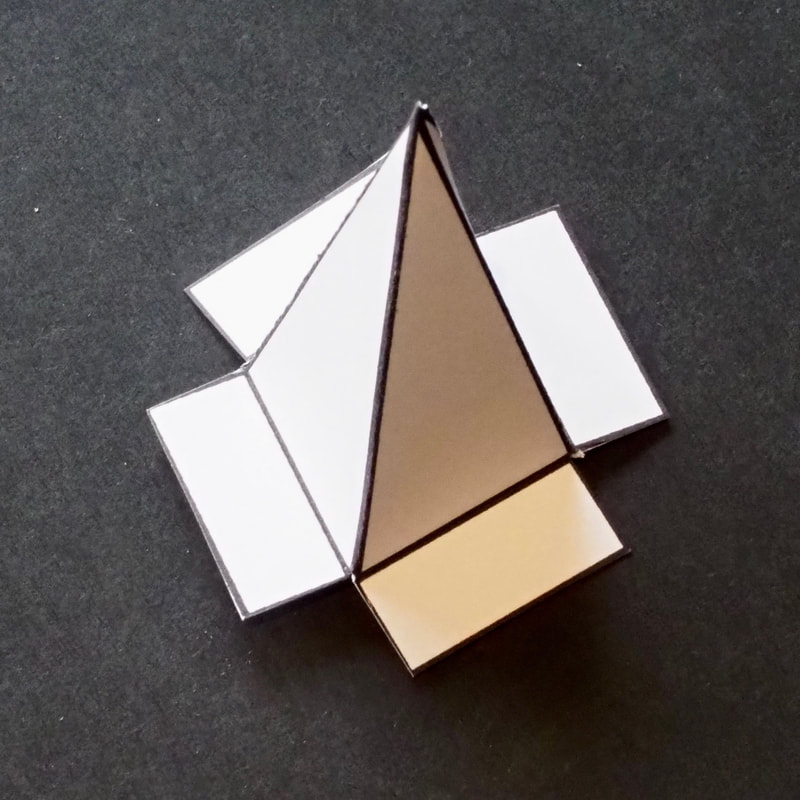
2. If you would like to colour in the spinner, do that first. Then cut out the spinner top, the stand, the stand base. See the diagram below for an indication of where to cut.
3. Fold the pieces. Scoring the lines before you fold them is helpful. Use the diagram below to help with where to fold.
Tutorial on Scoring and Folding
Tutorial on Scoring and Folding
4. Use the sticky tape to join together the base pyramid.
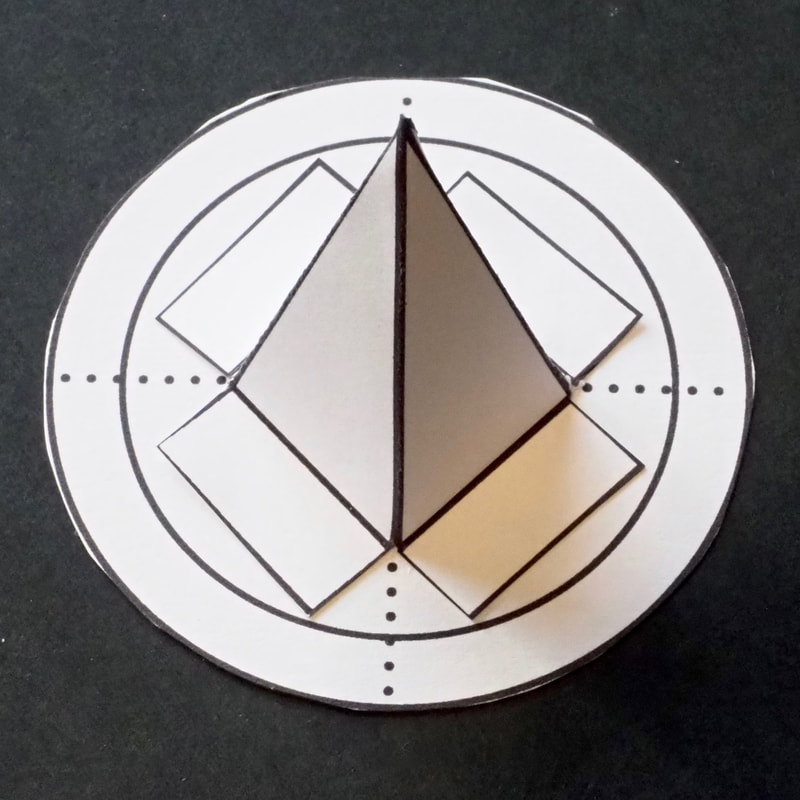
5. Tape the base pyramid onto the circular base plate.
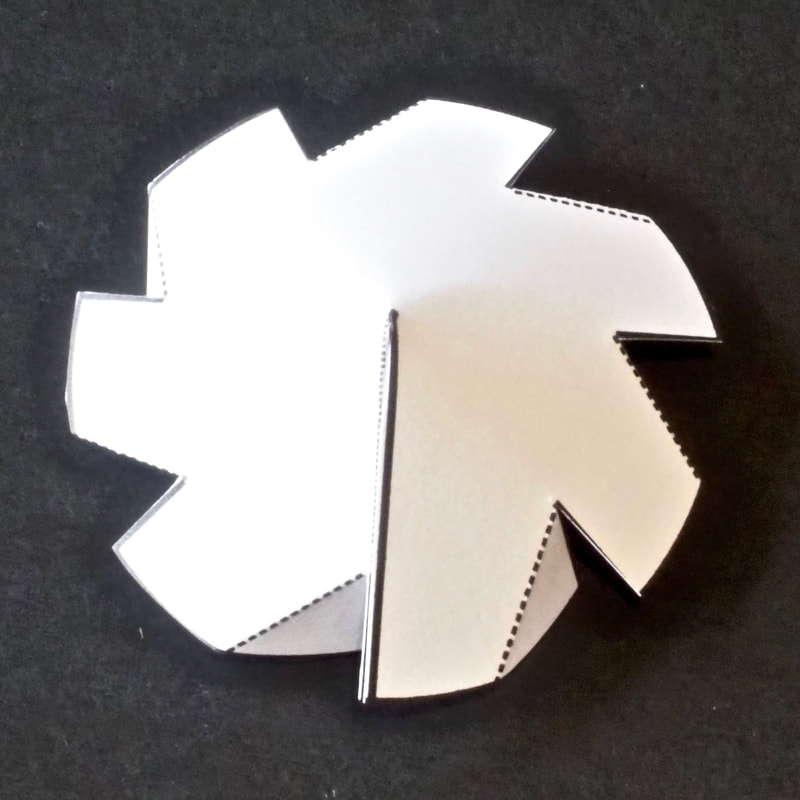
6. Tape the spinner top into a cone shape.
7. Place the spinner top onto the base. Make the top spin by blowing gently along the side of the top. It's easier if you hold the spinner in your hand. Have fun :)
|
|
All Crafts, Printables and Site Content are free for personal use only. Stock photos are free. If you find Craft n Home helpful, please buy me a coffee!
© craftnhome Privacy Policy |

