UTEE Tiles
Please consider supporting me :)
|
|
|
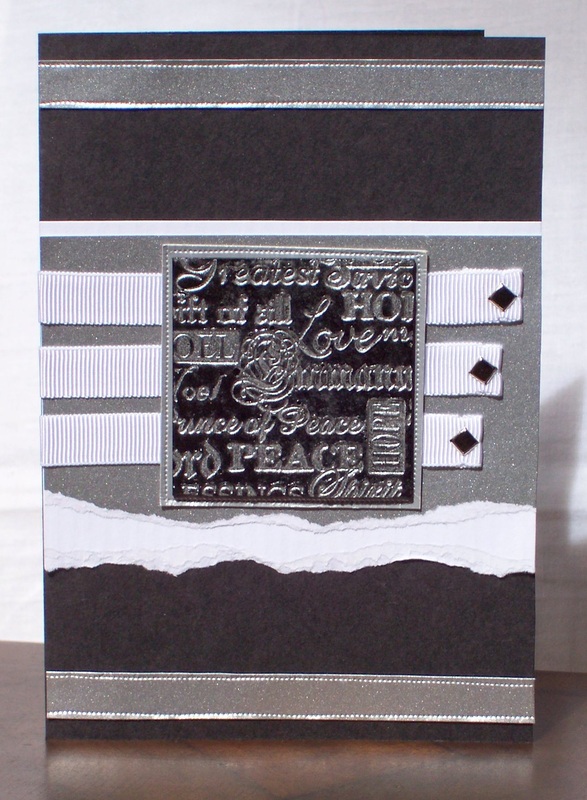
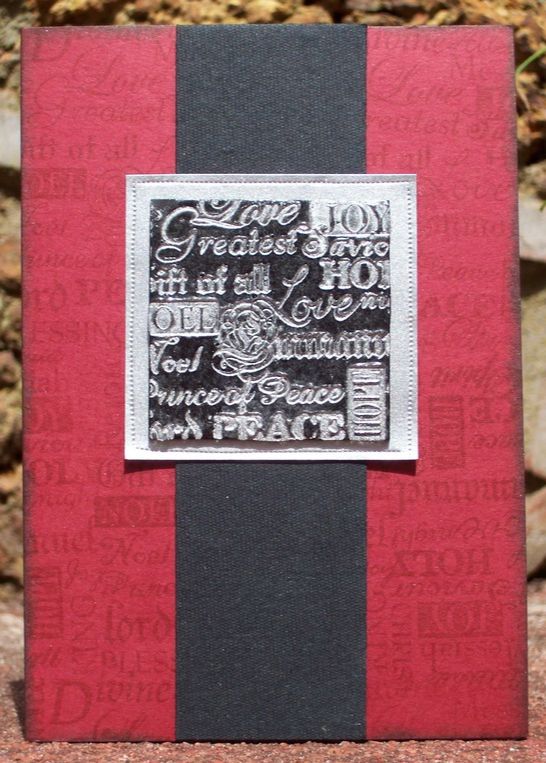
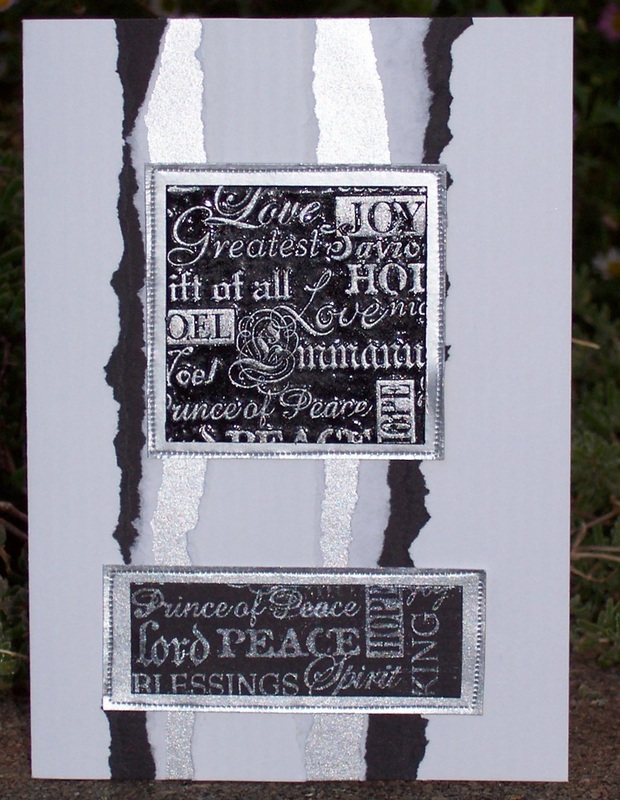
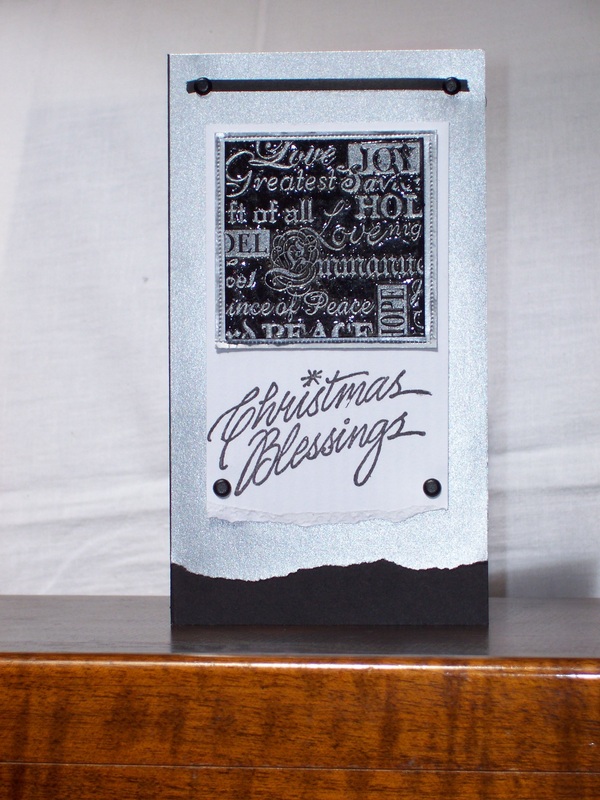
These Christmas cards are made with UTEE (Ultra Thick Embossing Enamel), which gives a great 3D textural effect.
Materials
- UTEE (Ultra thick Embossing Enamel) - clear
- Christmas craft stamp - I used "Divine Blessings" 1808 E, made by "Stamp It" & Christmas Blessings 1421 D, made by "Stamp It"
- Card stock
- Chipboard (thick card) squares
- Paint or paint pen
- Craft ink
- Heat Gun
Making a UTEE Tile
Colour the chipboard tile with paint or pens. I painted mine black. You need an ink pad the same colour.
Ink the tile well, and then cover it with UTEE. The UTEE sticks to the wet ink.
Clear UTEE can be used on all coloured tiles. Coloured UTEE can also be used.
Shake off the excess grains and return them to the pot before heating the embossing enamel with a heat gun to melt it. While the enamel is still hot, cover it again with more UTEE. Shake off the excess, then use the heat gun again to melt the UTEE.
Repeat for a third layer of UTEE, and then a fourth layer (if required) to get a thick, consistent covering of UTEE enamel.
On the final layer, while the UTEE is still hot, ink the stamp with a contrasting ink, and gently push it into the UTEE. Leave it a few seconds for the enamel to harden before removing the stamp.
In these cards, a Tracing Wheel has been used to mark the borders around on the silver cardboard square that the tile is mounted on.
Tutorial on using a Tracing Wheel

|
|