Using a Tracing Wheel
I appreciate your support!
Tracing wheels of different sizes can be used to make interesting and fun patterns on paper. They are great at highlighting borders and adding interest to paper edges.
Basic Use
The surface that you use underneath the paper is important. Firstly, you need to protect your table top so always have something protective, like a craft mat, underneath.
A firmer surface - like a craft mat will result in softer / lighter punch holes.
A spongier surface - like cork - will result in deeper / heavier punch holes.
A firmer surface - like a craft mat will result in softer / lighter punch holes.
A spongier surface - like cork - will result in deeper / heavier punch holes.
Rolled over a craft mat
|
Rolled over cork
|
A guide -such as a ruler or another straight surface will give a neat straight line.. In the second video I use a box lid as my guide.
|
|
|
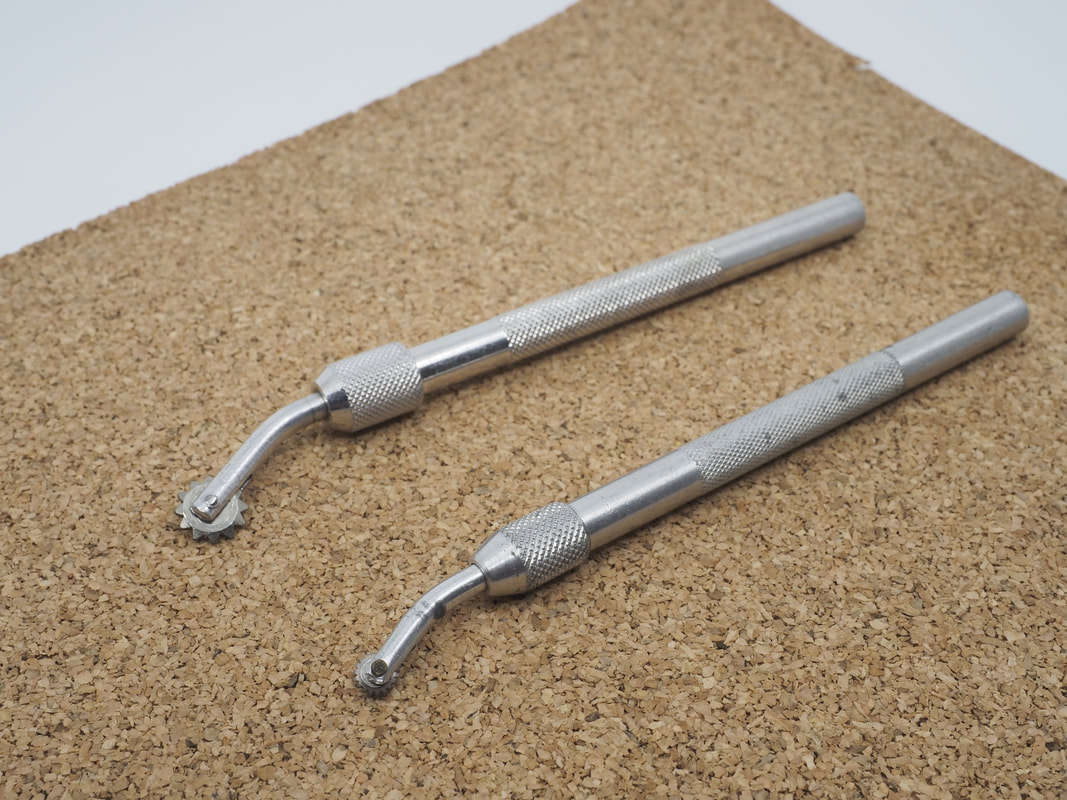
Helpful TOols
- Tracing Wheels - Small
- Ruler or another straight edge
- Art pen
- Lots of practice paper
- Cork mat
- Craft Board
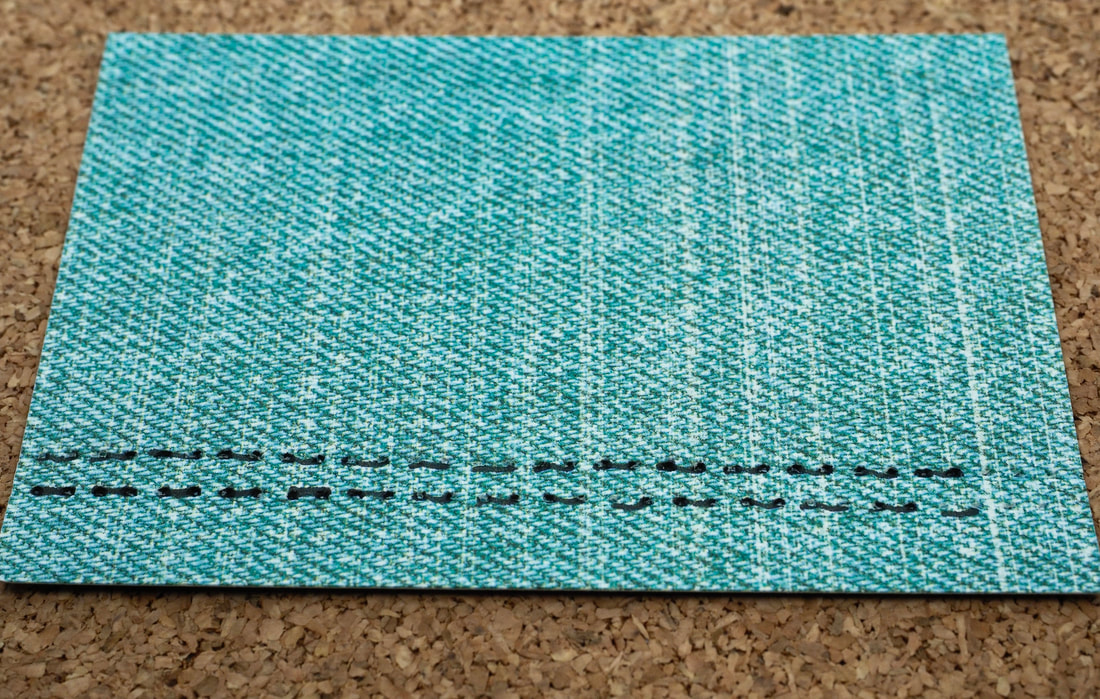
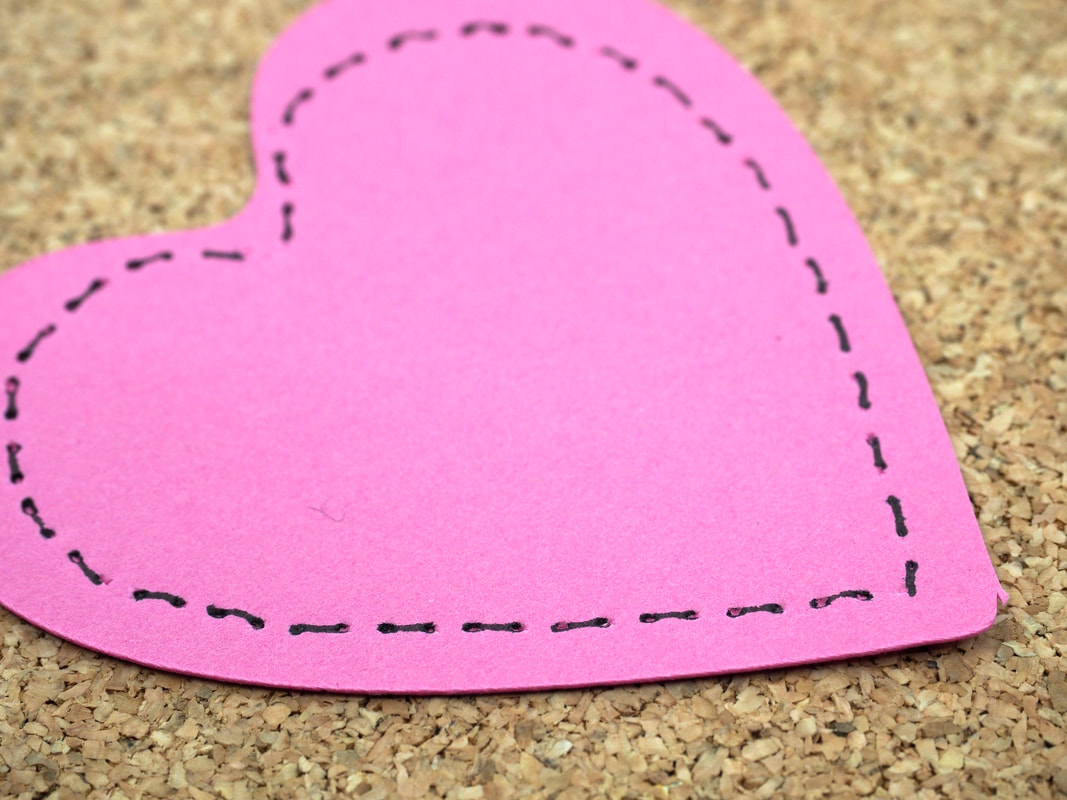
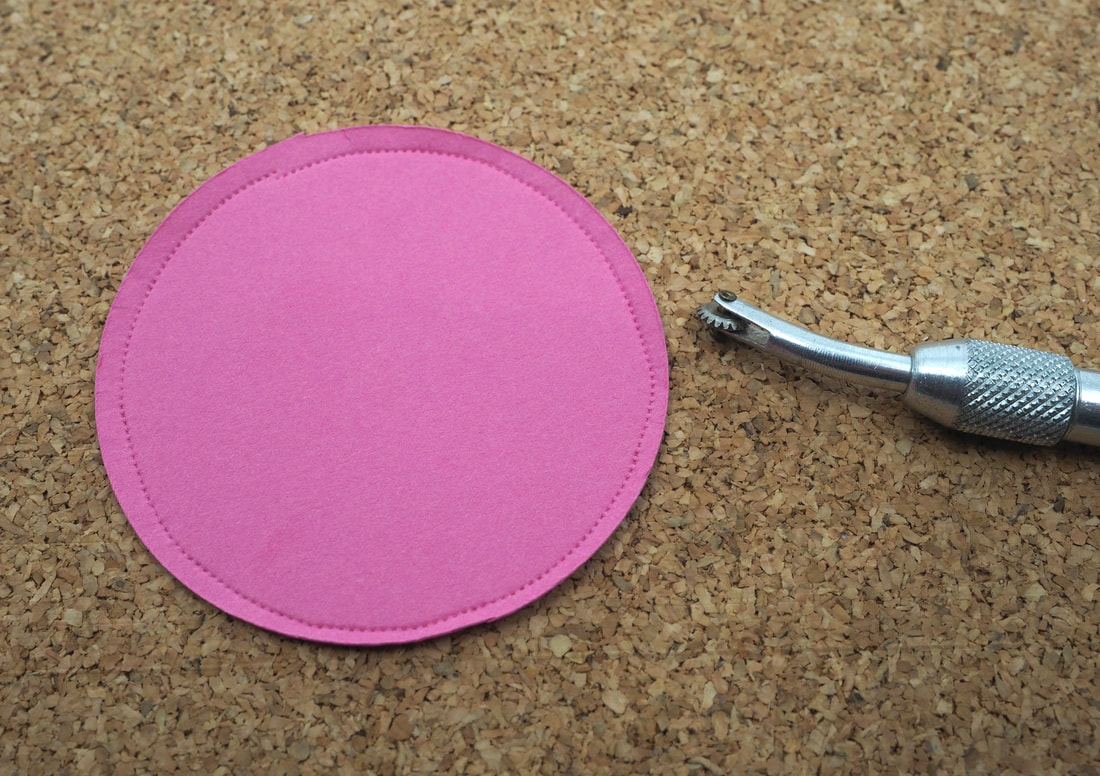
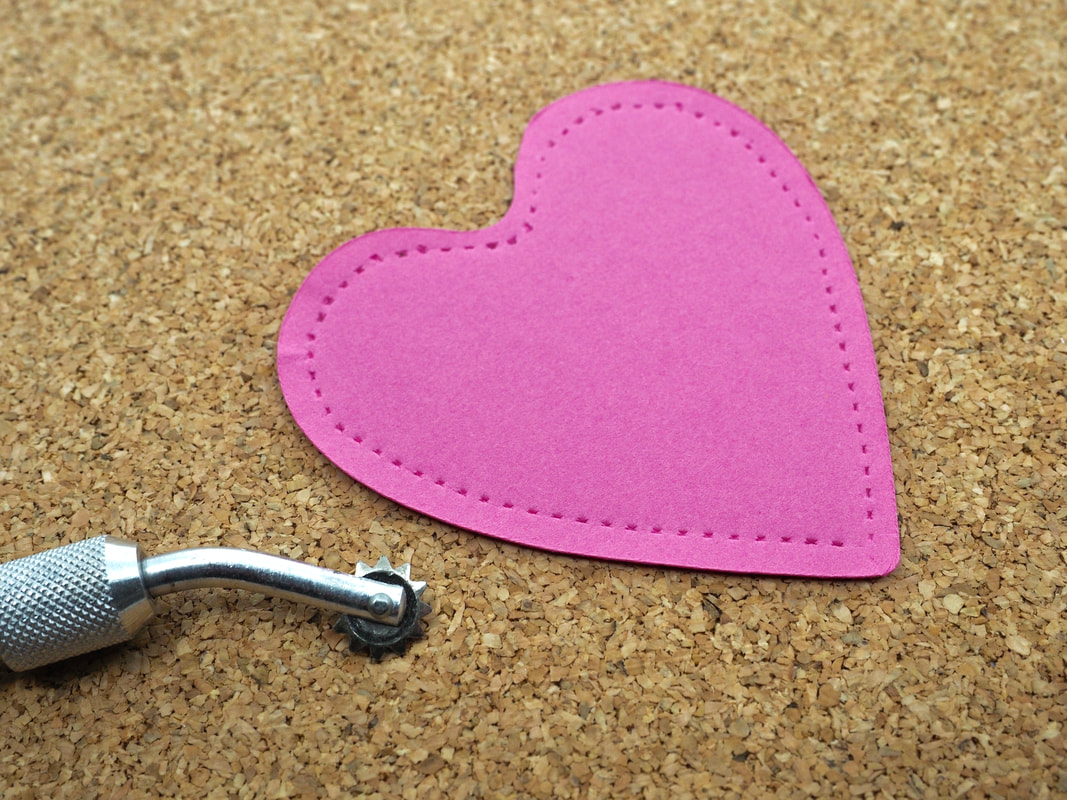
Faux stitching
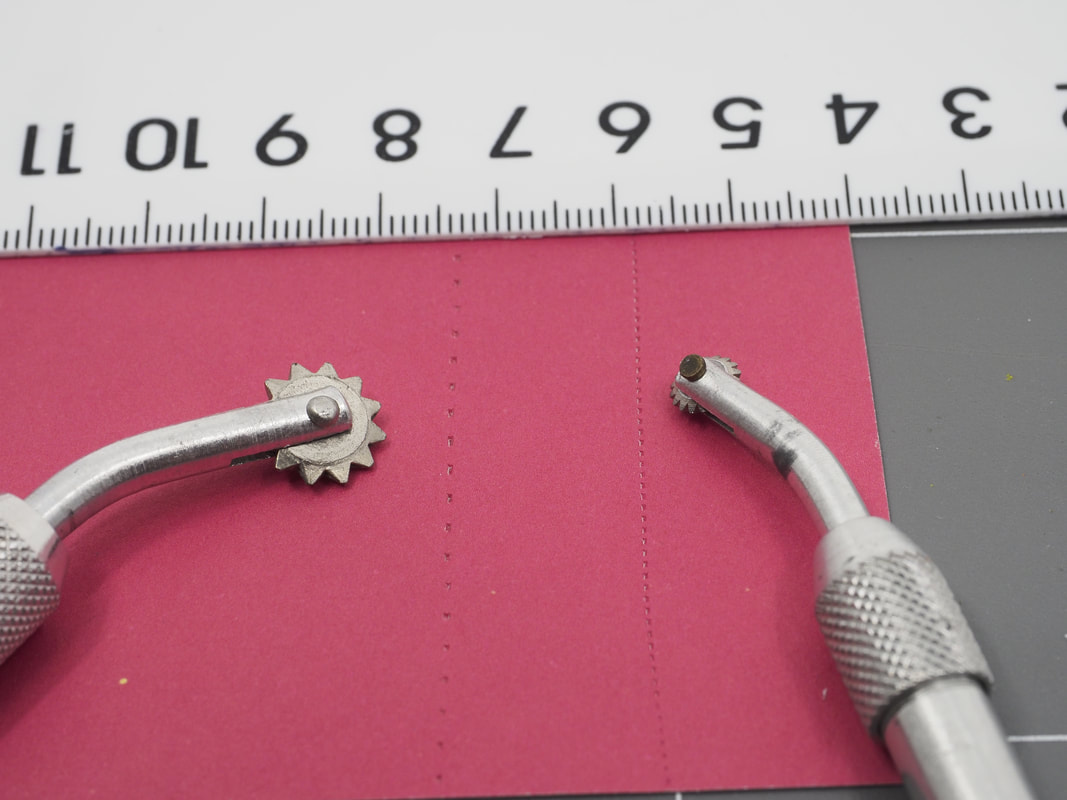
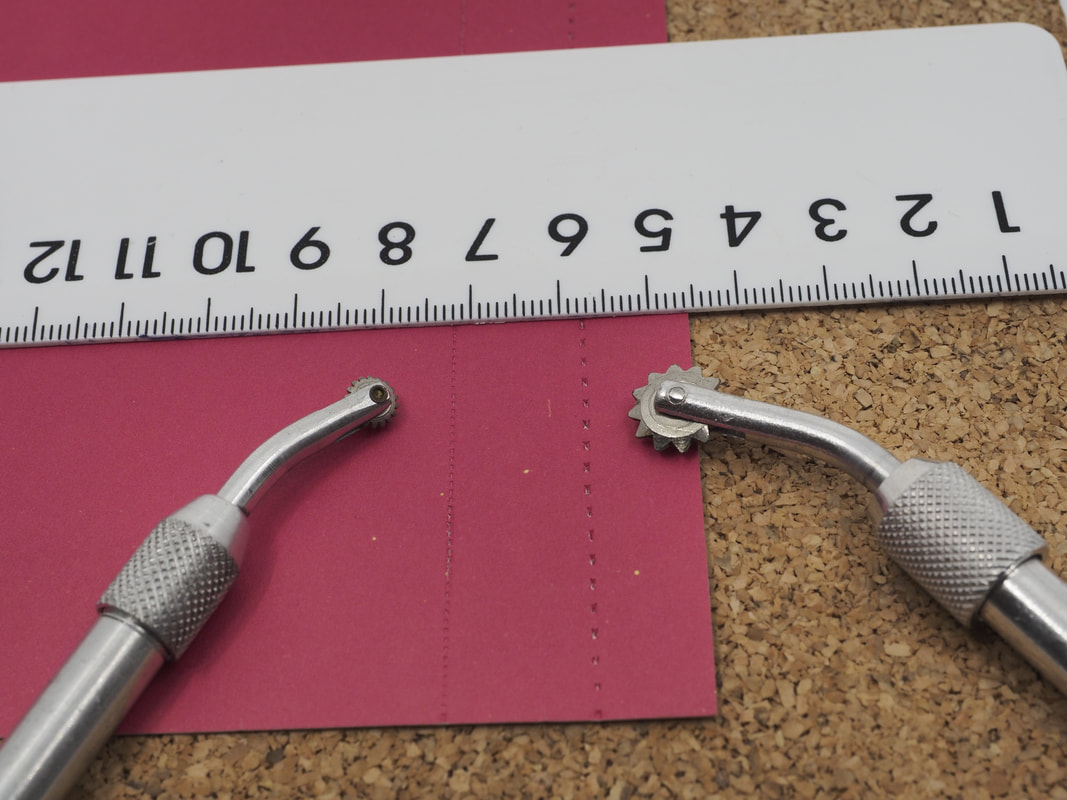
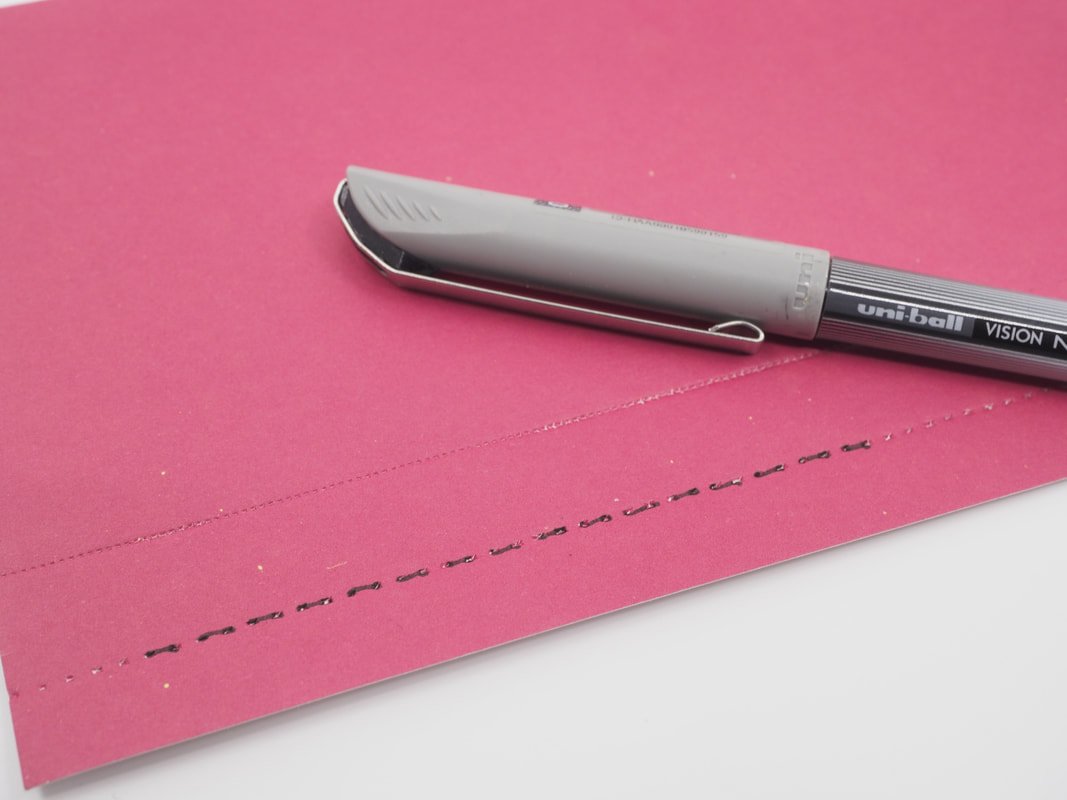
This needs a tracing wheel with a gap of 3-4mm between punch holes.
Use an art pen to create faux stitching. Draw a line between two holes, then skip to the next pair of holes and draw a line between them, continuing on along the line.
Use an art pen to create faux stitching. Draw a line between two holes, then skip to the next pair of holes and draw a line between them, continuing on along the line.
|
|
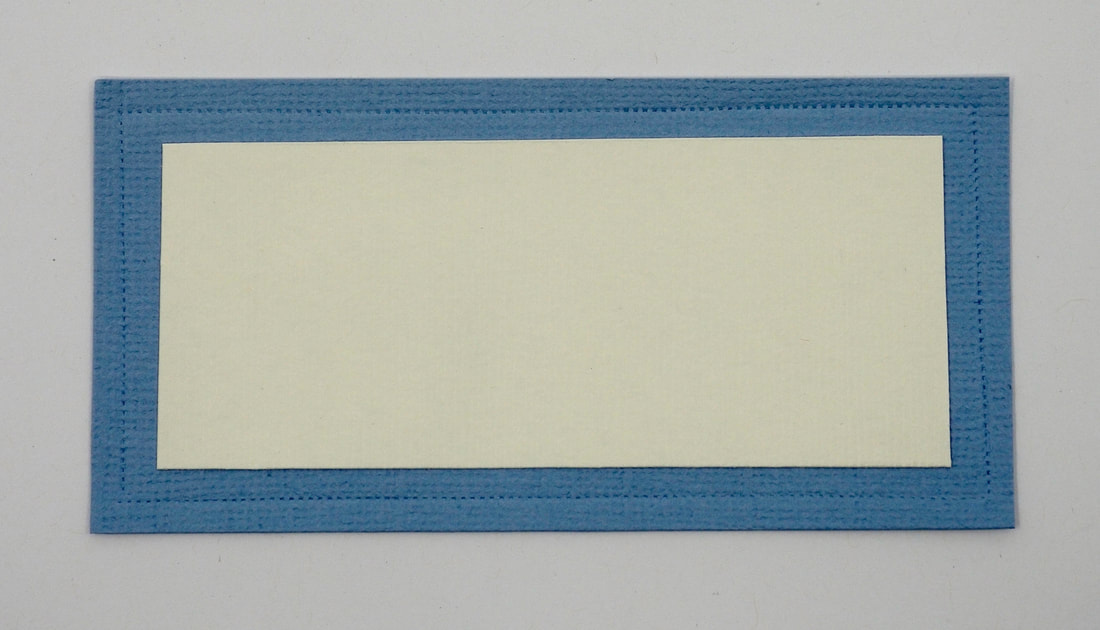
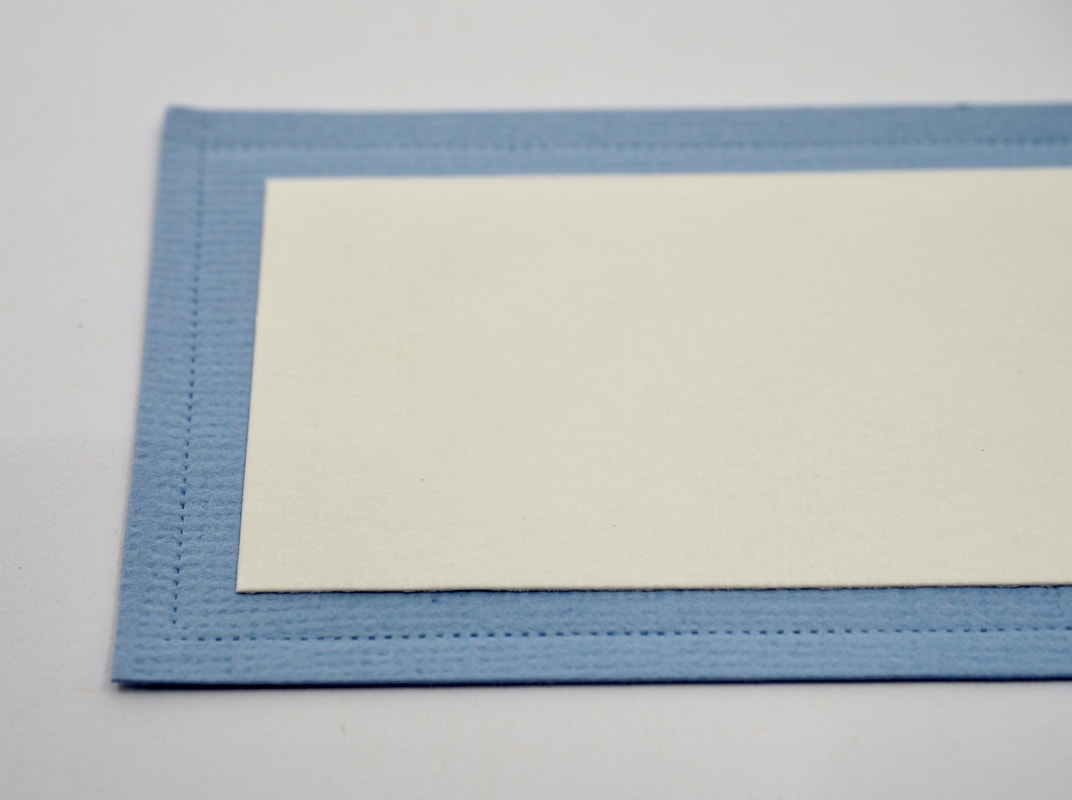
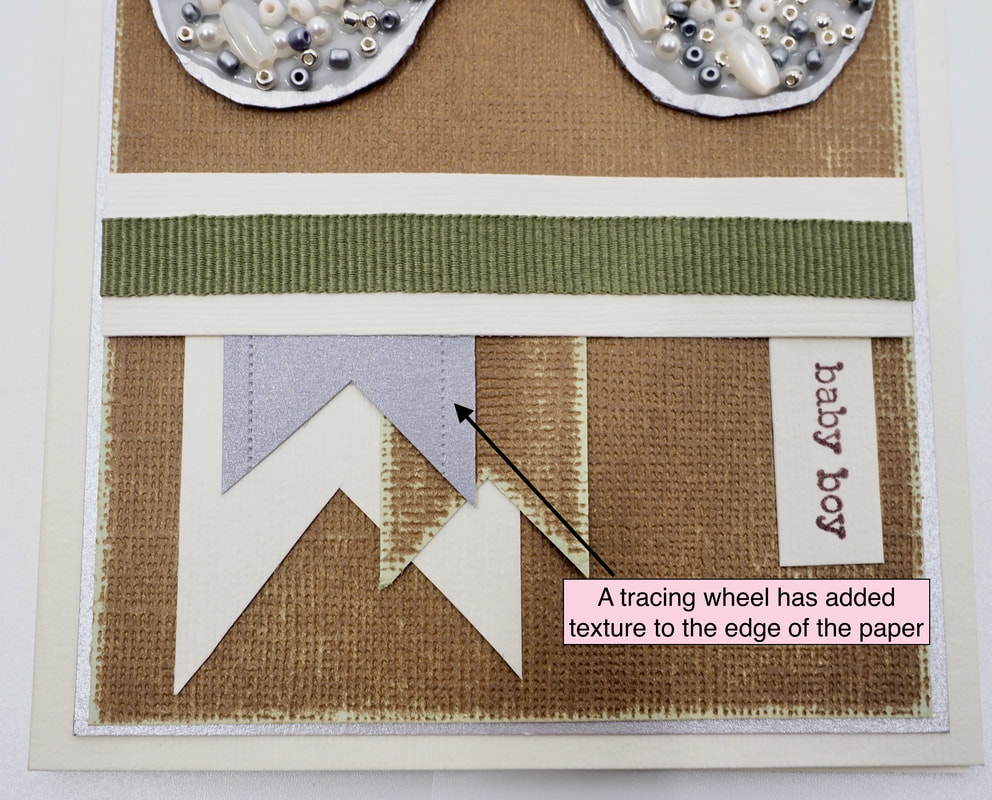
Borders and Paper Edges
A tracing wheel can be used to add a bit of extra definition to your borders or paper edges
|
|
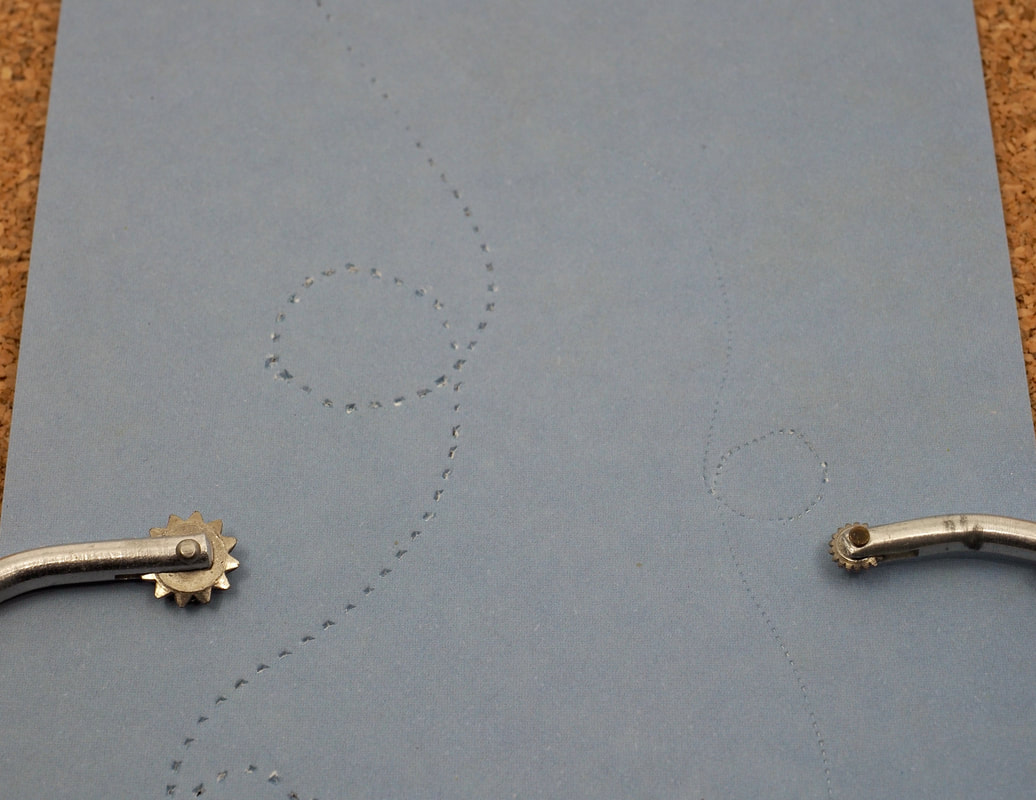
Freehand
You can use the tracing wheel without a ruler, creating freehand shapes or borders on your paper. Practice first - With curved shapes I find it easier to pause rolling, and turn the paper a little with the other hand, then roll a little more and turn the paper again... the tracing wheel doesn't leave the paper while I do this
|
|