Using Pressed & Dried Flowers to create Wall Art
Thanks for your support!
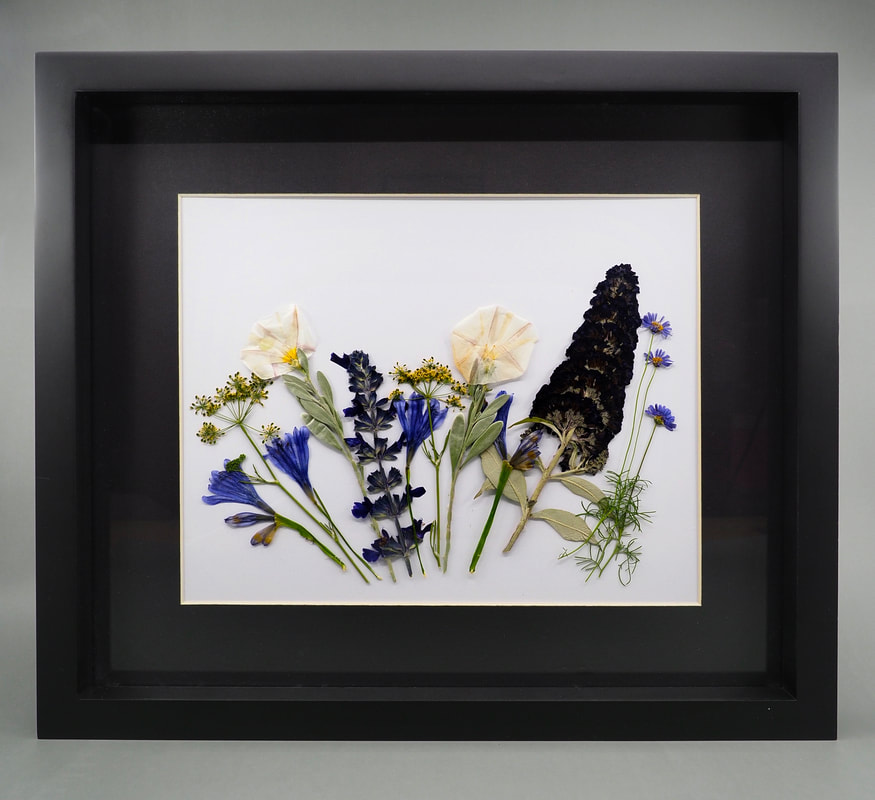
Pressed, dried flowers can be used to make attractive piece of wall art. Creating wall art using flowers from a special occasion will result in a meaningful piece the evokes memories every time you view it.
The flowers in this piece of wall art are from my Summer Flowering Garden, which I planned and planted out several years ago.
The flowers in this piece of wall art are from my Summer Flowering Garden, which I planned and planted out several years ago.
Materials Required
|
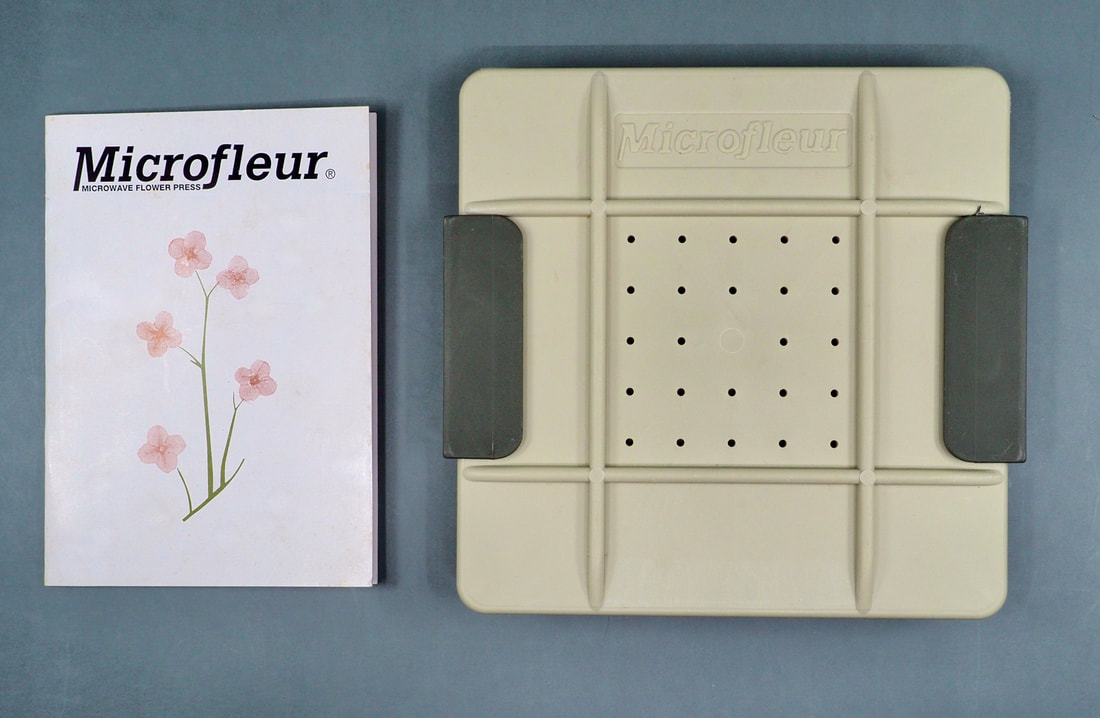
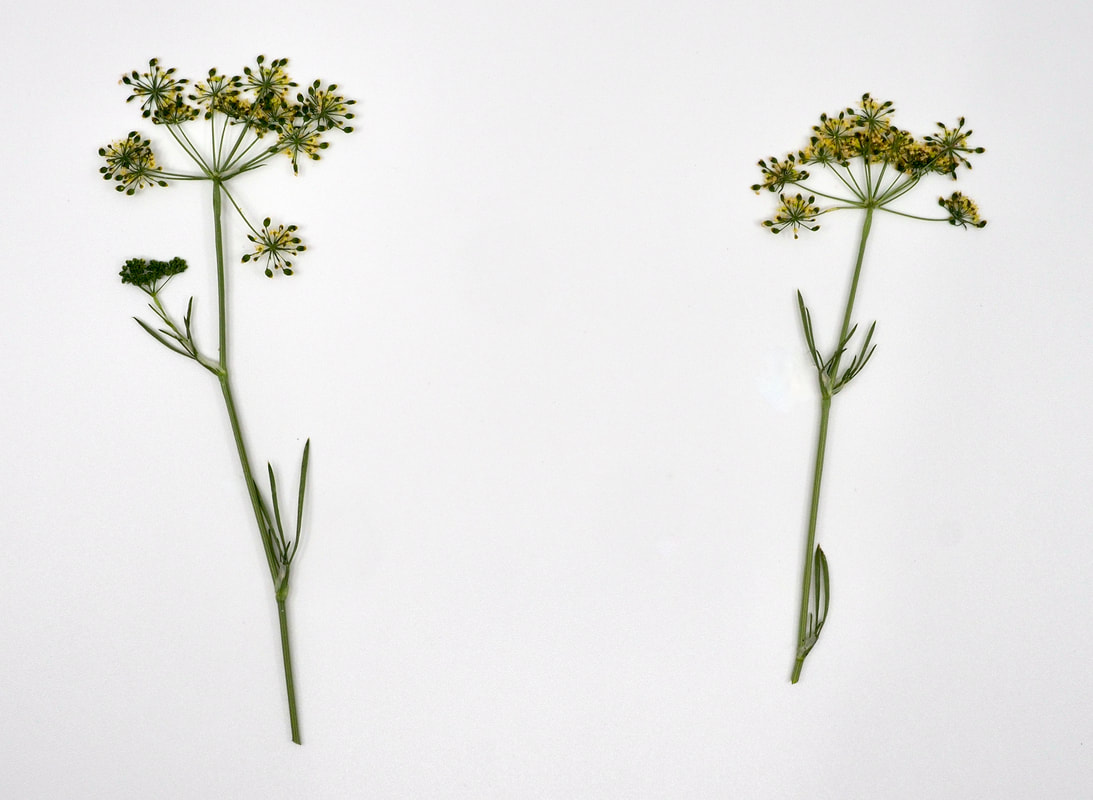
1. Pressed Flowers - to create pressed flowers using a Microfleur Microwave Flower Press see my detailed tutorial
2. Picture Frame 3. Craft glue 4. White card - sized to fit into the picture frame |
|
|
|

|
Instructions
1. Open the picture frame & remove the matboard.
2. Lay the matboard squarely on top of the white card. This will allow you to arrange the flowers in a way which will fit into and suit the picture frame when you have finished.
2. Lay the matboard squarely on top of the white card. This will allow you to arrange the flowers in a way which will fit into and suit the picture frame when you have finished.
|
3. Arrange the flowers onto the white card.
When you are happy with your arrangement, snap a photo of it with your phone. You will use the photo in the next step. |

|
4. Carefully pick up each flower, dab some small drops of glue along the stem and behind the thickest parts of the flower head, and using the photo on your phone to help, place them back into position on the white board.
Leave to dry
Leave to dry
5. Carefully place the flower art into the picture frame.