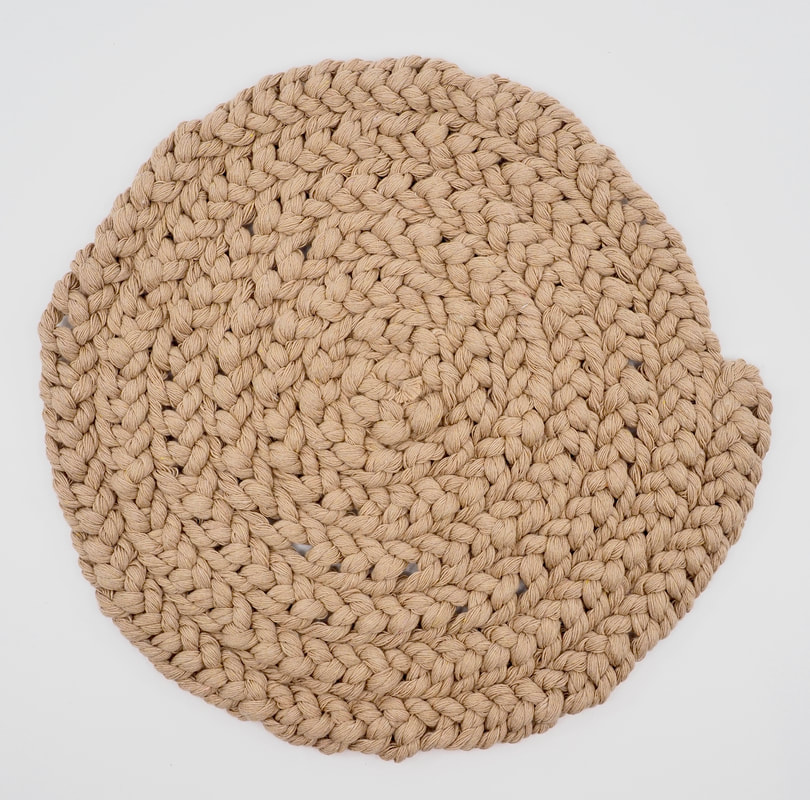
Trivet
Finger Knitting Project
|
|
Find this useful?
Buy me a coffee :)
Buy me a coffee :)
One of my childhood's crafts that I fondly remember is finger-knitting trivets (though we called them pot holders). I used thick wool back then, but have recreated the craft here using macrame cord.
|
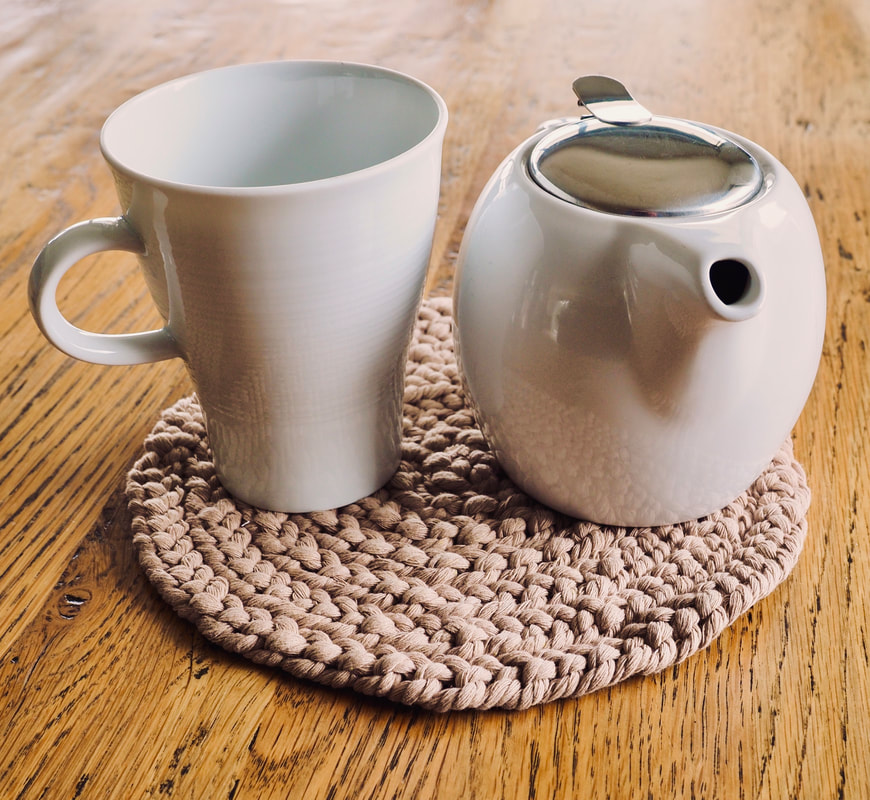
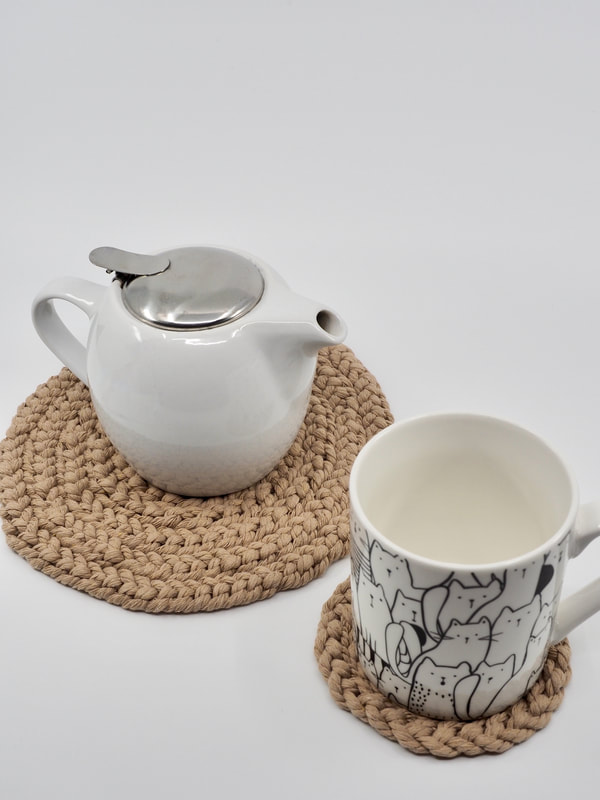
You can also make matching cup coasters...
|
|
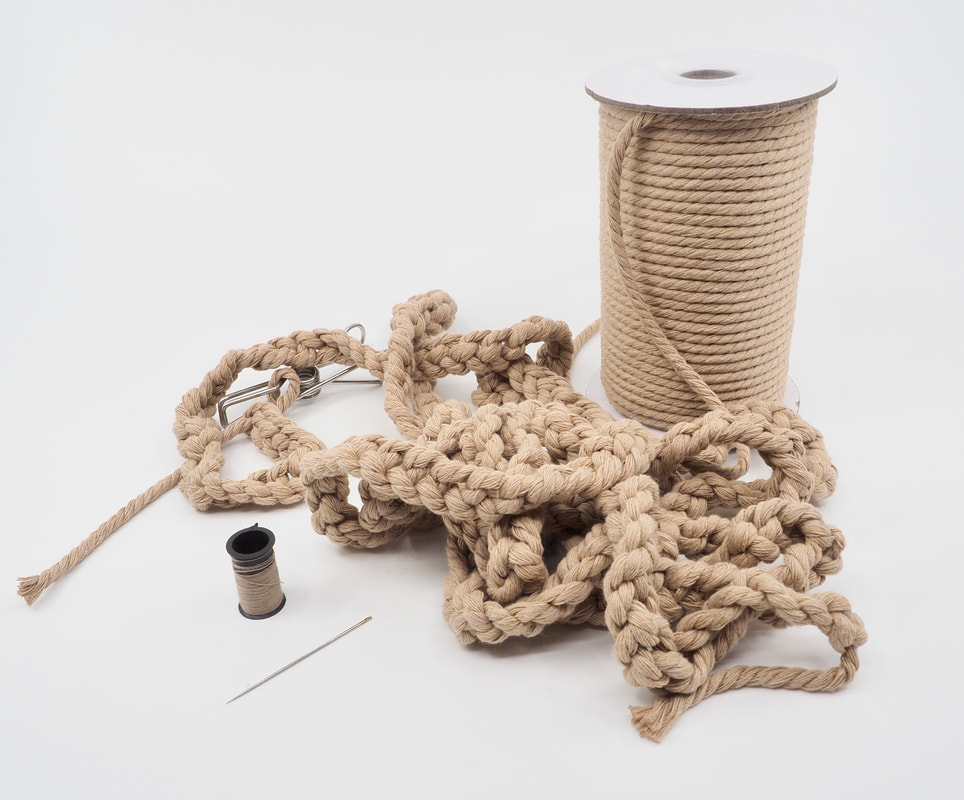
Materials Required
Apologies for the state of my hands in the following photos - weeks of sanding, plastering and painting have taken their toll, but the house looks much better ! |
|
instructions
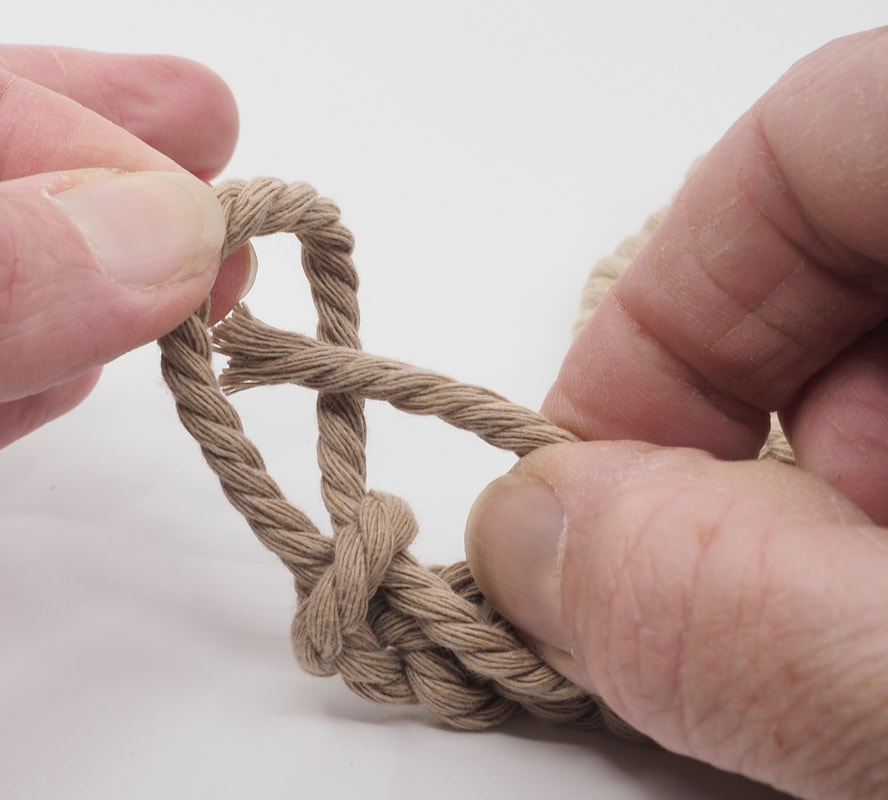
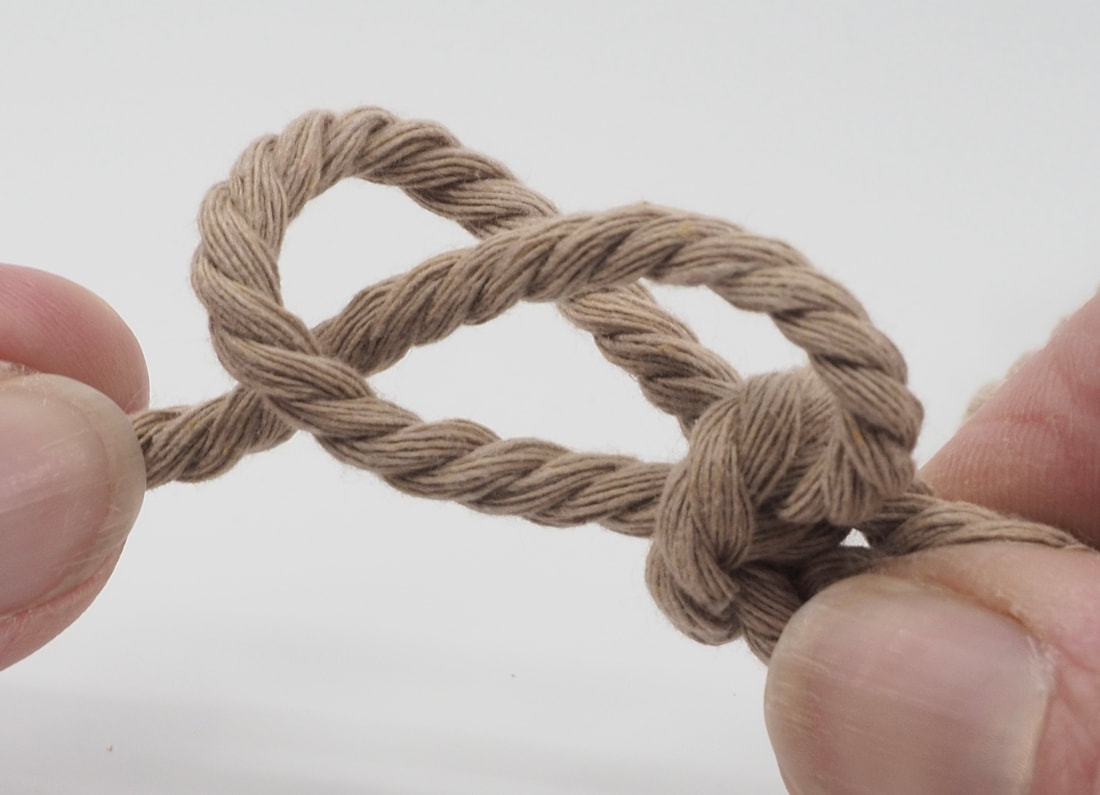
1. Finger knit the cord until you have your required length. The length required depends on how large you would like the resulting trivet to be.
See the full SINGLE-FINGER KNITTING TUTORIAL for help with finger knitting.
See the full SINGLE-FINGER KNITTING TUTORIAL for help with finger knitting.
- You can measure the required length approximately by spiralling up your knitting in the trivet shape and continuing until you have enough.
- I recommend that you do not cut your cord until you are sure you have enough knitting - then you can always finger knit a bit more length if you desire. You can stitch most of the trivet together without cutting the cord.
|
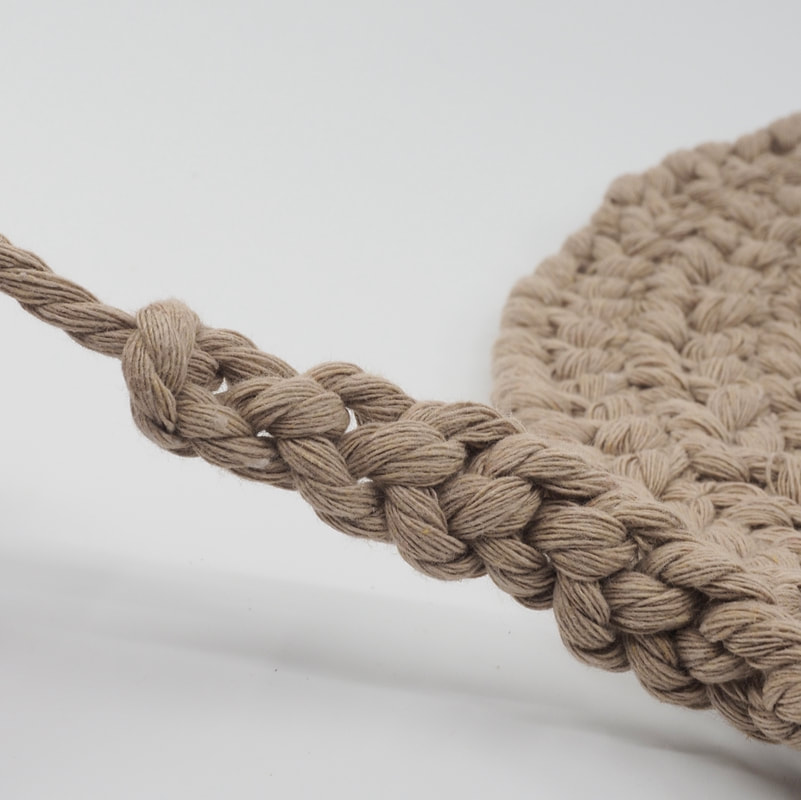
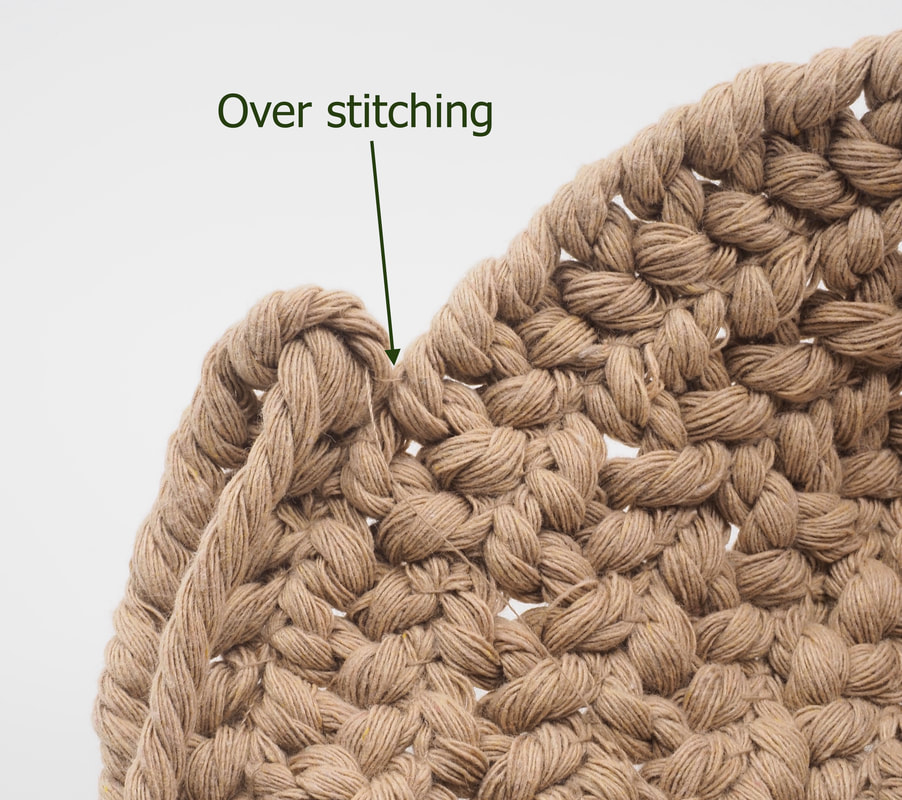
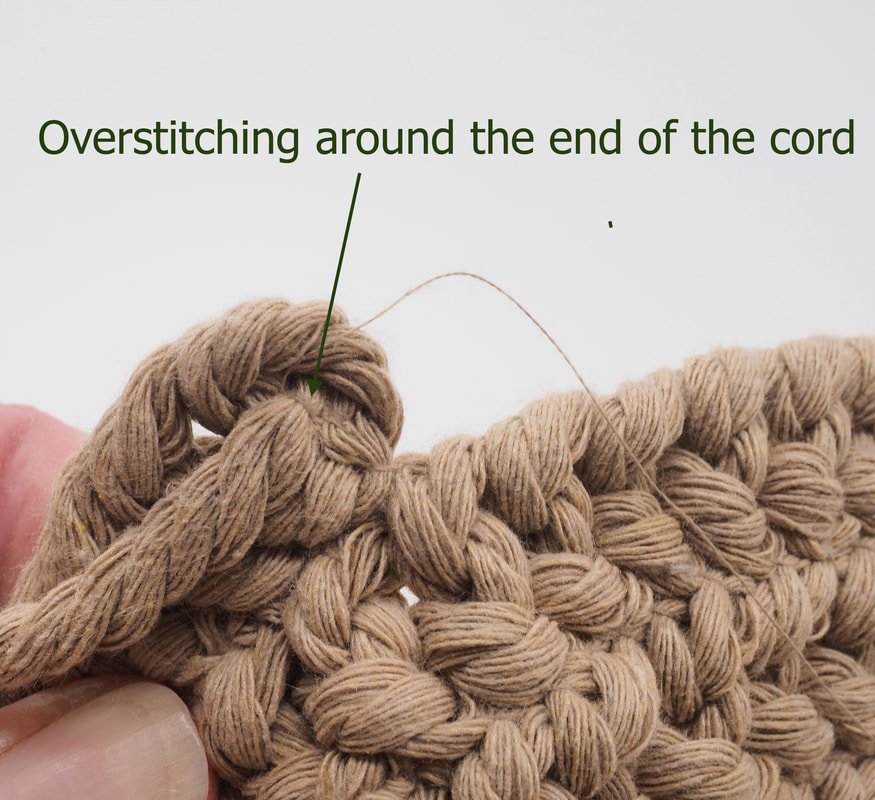
2. Secure the end.
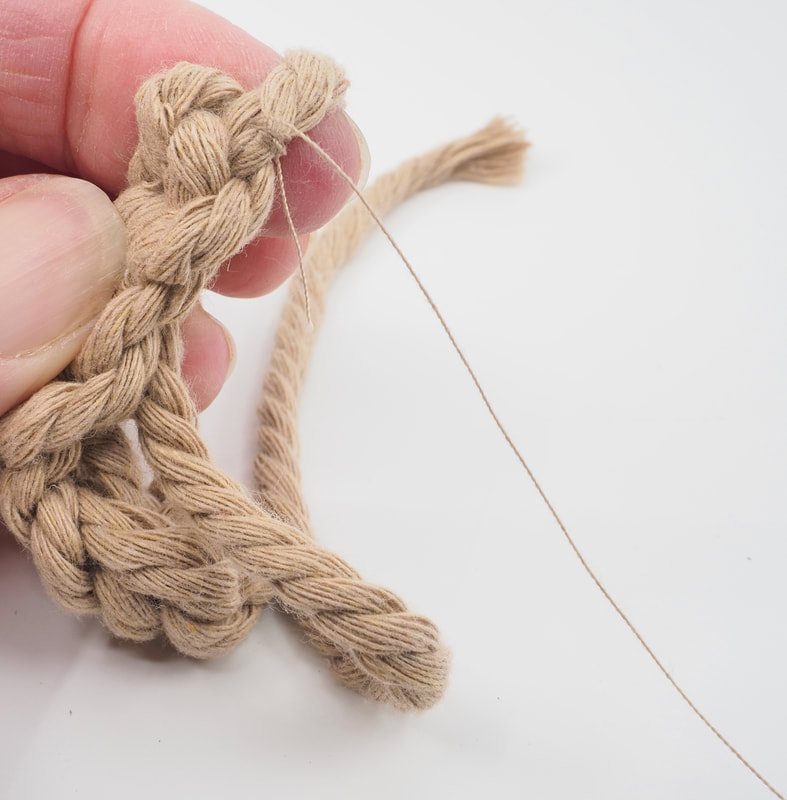
Because macrame cord frays easily, I secured the end by overstitching in segments around the end of the cord about 5mm from the first knot.
|
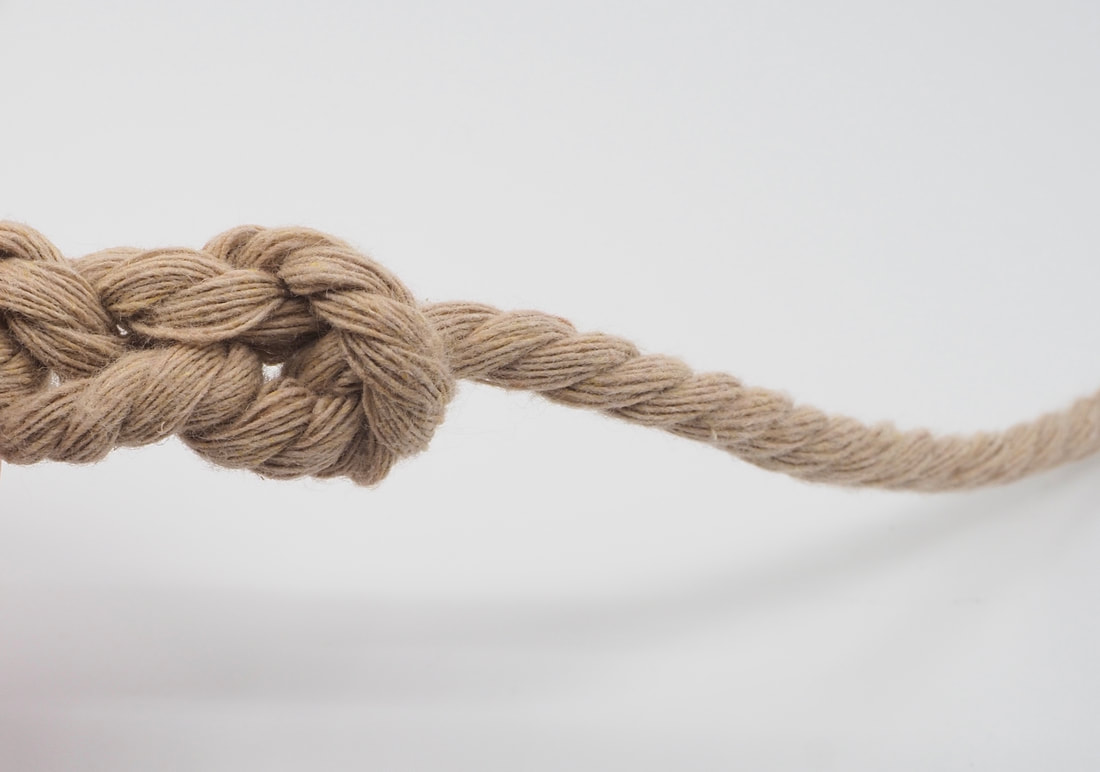
Cord with unsecured end

Starting the overstitching
First section of overstitching
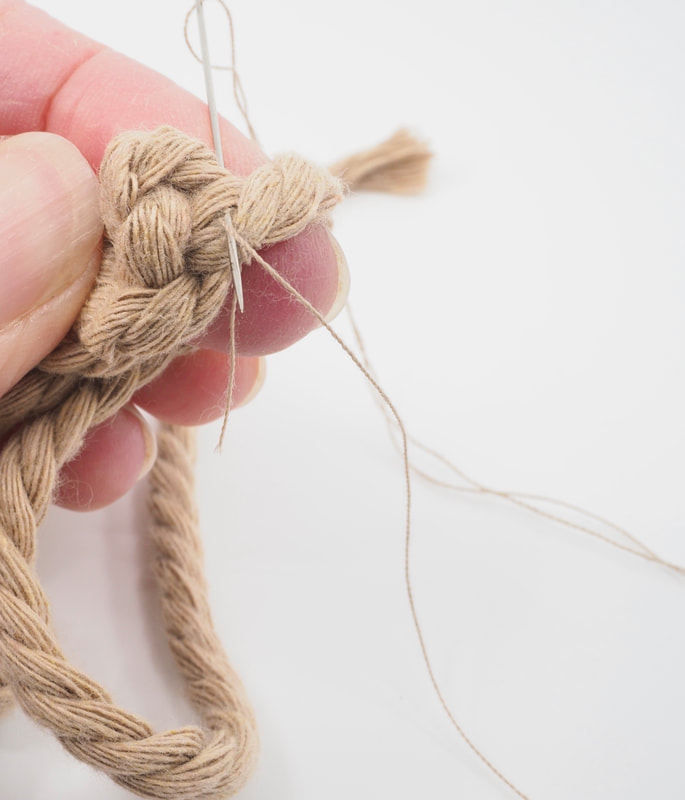
Overlapping the overstitching as I move around the cord
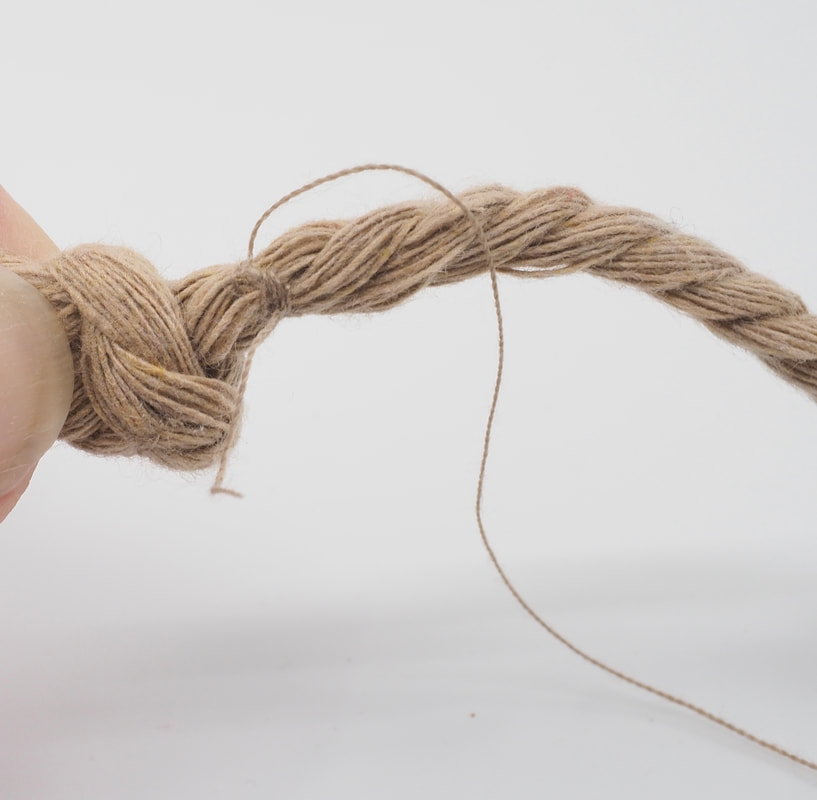
Secured End
|
|
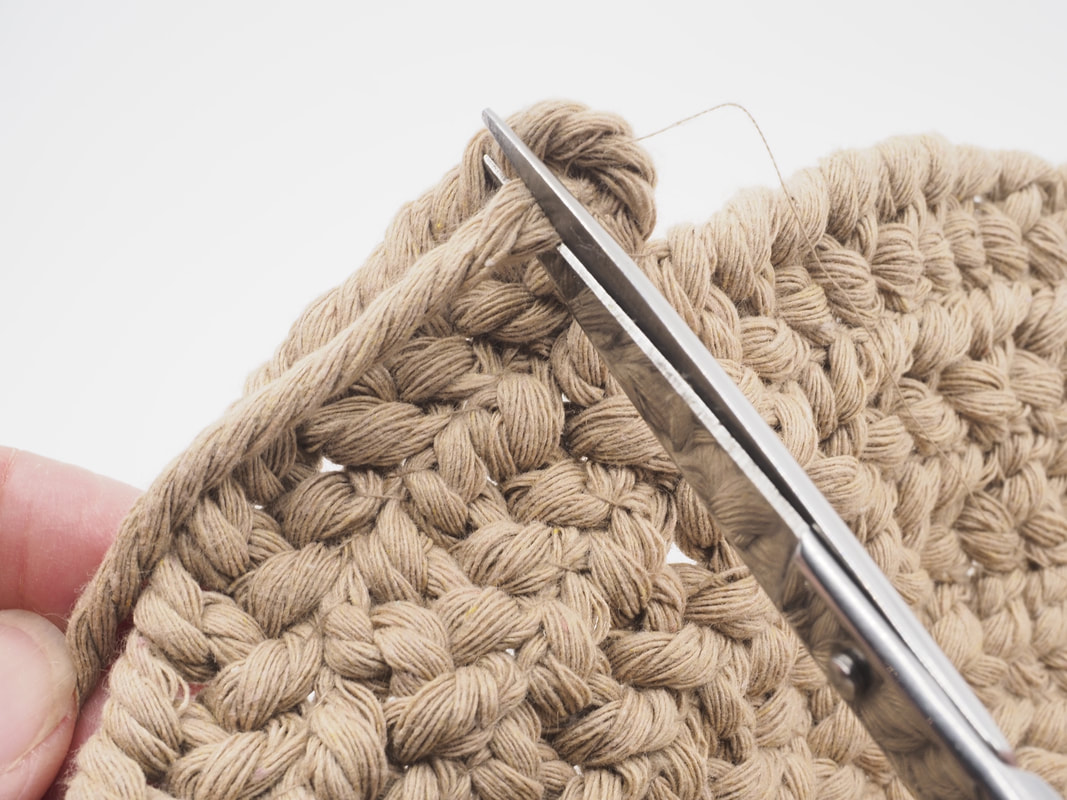
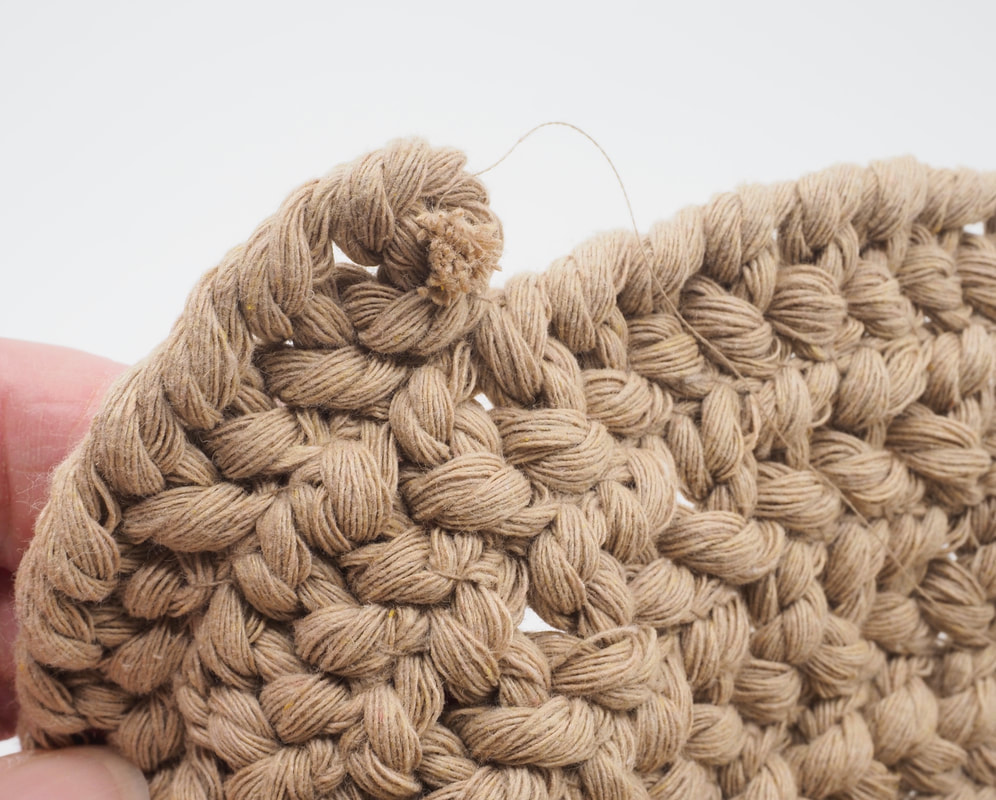
3. Leave the cotton thread uncut. Cut the the cord close to the oversewn section.
|
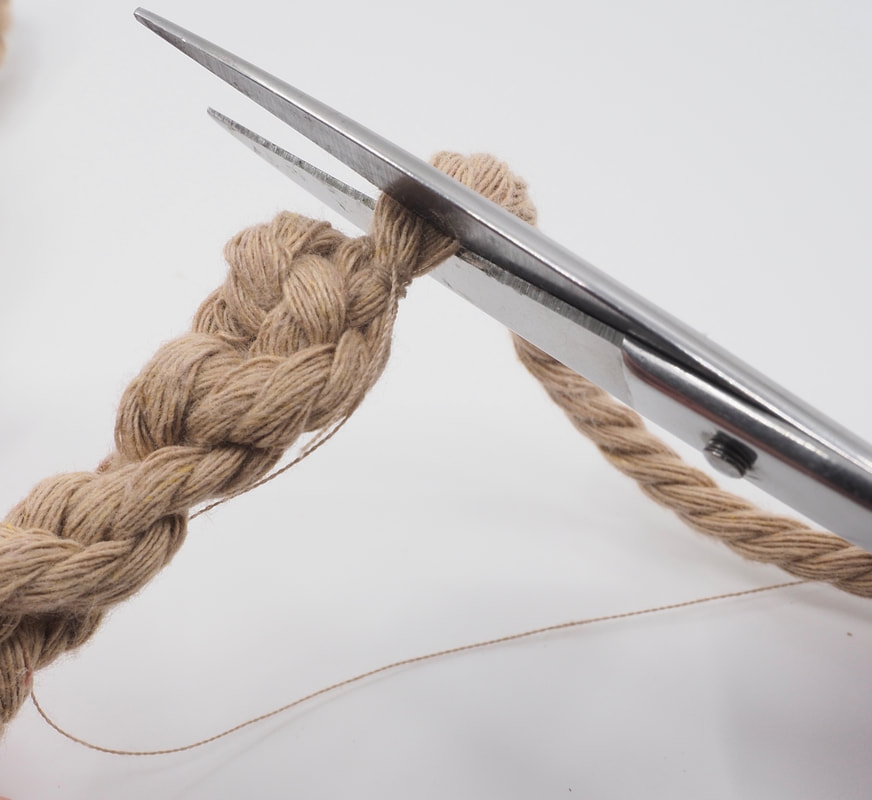
Cutting the end
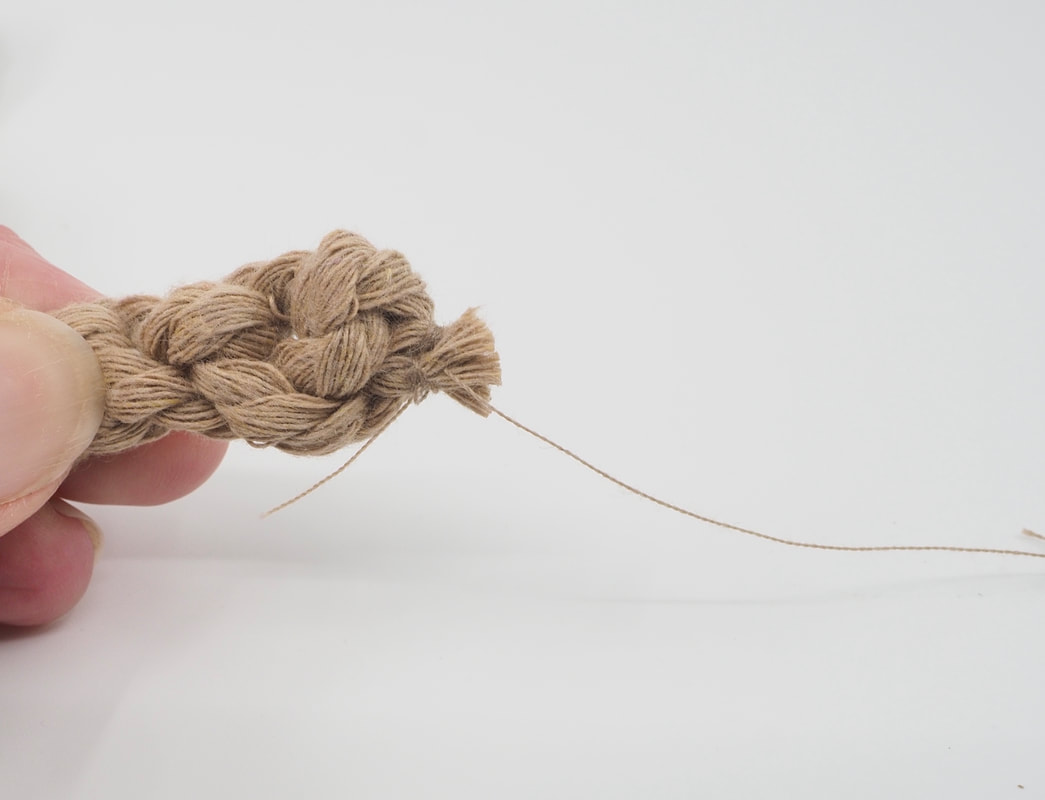
The cut end
|
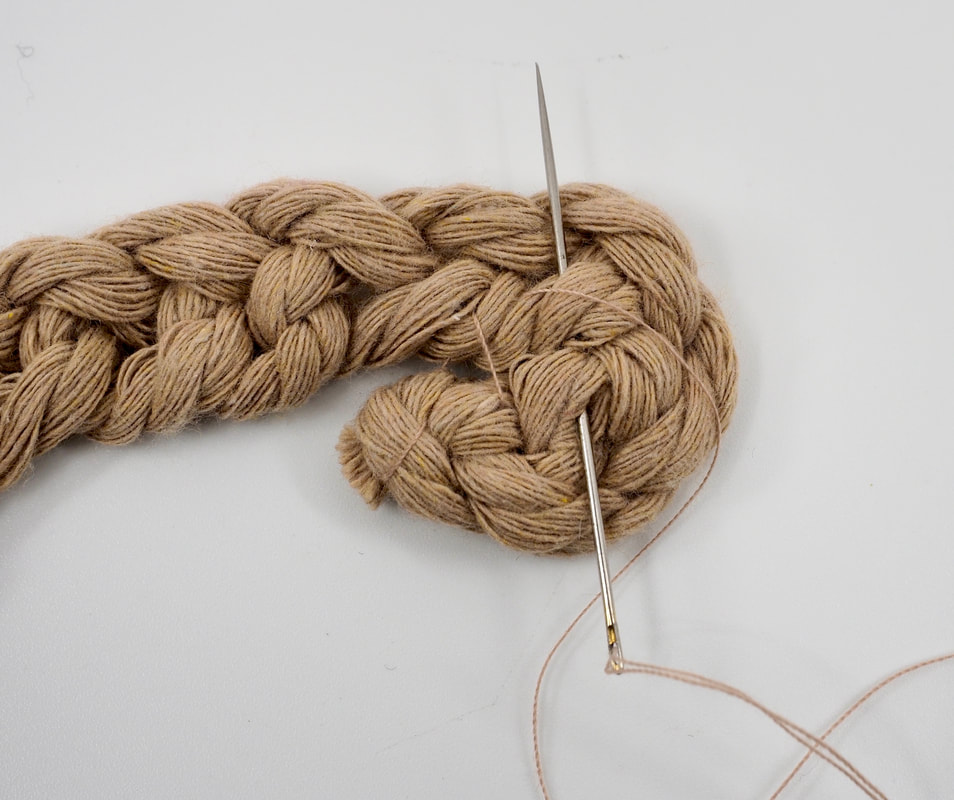
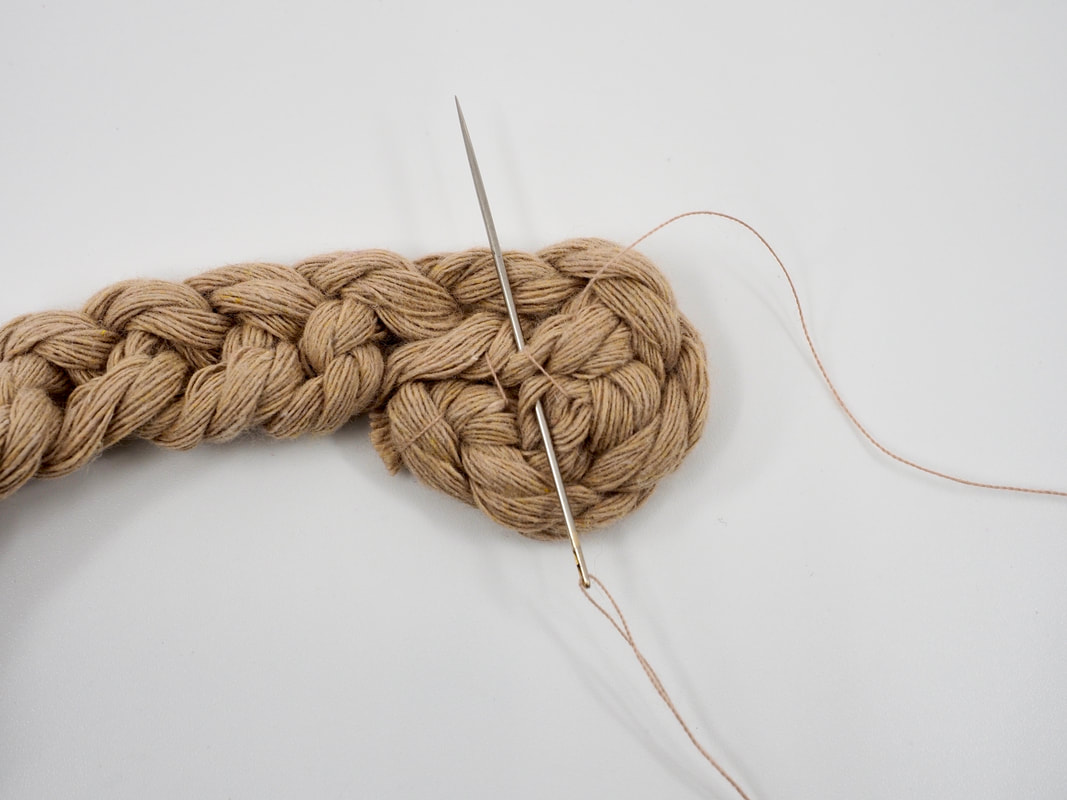
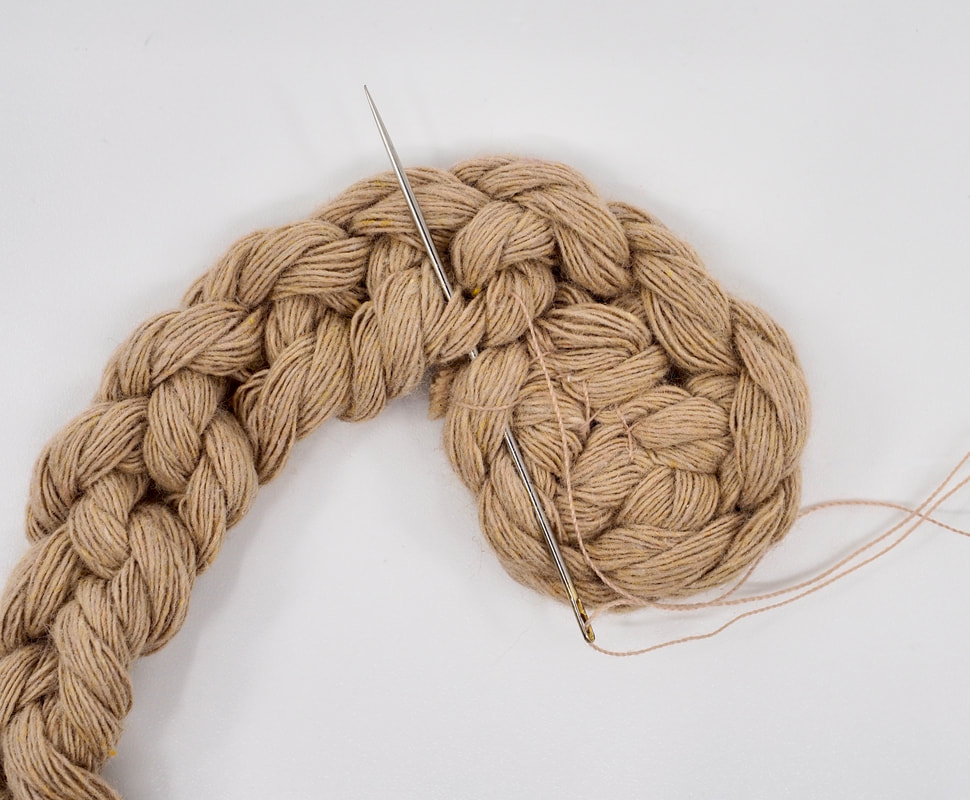
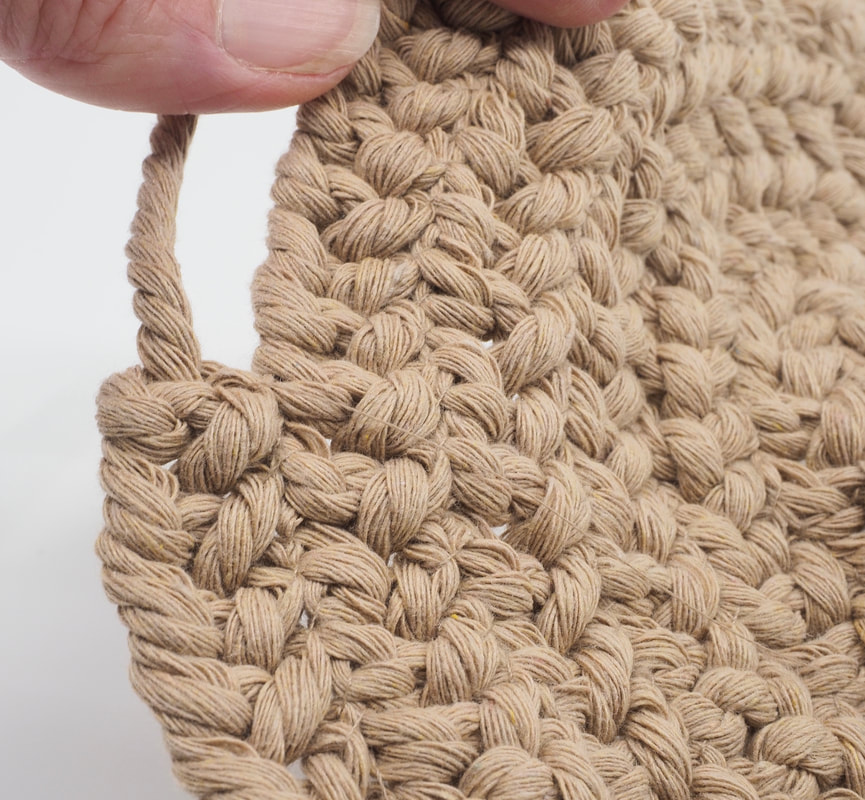
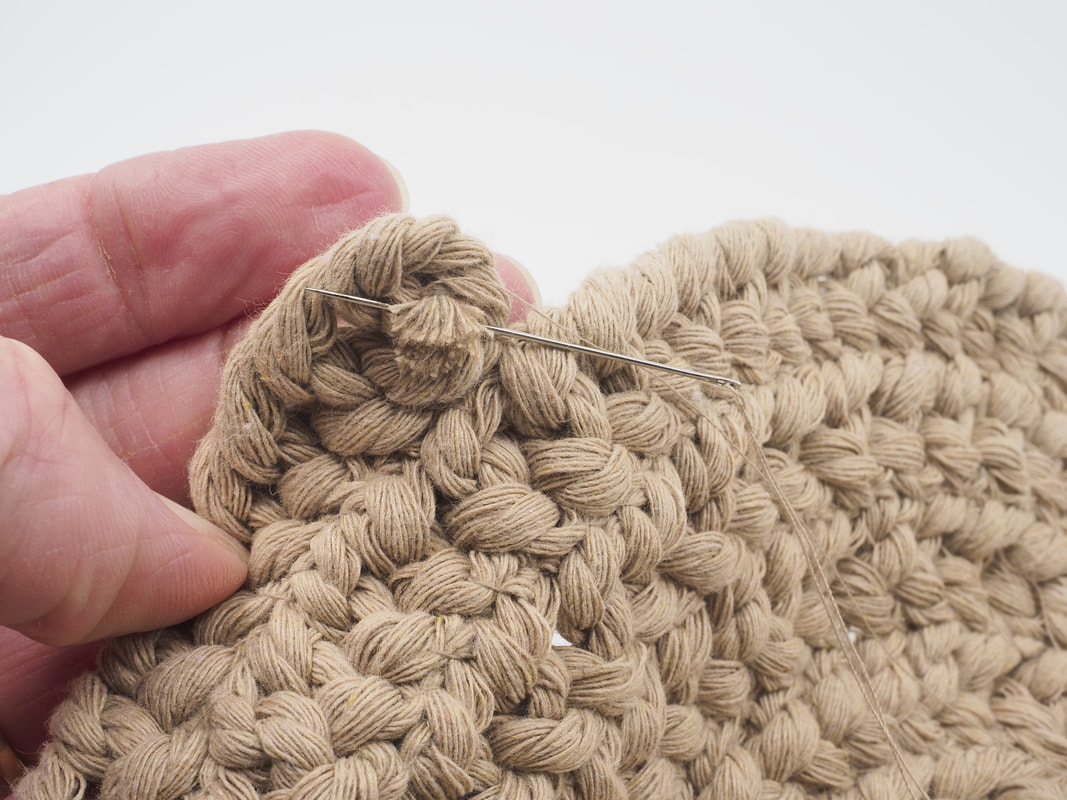
4. Lay the knitting flat (you will find that you can untwist the knitting so that it sits flat on its widest width). Fold the end of the knitting around to start a spiral. Then start stitching, being careful to only work through the top half of the knitting, and sew the touching areas together working along the join in both directions.
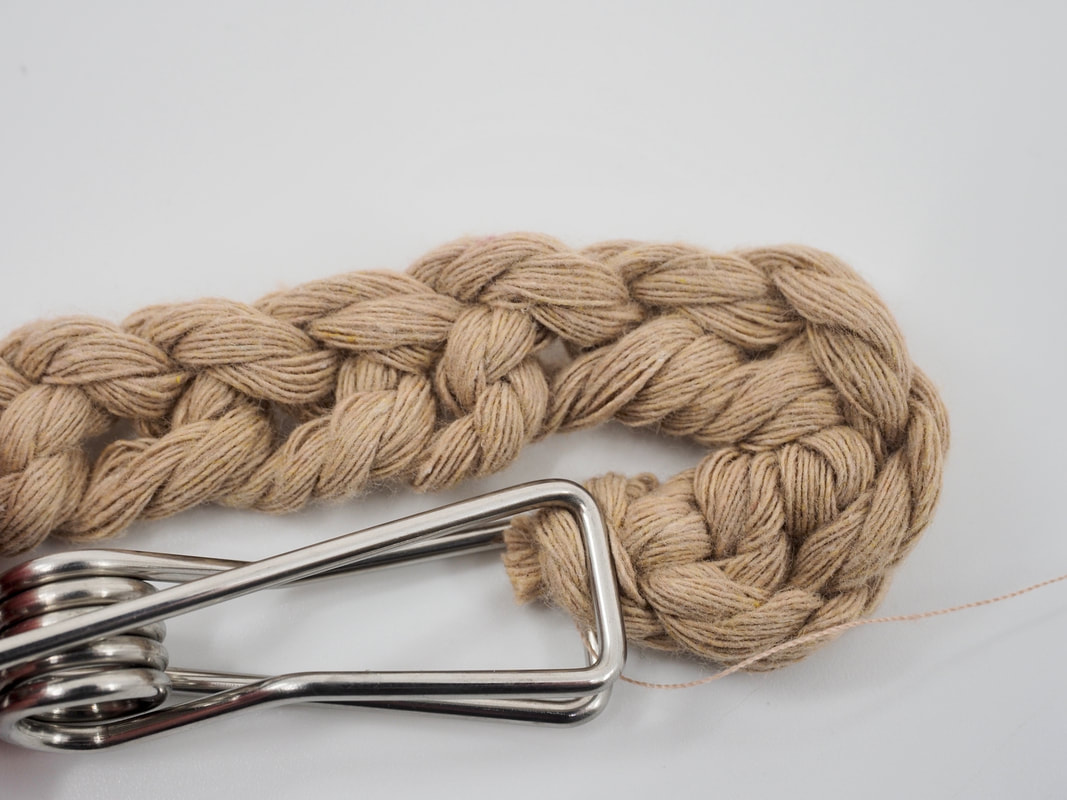
1. Fold the end of the knitting around
|

2. Start the first stitch level with the end of the knitting
|

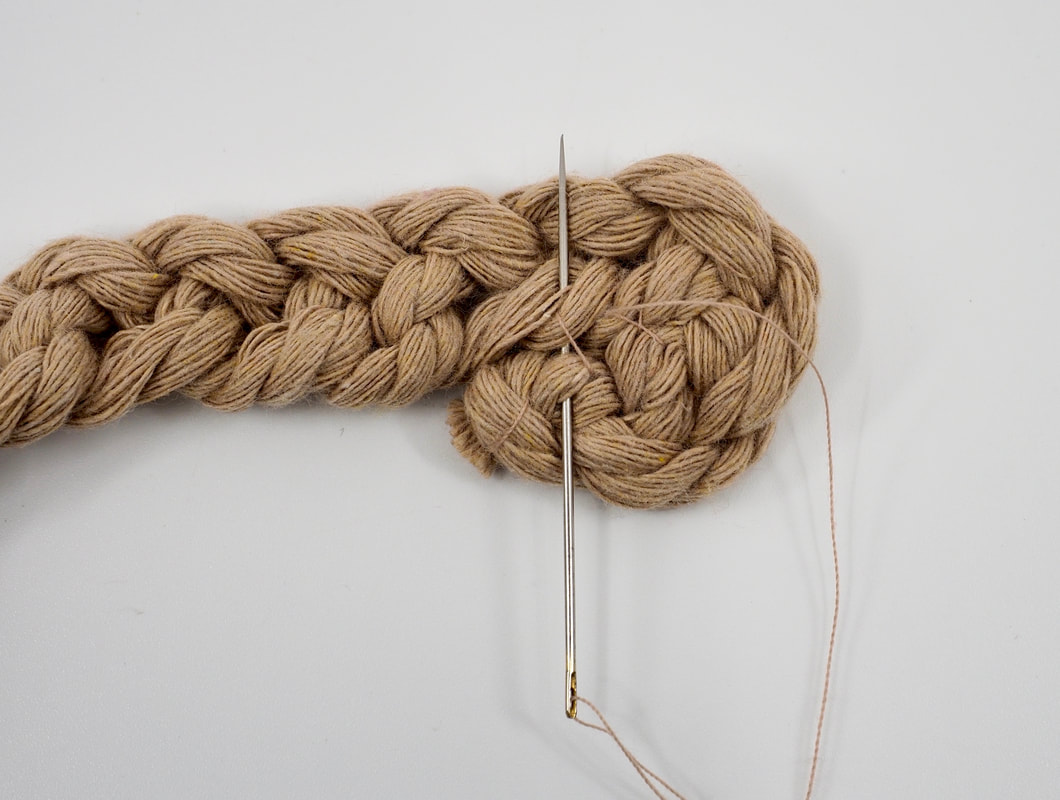
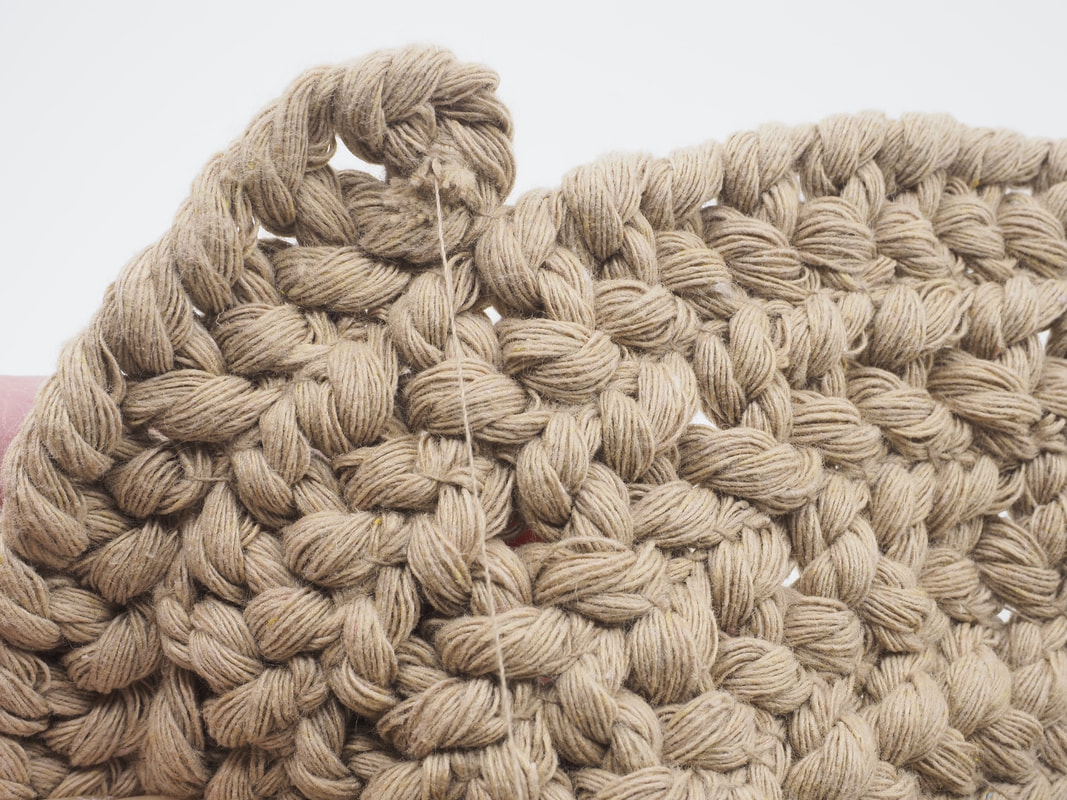
3. Place stitches along the join
|
4. A stitch is placed at the end of the join
|
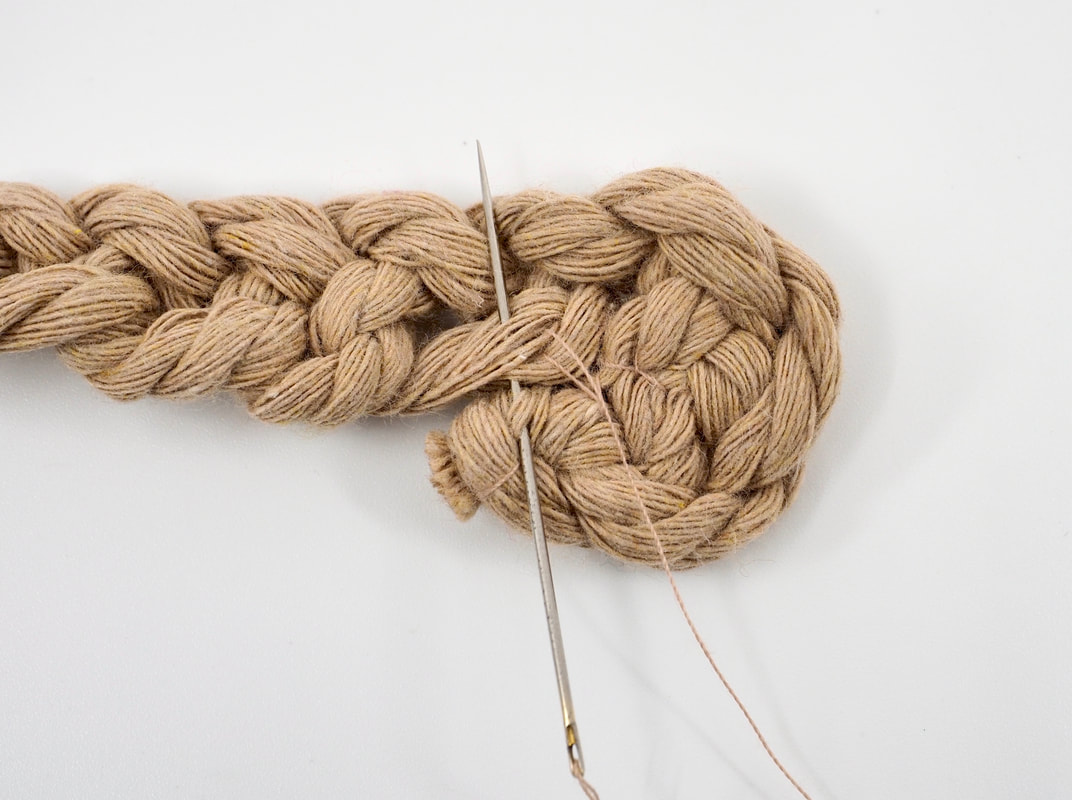
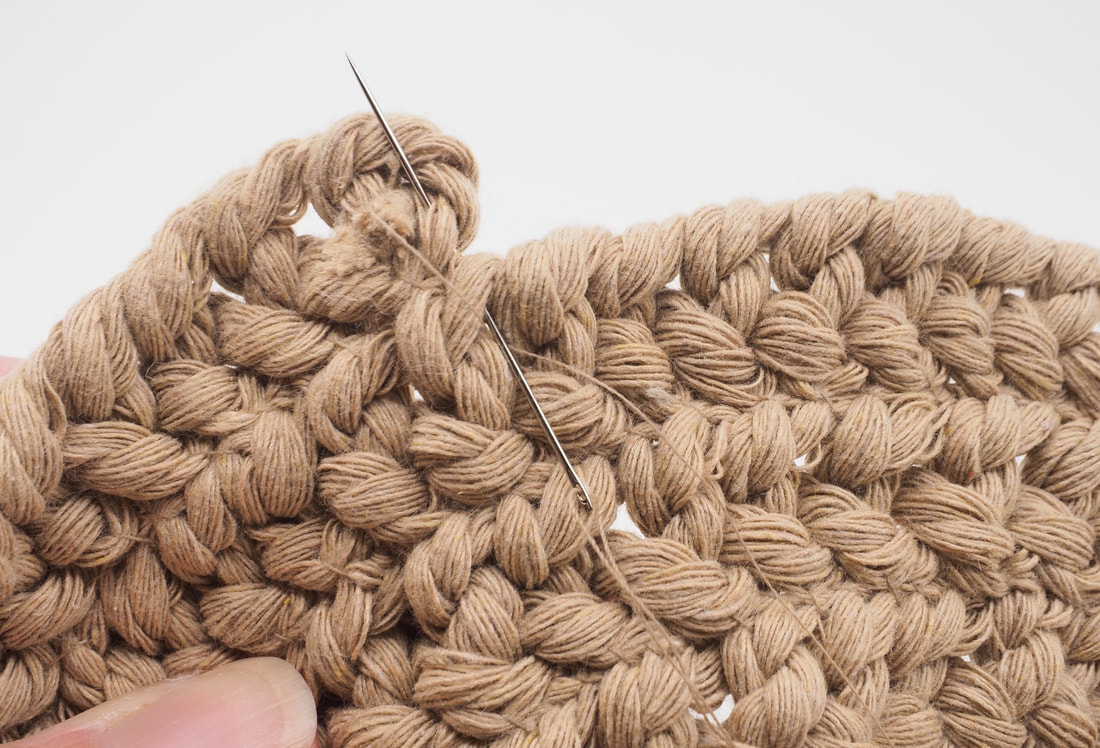
5. Start placing stitches back over the area already covered
|
6. Keep stitching towards the end of the join
|
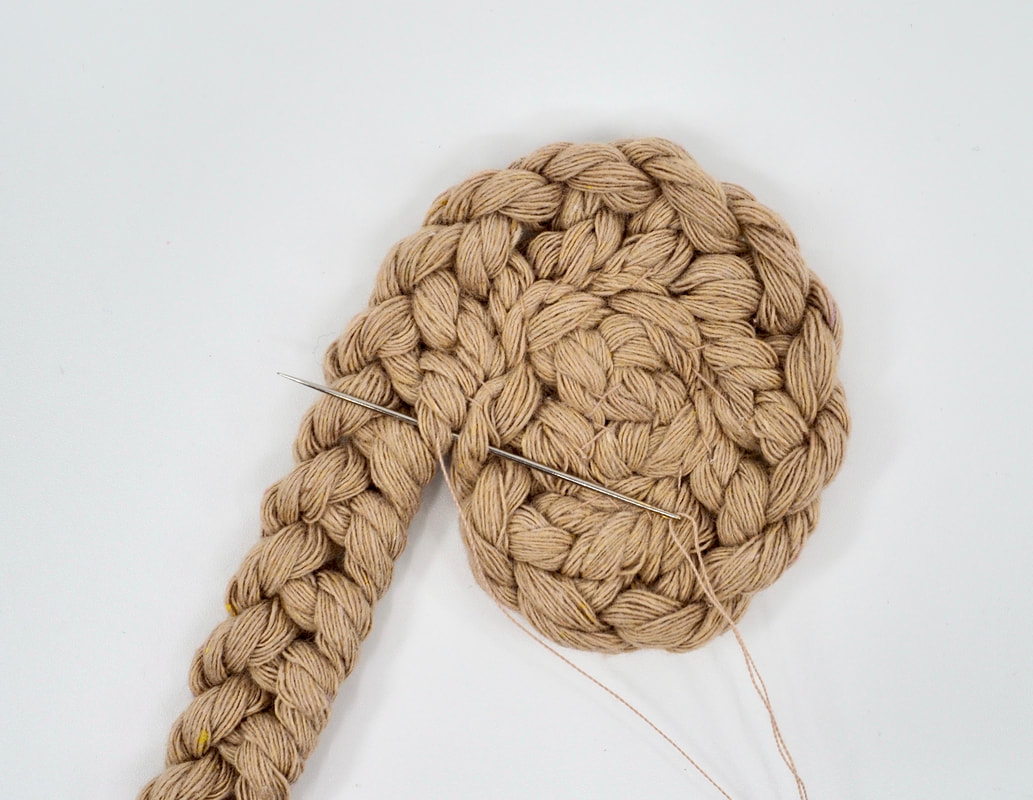
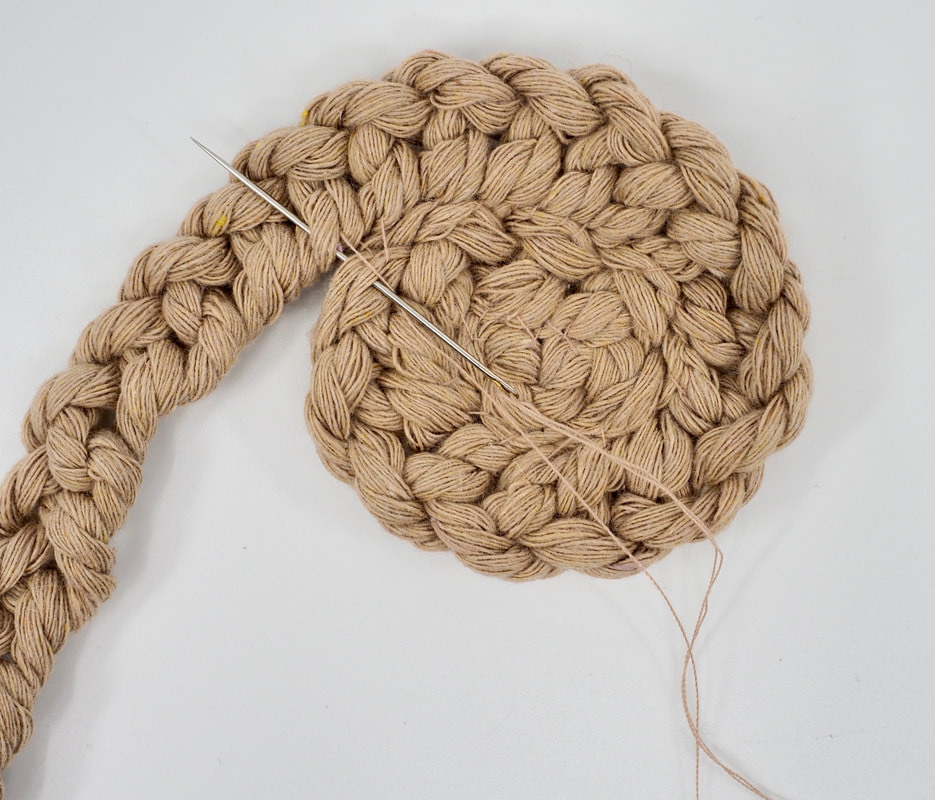
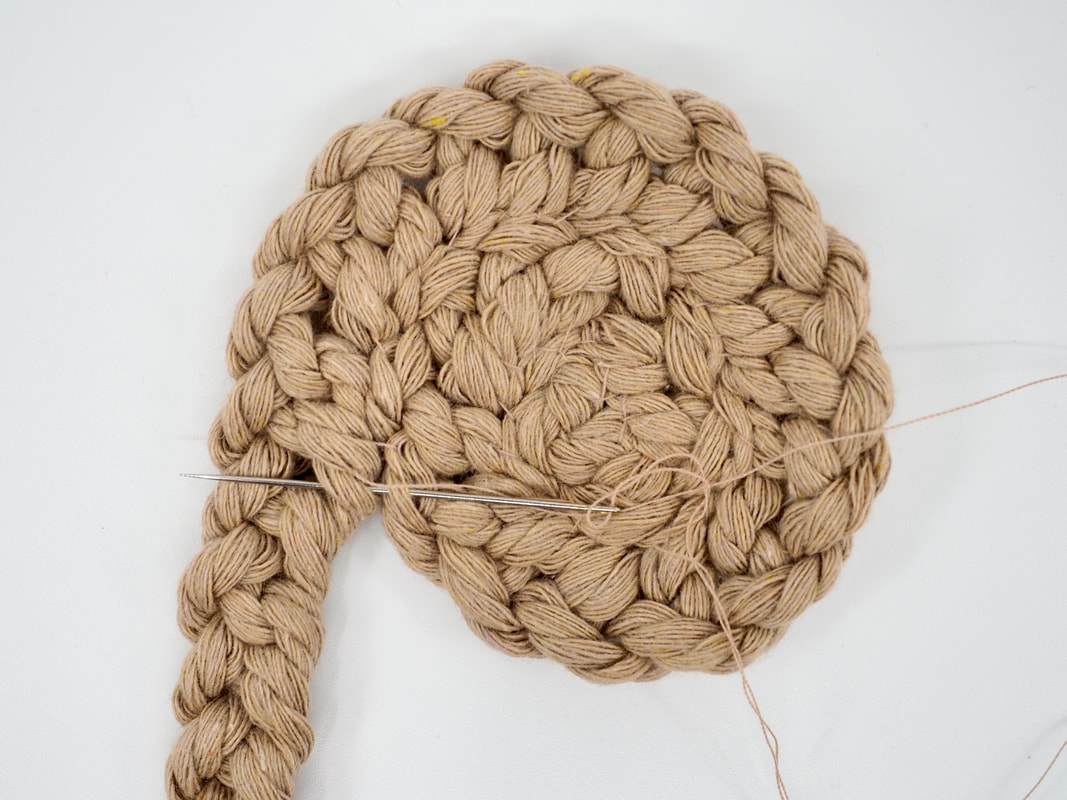
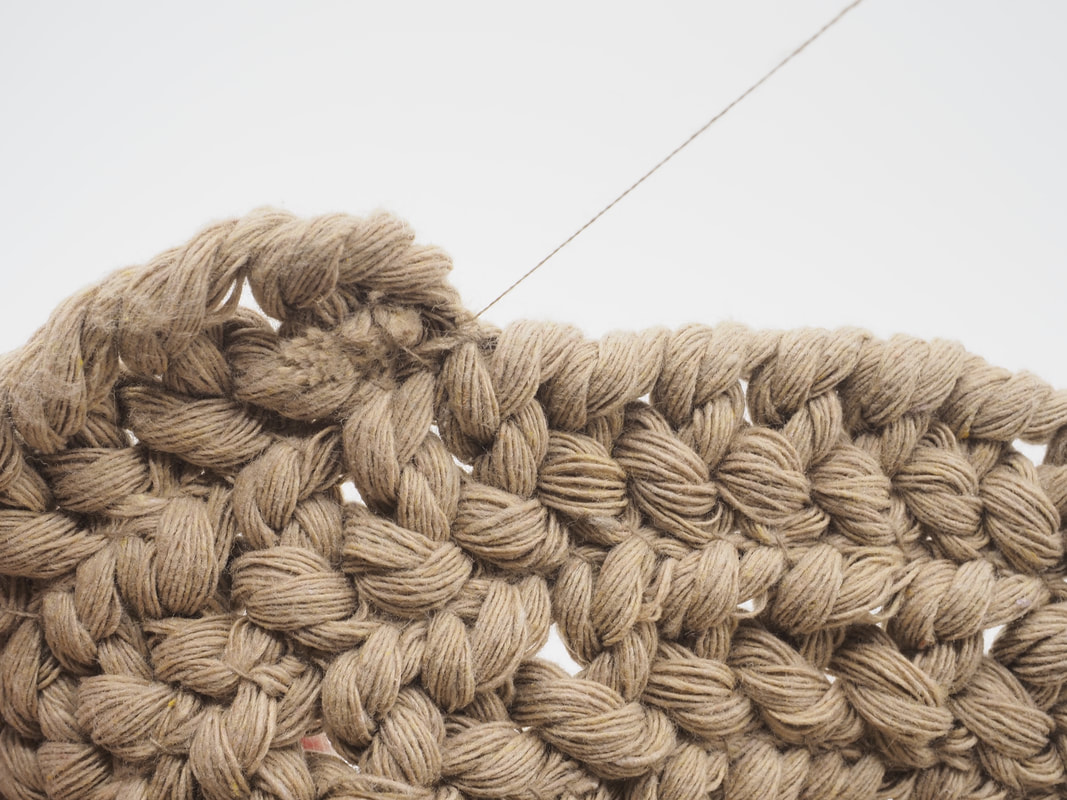
5. Now, keeping the knitting flat, slowly continue to spiral the knitting around, placing stitches as you go, until your trivet is the required size.
- Remember to only place stitches in the top half of the knitting - this is so when you have finished the trivet and turn it over, the stitches will not be visible.
7. Place stitches until you are back at the start of the join
|
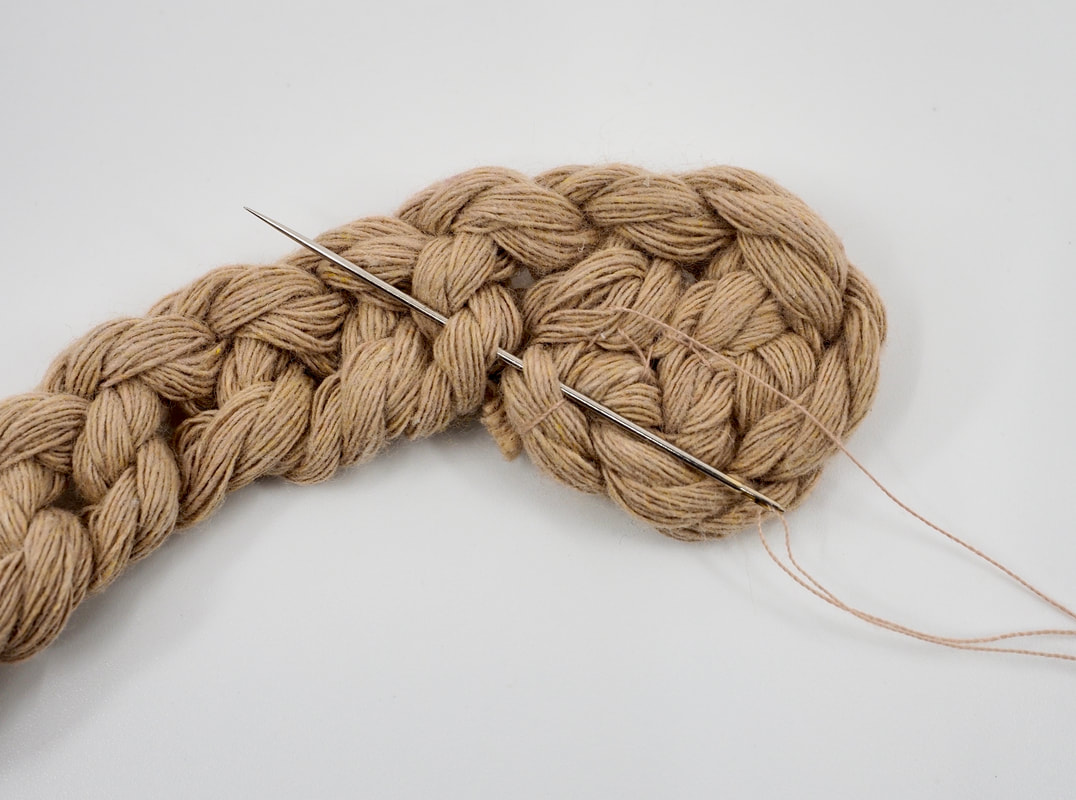
8. Keep spiralling the knitting around itself, placing stitches along the join as you go.
|
|
|
|
|
|
|
|
6. Once your trivet is at the desired size, you can cut the cord and finish off the knitting by looping the cord through the finger hole and pulling tight.
Loop the end of the cord through the finger hole of the knitting
|
Pull until tight
|
Finished knitting
|
7. Continue stitching until the entire length of knitting has been added to the spiral. Then place overstitching at the end to ensure a firm finish.
|
|
8. Secure the end of the cord with overstitching , just as we did at the start in Step 2. Then trim the end off the cord
|
|
|
9. Sew down the loose ends of the cord against the trivet, using overstitching.
|
|
10. Add a couple more stitches along the join, to blend the end of the knitting against the trivet. Overstitch to secure the end of the cotton and then trim the tread short.
|
|
11. It's finished! Flip the trivet over so the stitches are facing down.