Chicken Craft
Thanks for your support!
Materials
1. Printer
2. 4 pieces of A4 paper or light card
3. Colouring tools (pencils, crayons, paints etc)
4. Scissors
5. Glue / doubled sided sticky tape / Sticky tape / stapler
1. Printer
2. 4 pieces of A4 paper or light card
3. Colouring tools (pencils, crayons, paints etc)
4. Scissors
5. Glue / doubled sided sticky tape / Sticky tape / stapler
|
Step 1
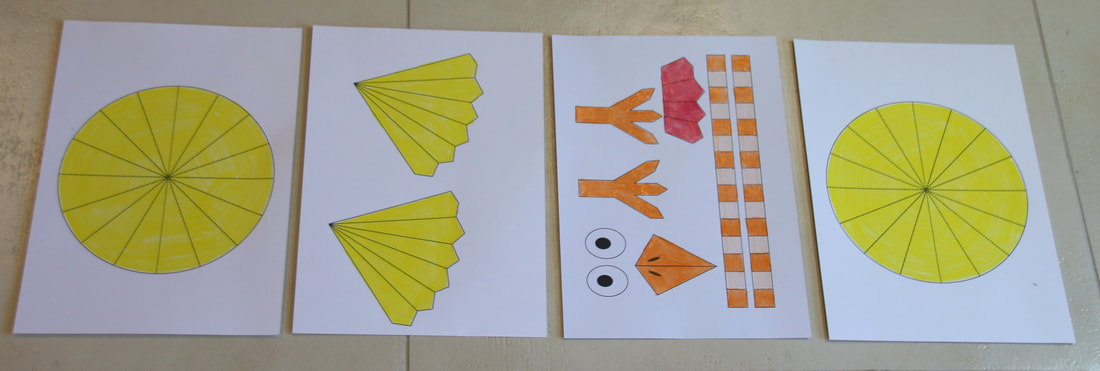
Print the templates onto A4 card or paper. There are three templates. You will need two copies of template 2. You can print templates 2 and 3 on yellow card / paper if you don't wish to colour them in. The template is available as pdf (below) or jpg images (right).
|
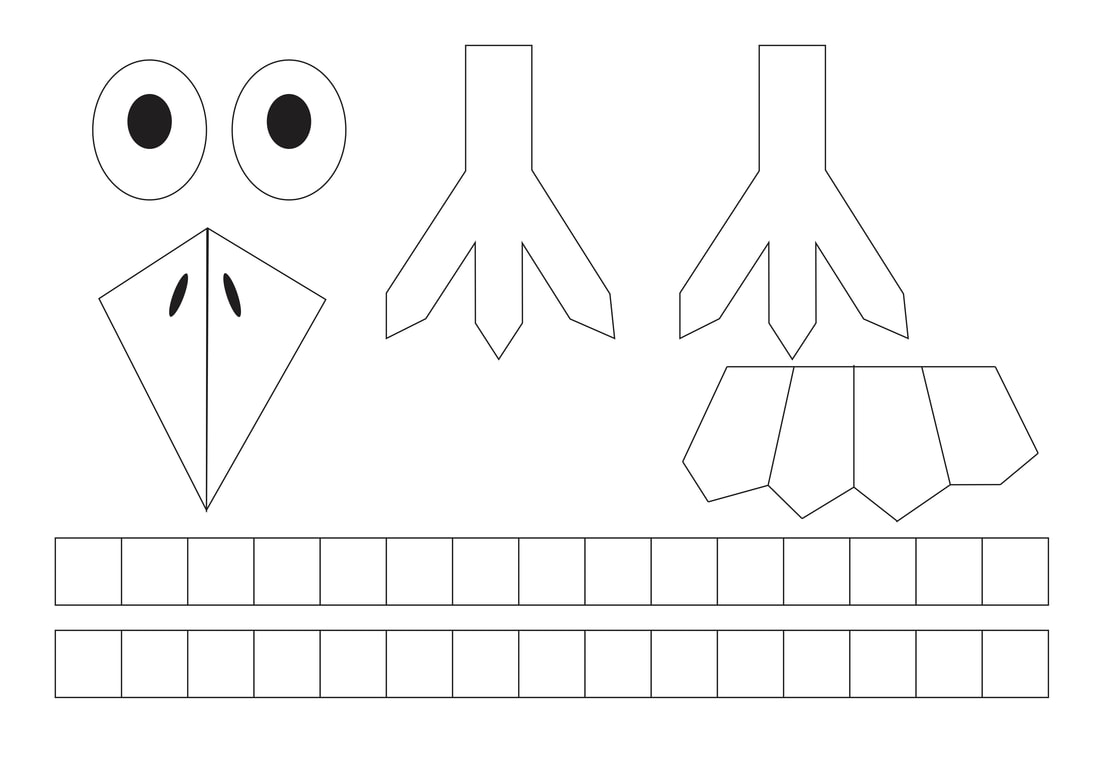
Chicken Template Part 1
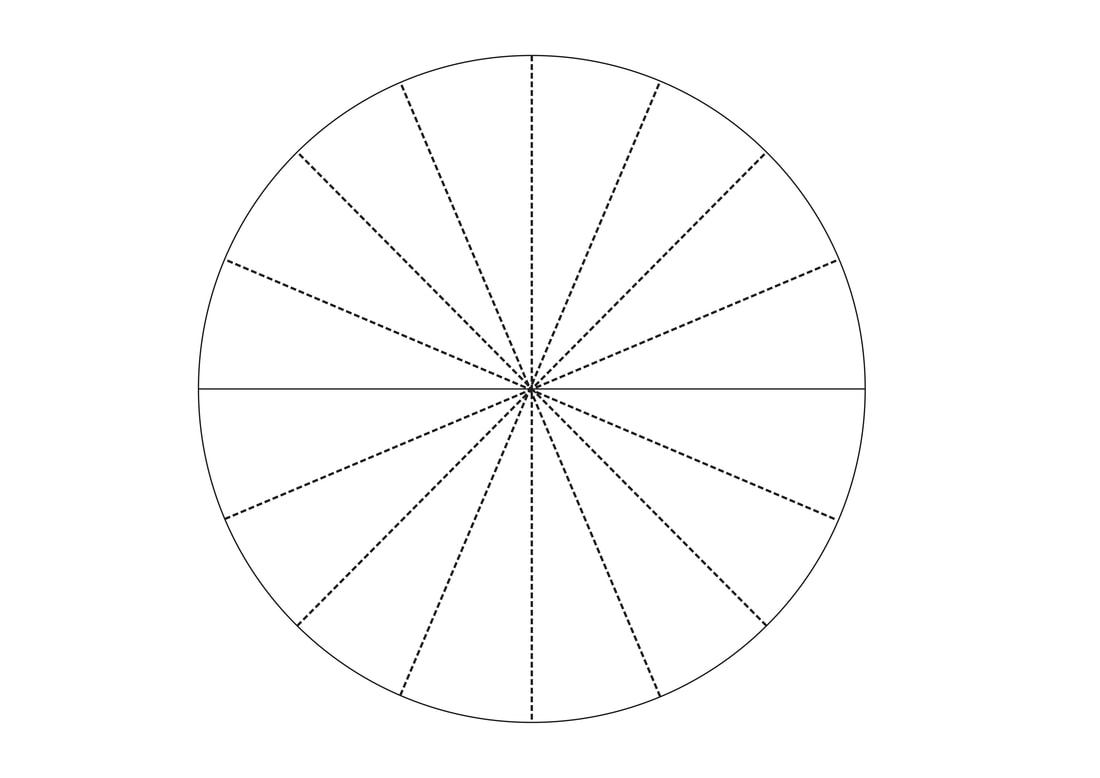
Chicken Template 2 (Two copies required). Chicken's Body.
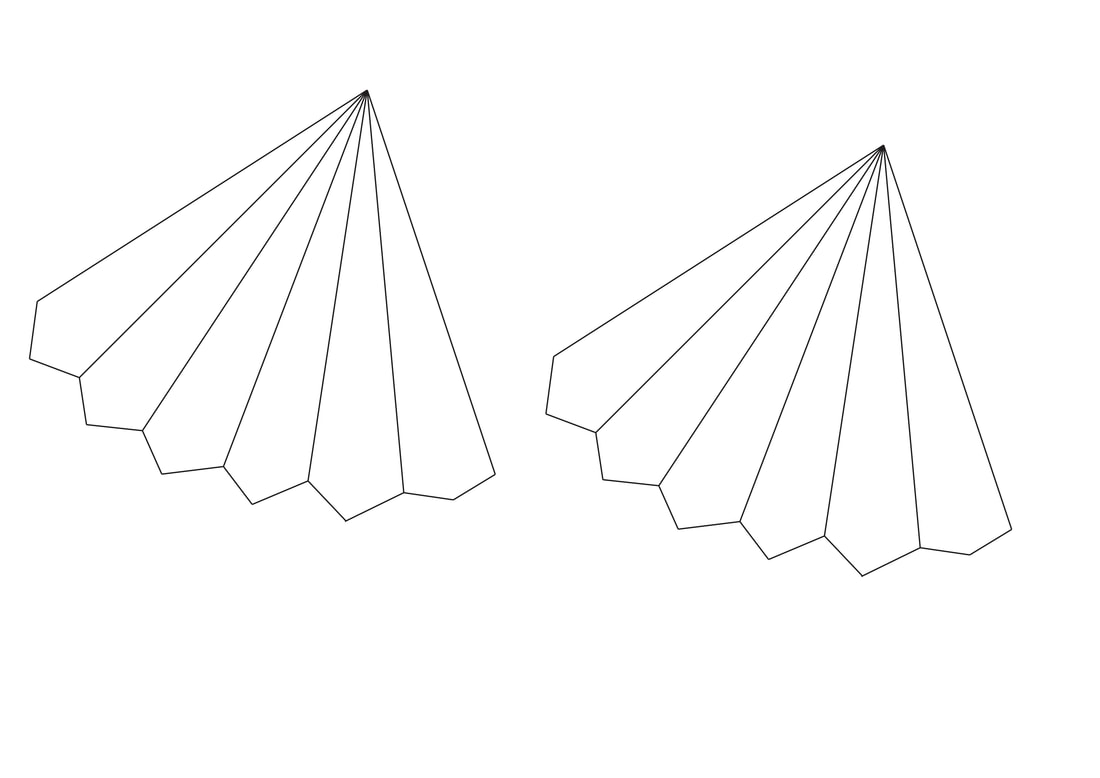
Chicken Template 3. Chicken's wings.
| ||||||
|
Step 2
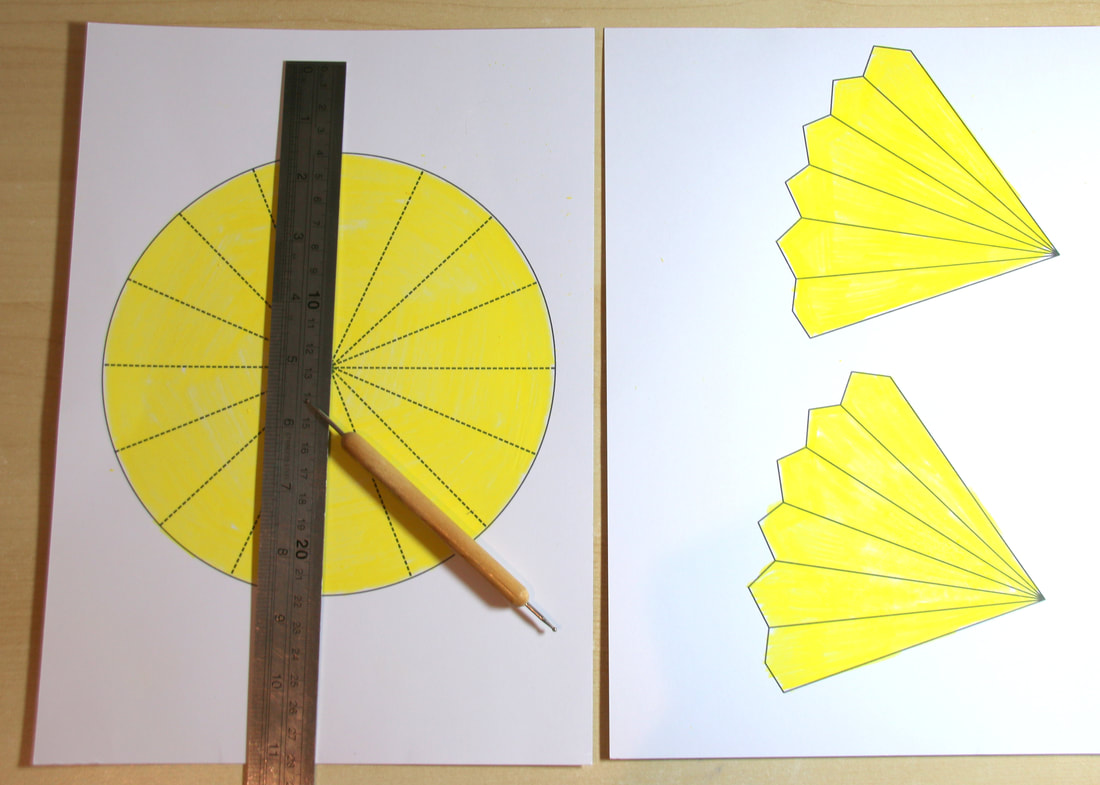
Colour in the templates. |
|
|
Step 3
Score along all the fold lines. Scoring makes it easy to fold the paper on the lines and gives a much better result. You can use a special scoring tool, but a ball point pen that has run out of ink does a great job too. You can use any ball point pen if you don't mind the marks on your creation. I use a clay modelling tool that I found in a craft shop. Score the fold lines on the chicken's body, wings, legs and beak. Tutorial on Scoring and Folding |
|
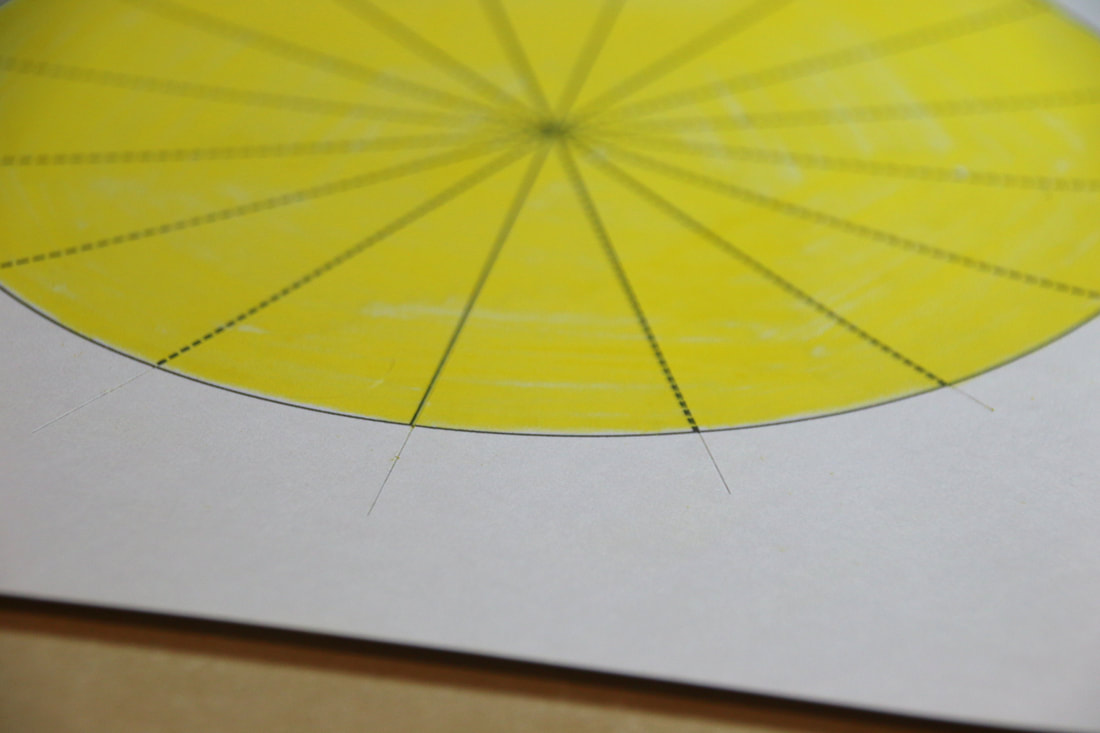
Score Lines
Step 4
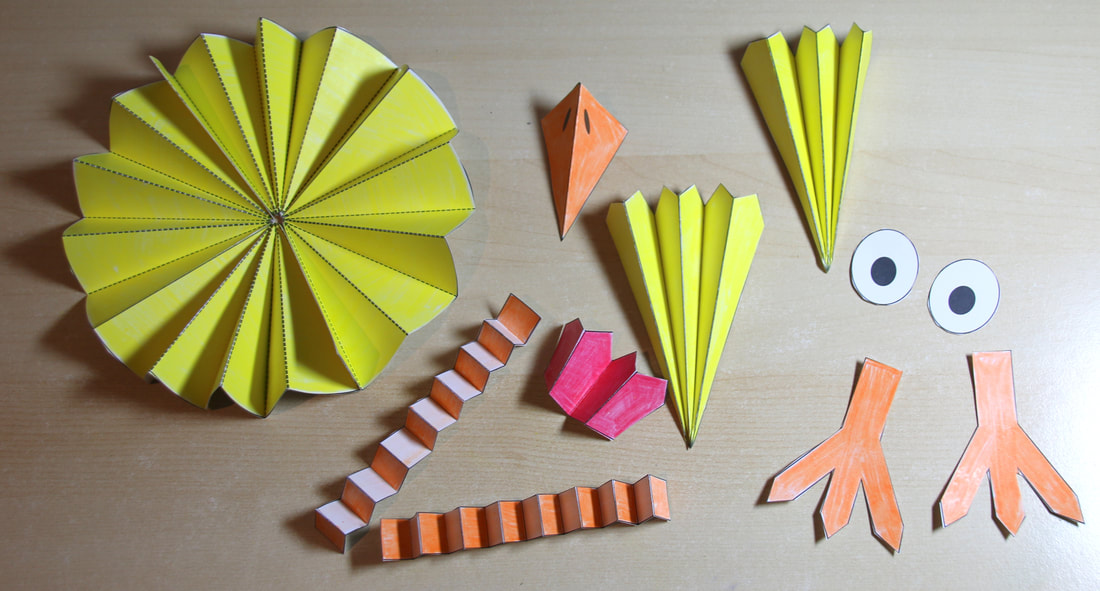
Cut out all of the pieces.
Cut out all of the pieces.
|
Step 5
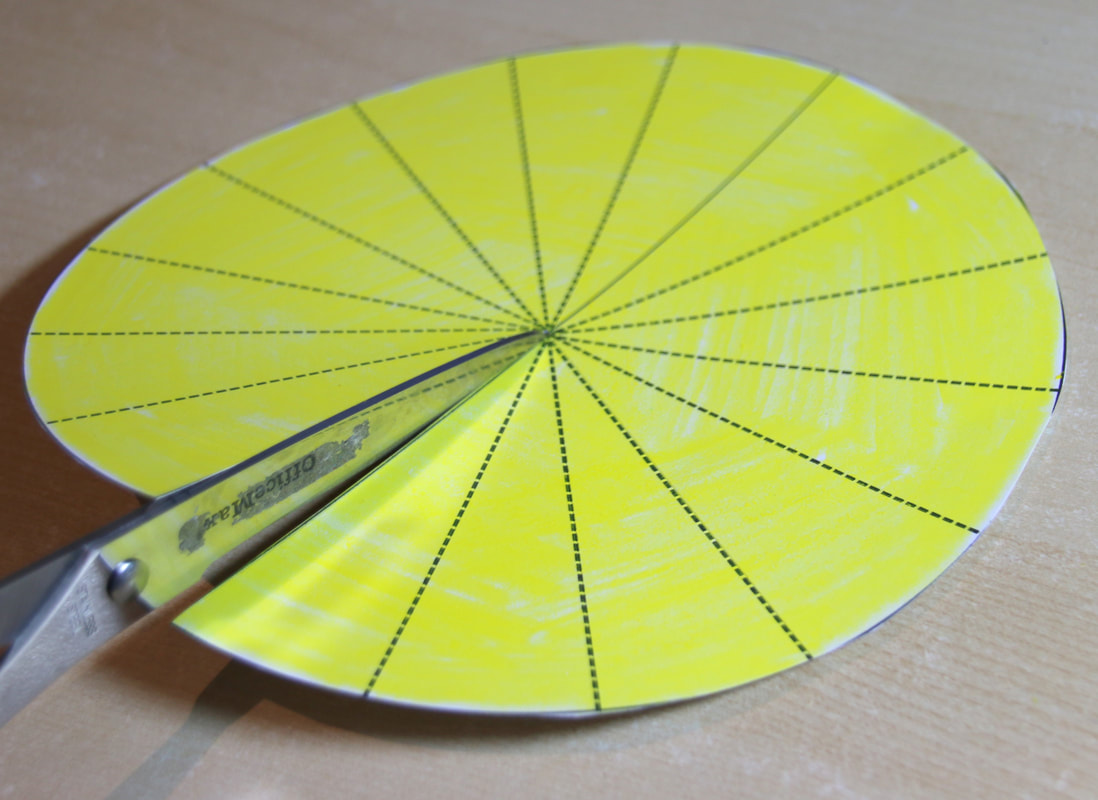
Make a cut to the midline on each of the two chicken body pieces. |
|
Step 6
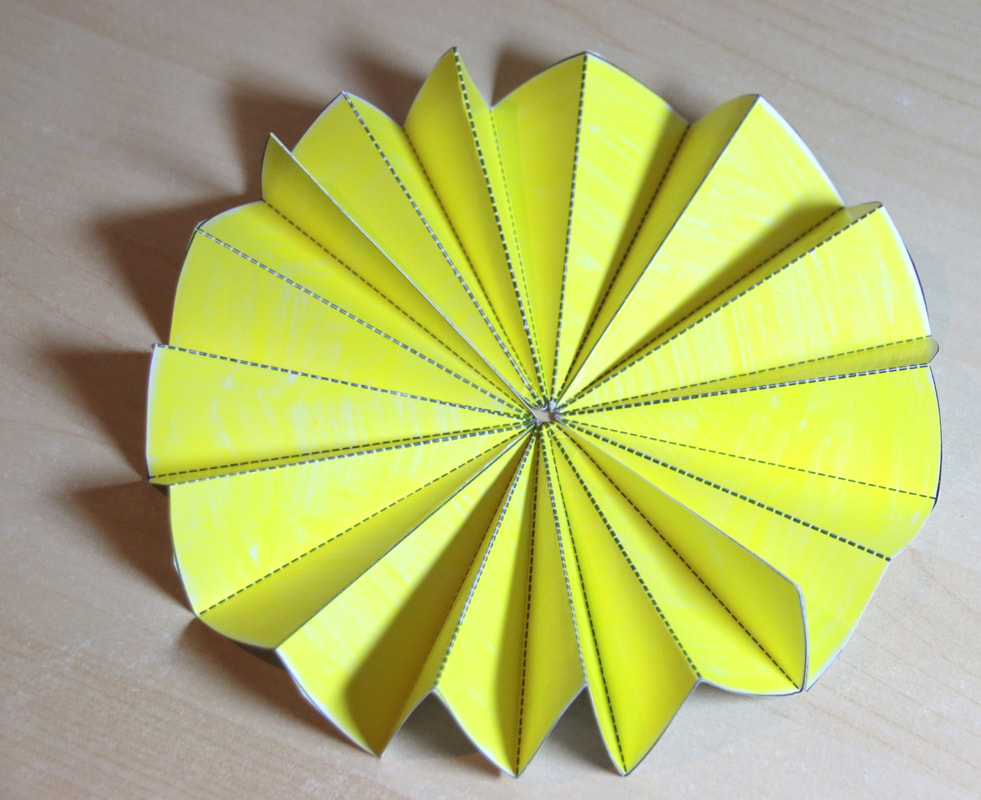
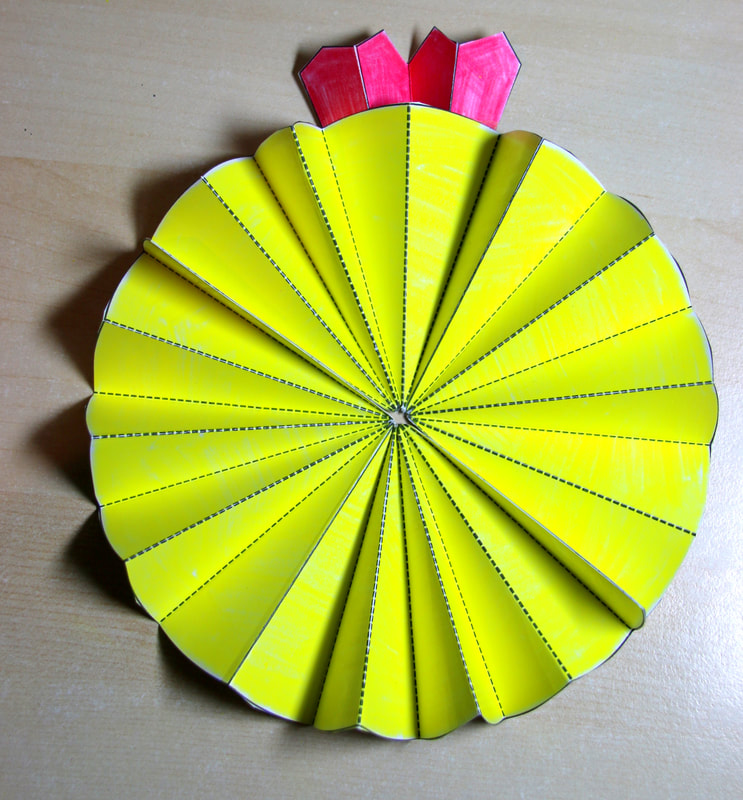
Fold the chicken body pieces up as shown.
Fold the chicken body pieces up as shown.
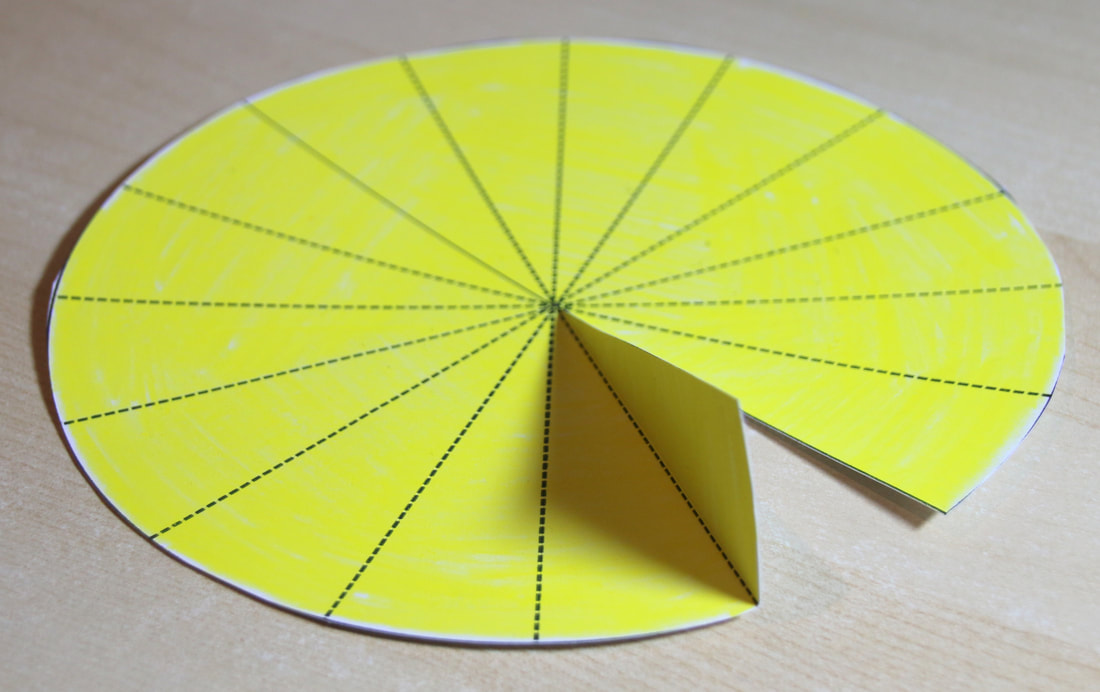
Fold the first flap upwards.
|

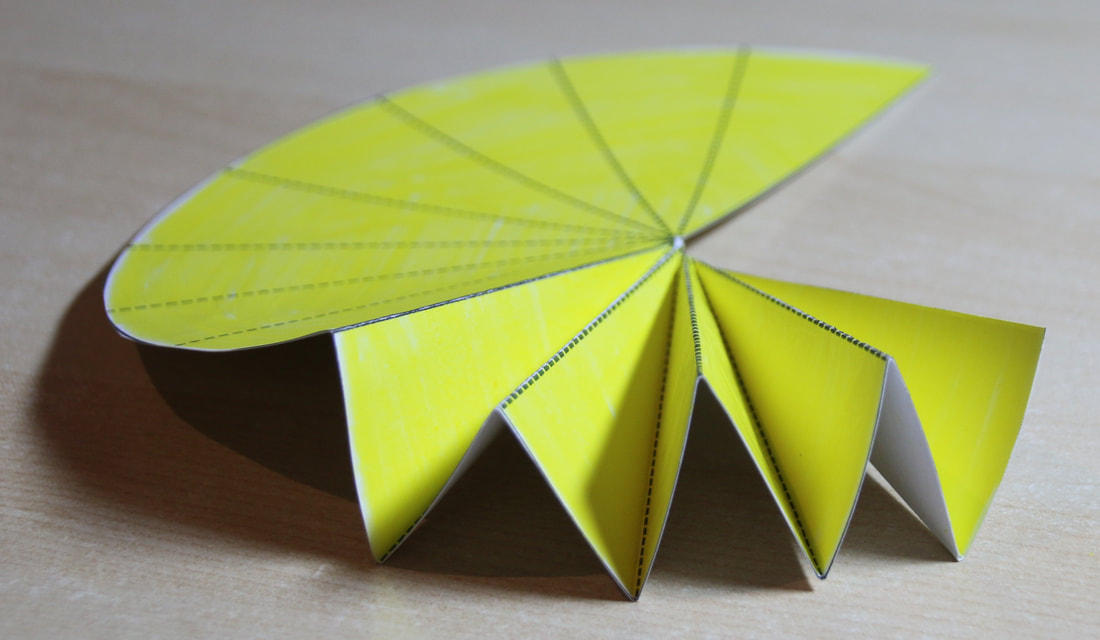
Keep folding along the fold lines, making each new fold in the opposite direction to the last.
|
|
|
|
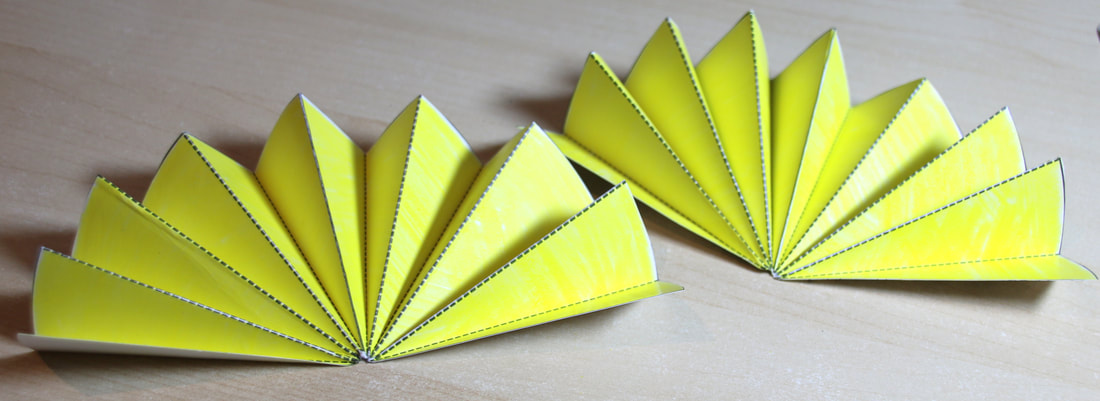
Step 7
Tape / Staple / glue the two body pieces together. |
|
Step 8
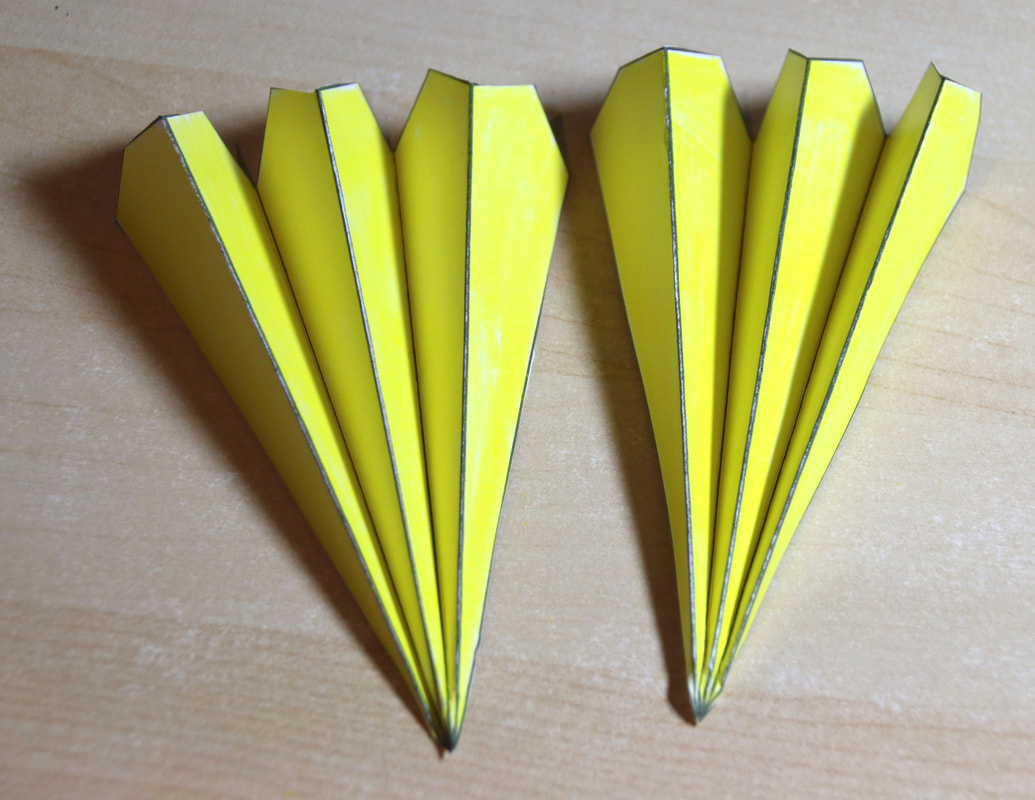
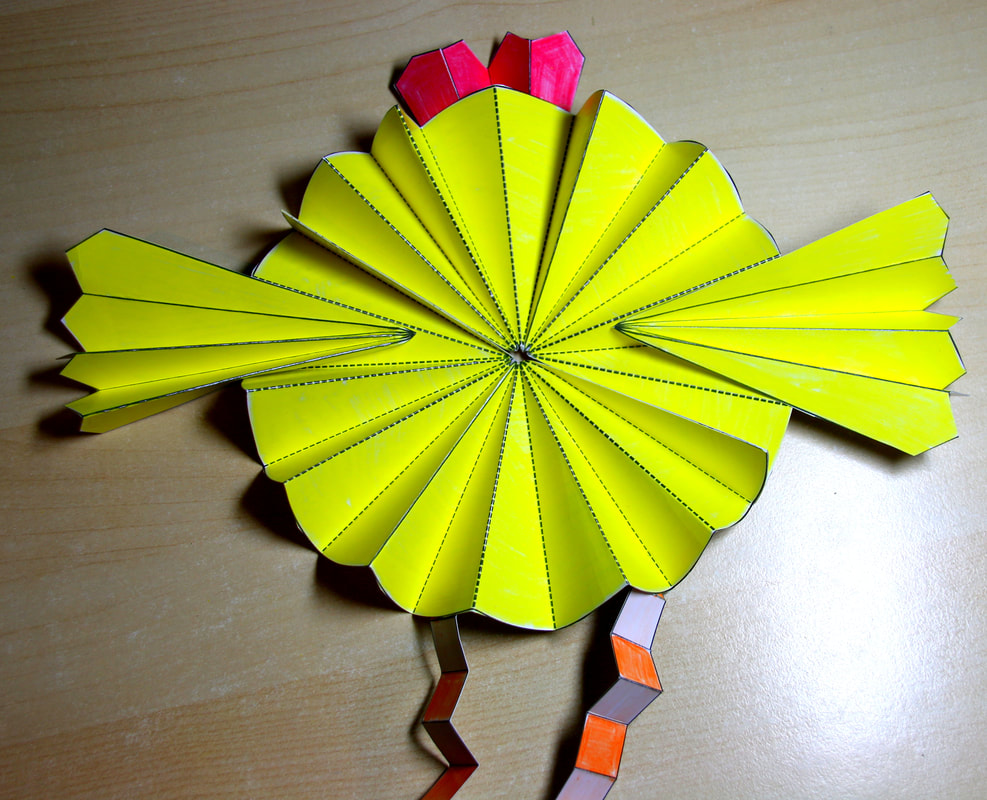
Fold the chicken wings, in the same fashion as you folded the body (as shown).
Fold the chicken wings, in the same fashion as you folded the body (as shown).

|
|
|
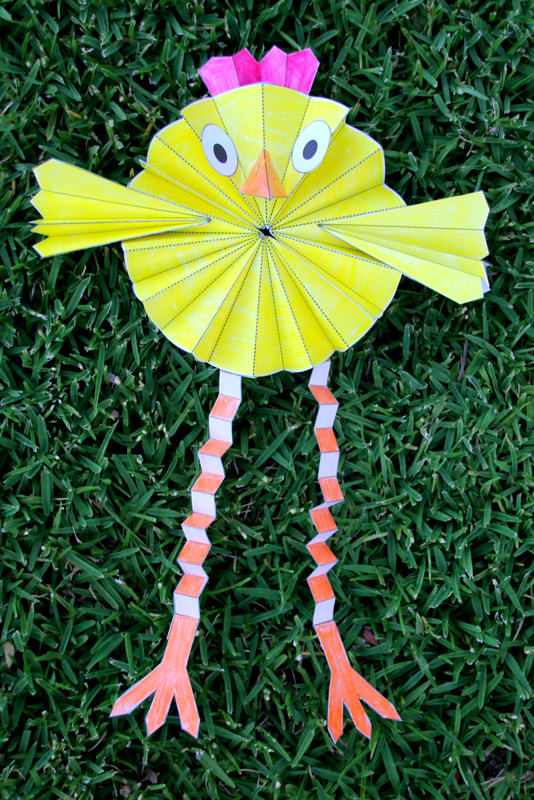
Step 9
Fold the legs and glue / staple / tape the feet onto their ends. |
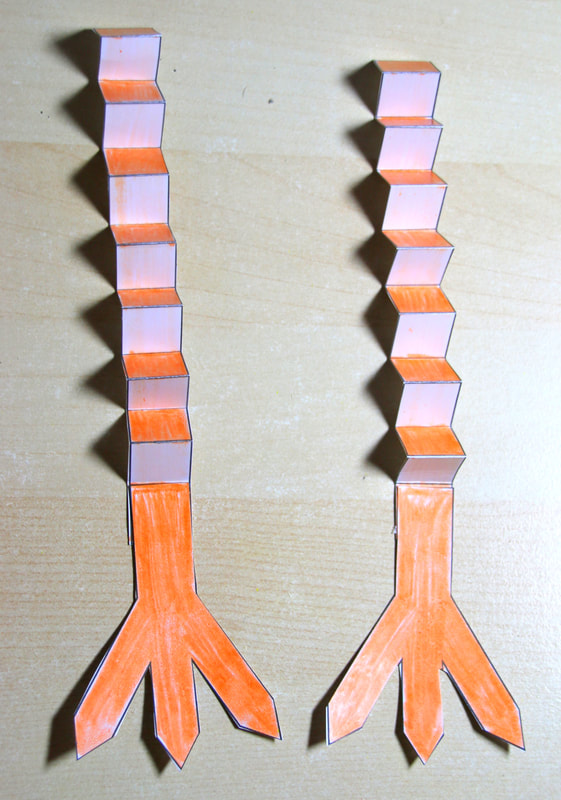
|
|
Step 10
Attach the Chicken's comb to it's body. |
|
|
Step 11
Attach the Chicken's legs to it's body. |

|
Step 12
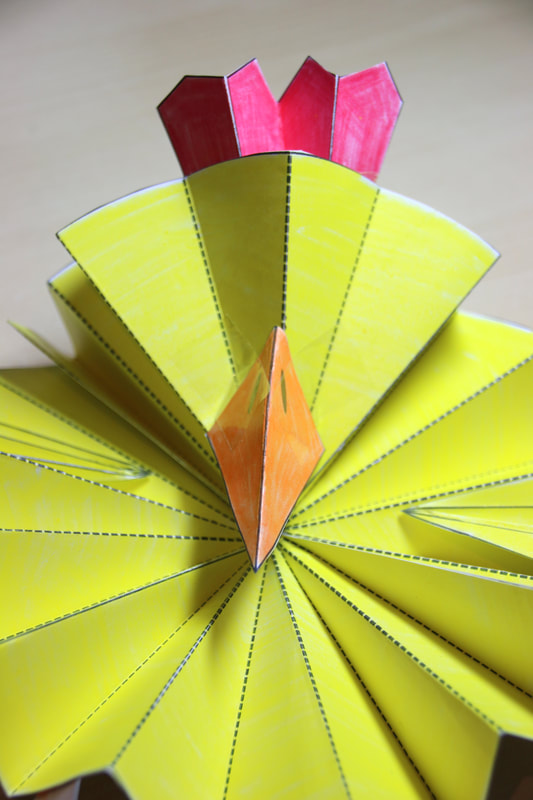
Attach the wings and the beak to the chicken
Attach the wings and the beak to the chicken
|
|
|
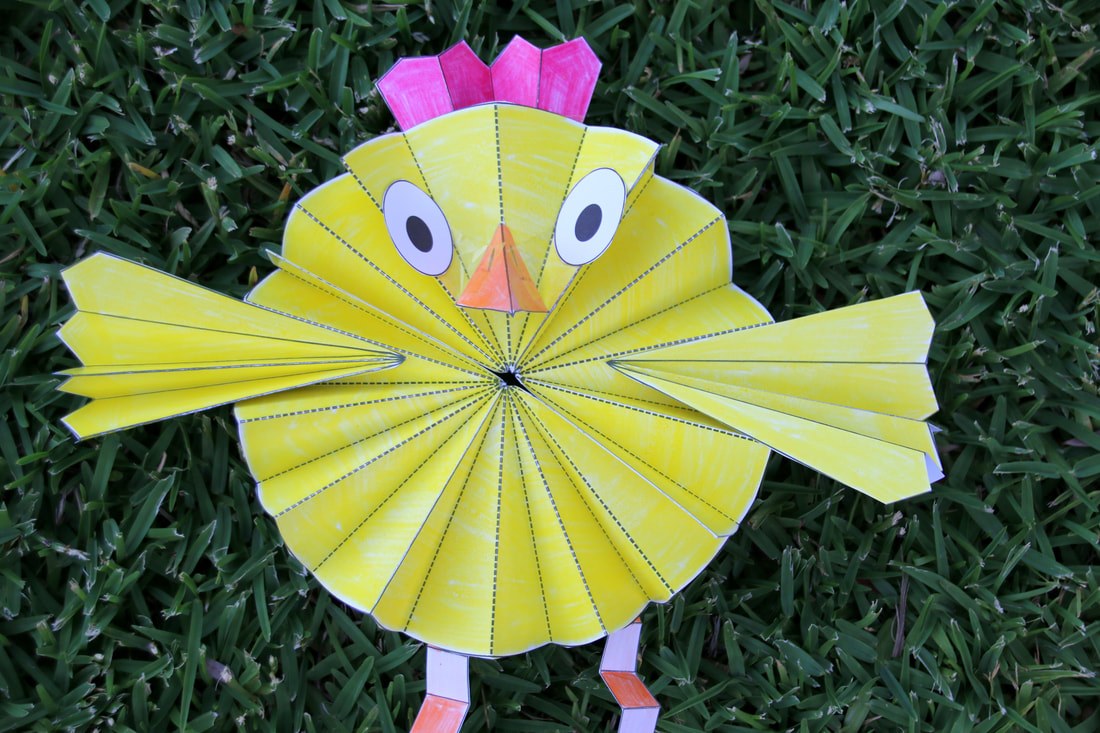
Step 13
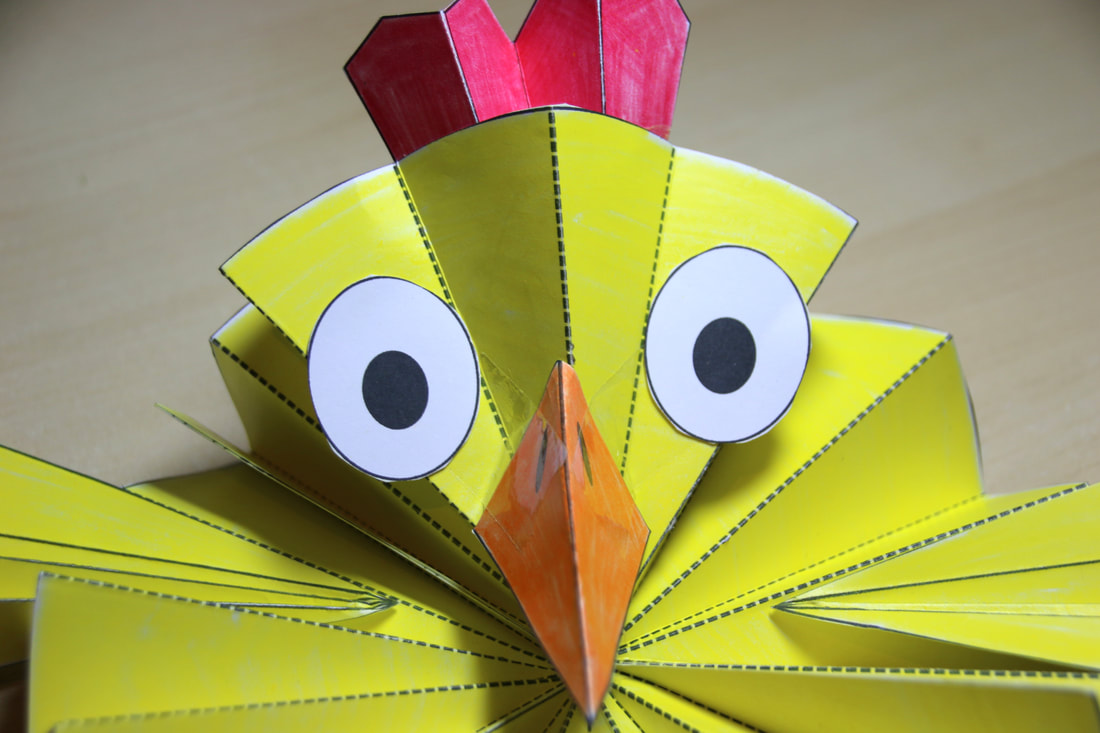
Add on the eyes, and you are done! |
|