Paper Covered Eggs
Please consider supporting me :)
These Decorative Eggs are created using craft eggs.
Materials REquired
- Craft eggs - plastic, polystyrene, or paper
- Tissue paper (in your chosen colour - this will be the base colour of the egg)
- White PVA craft glue
- Paint brush
- Permanent marker pens with fine tips
- Kebab sticks (one for each egg)
- Small container with a lid (for mixing white glue and water together.)
Instructions
1. Tear your tissue paper into small pieces approximately 2cm x 2cm.
2. Put a small amount of white glue into your container and mix in some water (approximately half as much water as white glue).
3. Paint some glue onto the egg using the paintbrush, and then cover the area with a piece of tissue paper. Pat the tissue paper down with the paint brush.
NB: The tissue paper will leak colour when wet with the glue, this can stain!! Wear old clothes.
Continue adding the glue and tissue paper, slowly covering the whole of the egg.
Make sure that the entire surface of the covered egg has a thin covering of white glue as this will seal the tissue paper when it dries.
It is just like doing a paper mache covering of the egg using tissue paper.
4. Once the egg is covered in tissue paper, set it aside to dry.
The watered down white glue can be kept in the jar with the lid on until it is required again.
6. Once dry, check the egg. Sometimes a second coating of tissue paper is required to achieve a good colour. If required, apply a second coat, allow to dry.
Doodled Eggs
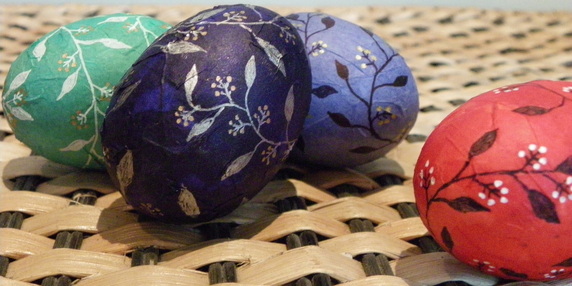
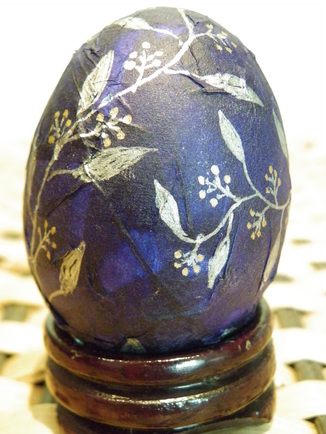
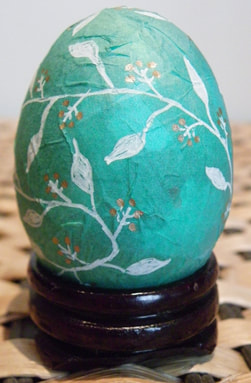
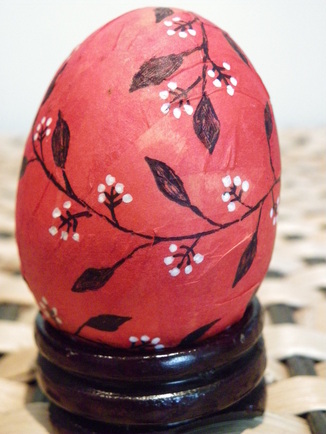
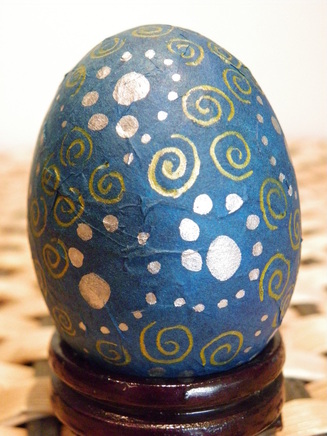
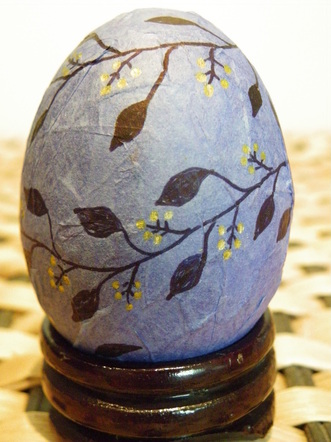
Use gel pens to draw a pattern onto the eggs. I like a vine and flower pattern, but use your imagination and creativity and make your own design. White gel pens on darker colours look good, as do black gel pens on light coloured eggs.
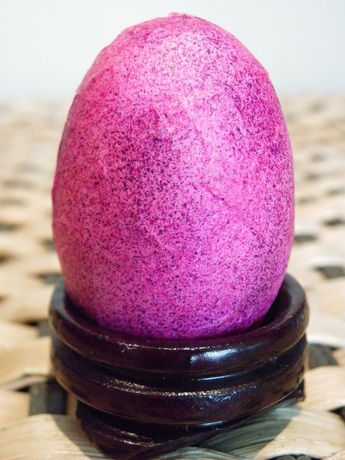
Speckled Eggs
Embellished Eggs
|
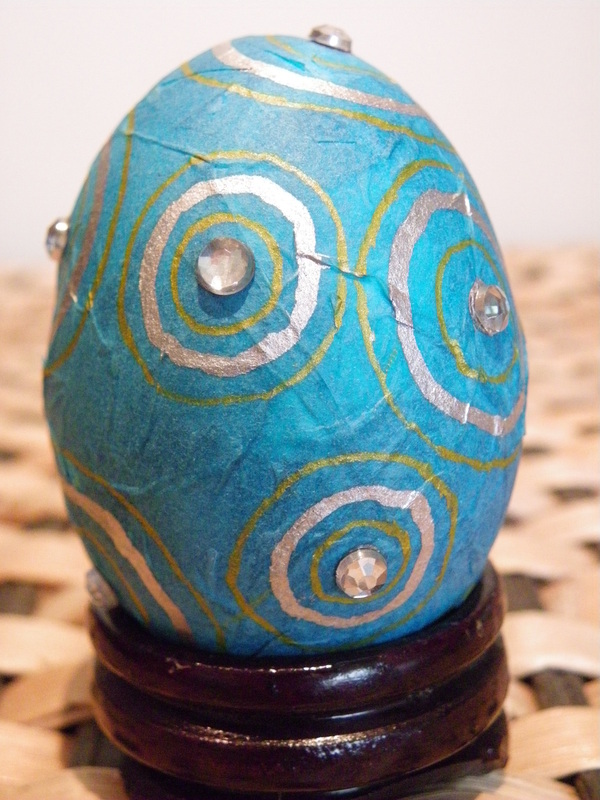
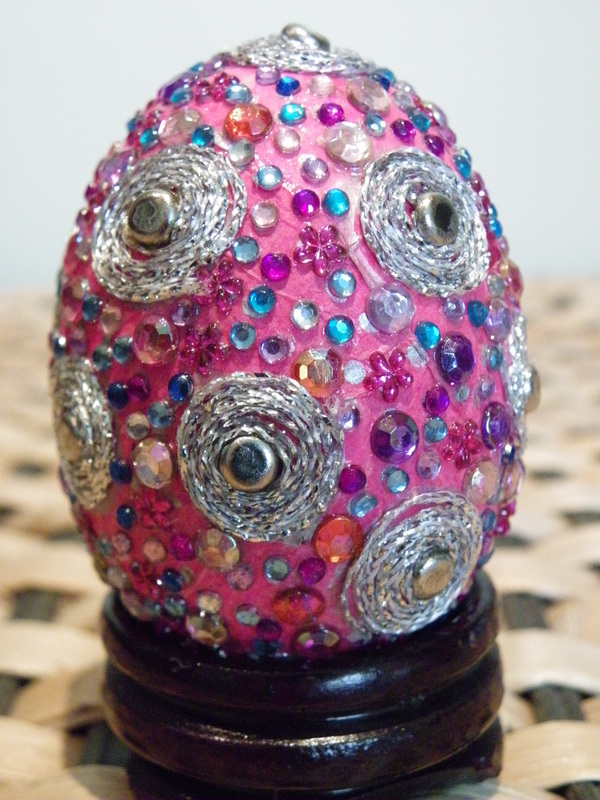
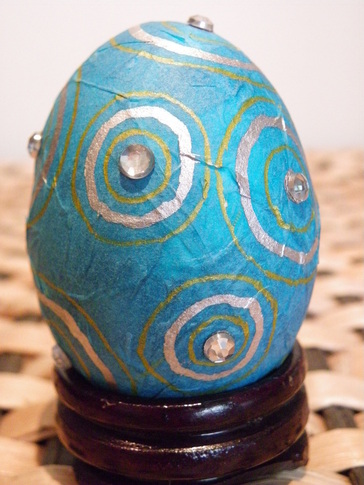
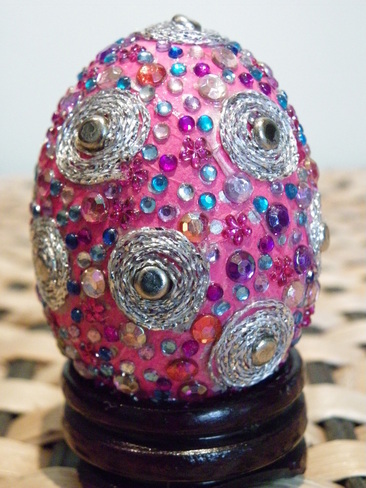
The decorations can be simple, such as adding some self adhesive rhinestones to the design, as is seen in the blue patterned egg (right), or more complicated like gluing on string, as in the pink decorative egg shown (below right).
The pink egg was decorated as follows: The silver spirals are made by inserting a small silver scrapbooking brad (split pin) into the egg. I then applied some white glue in a small circle around the brad, and some silver coloured craft thread was then wound carefully around the brad in a circular pattern, adhering it to the glue. I let each dry before adding the next one... etc. Once I had finished adding the silver spirals, I filled in the gaps around these with a variety of rhinestones of different shapes and sizes, again using white glue to adhere them. It is best to do one section of the egg at a time, and let it dry before starting the next section, so that the rhinestones that are drying cannot be knocked off. |
|
|
All Crafts, Printables and Site Content are free for personal use only. Stock photos are free. If you find Craft n Home helpful, please buy me a coffee!
© craftnhome Privacy Policy |
