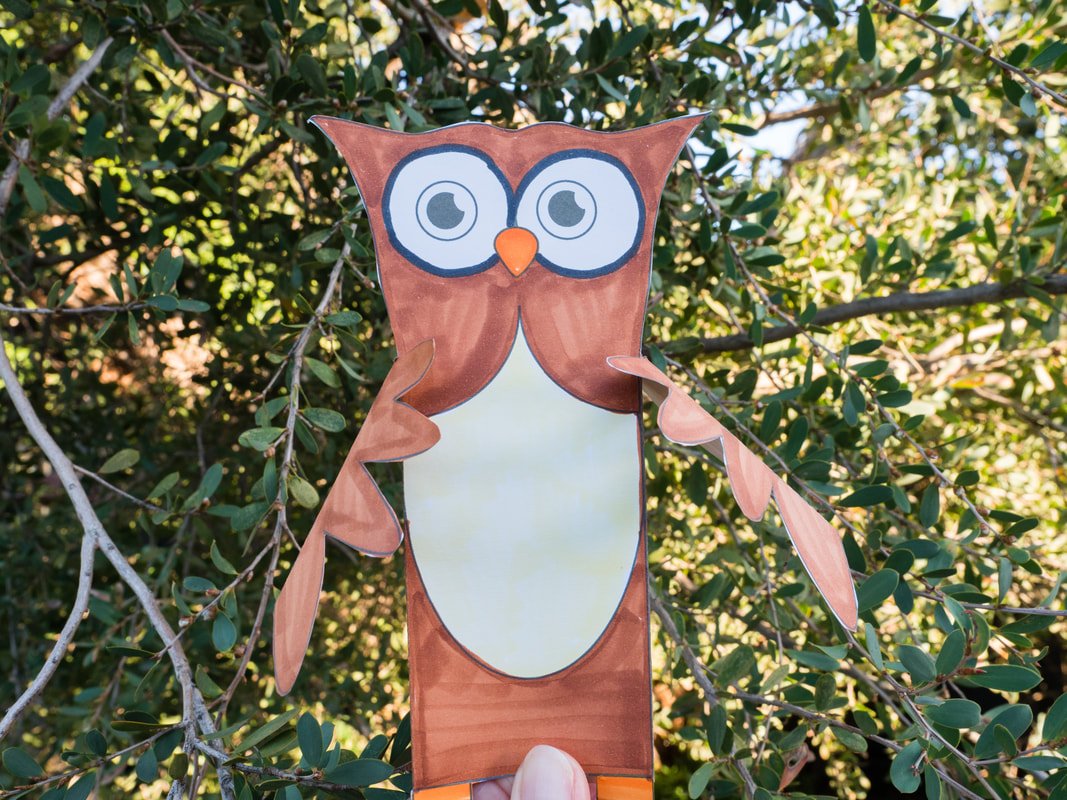
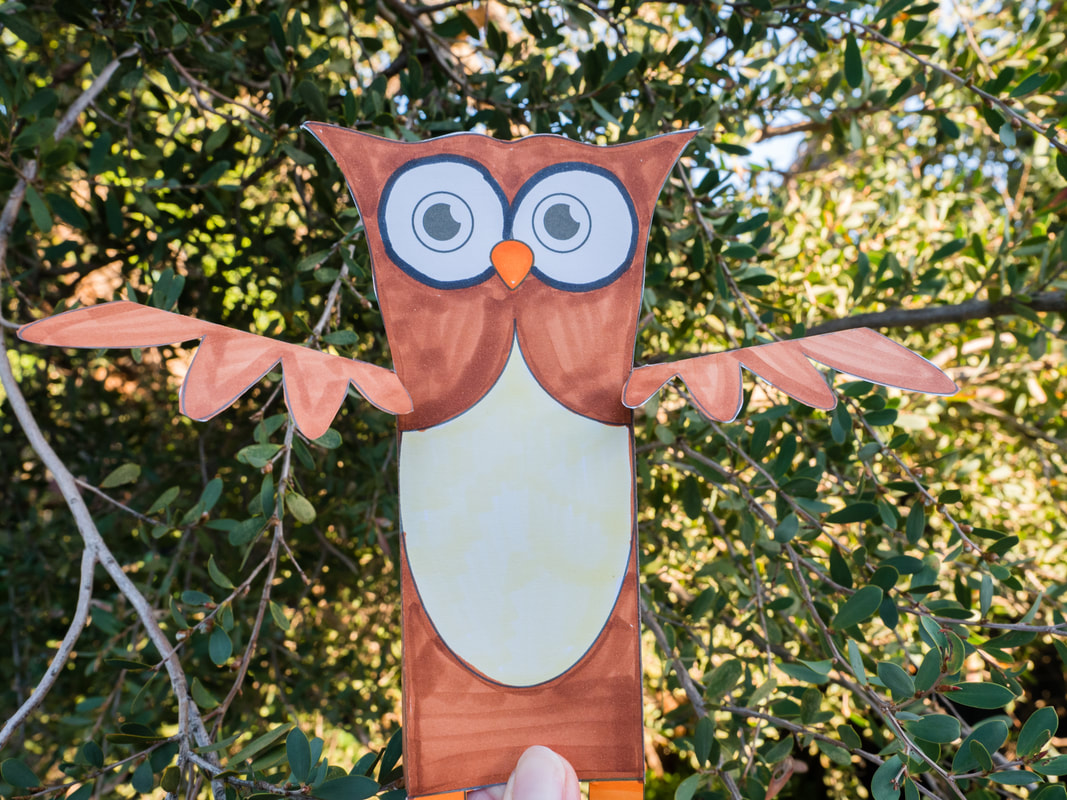
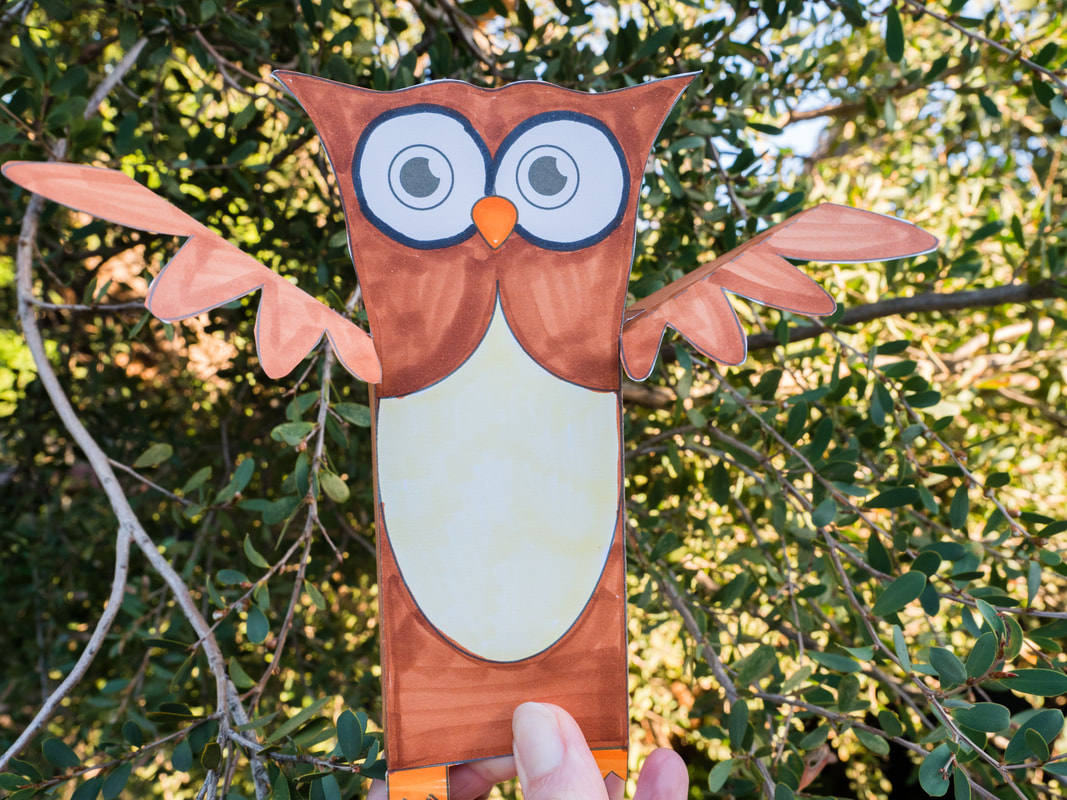
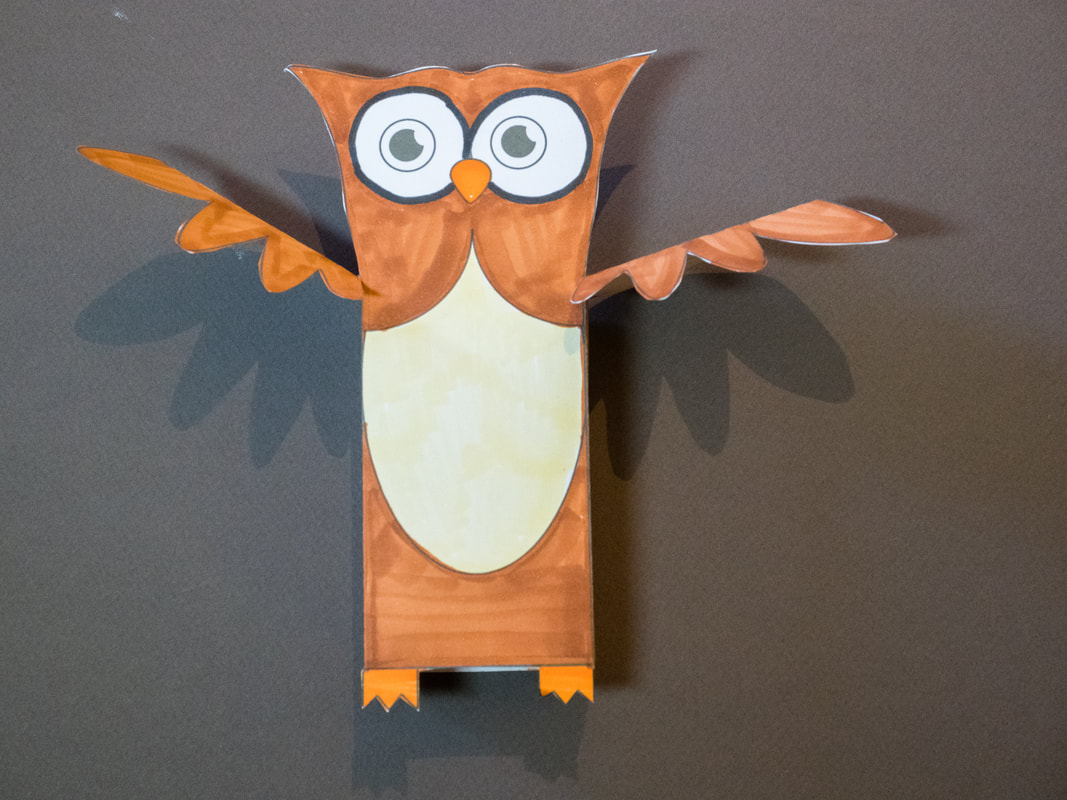
Owl PUppet with Moving Wings
Please consider supporting me :)
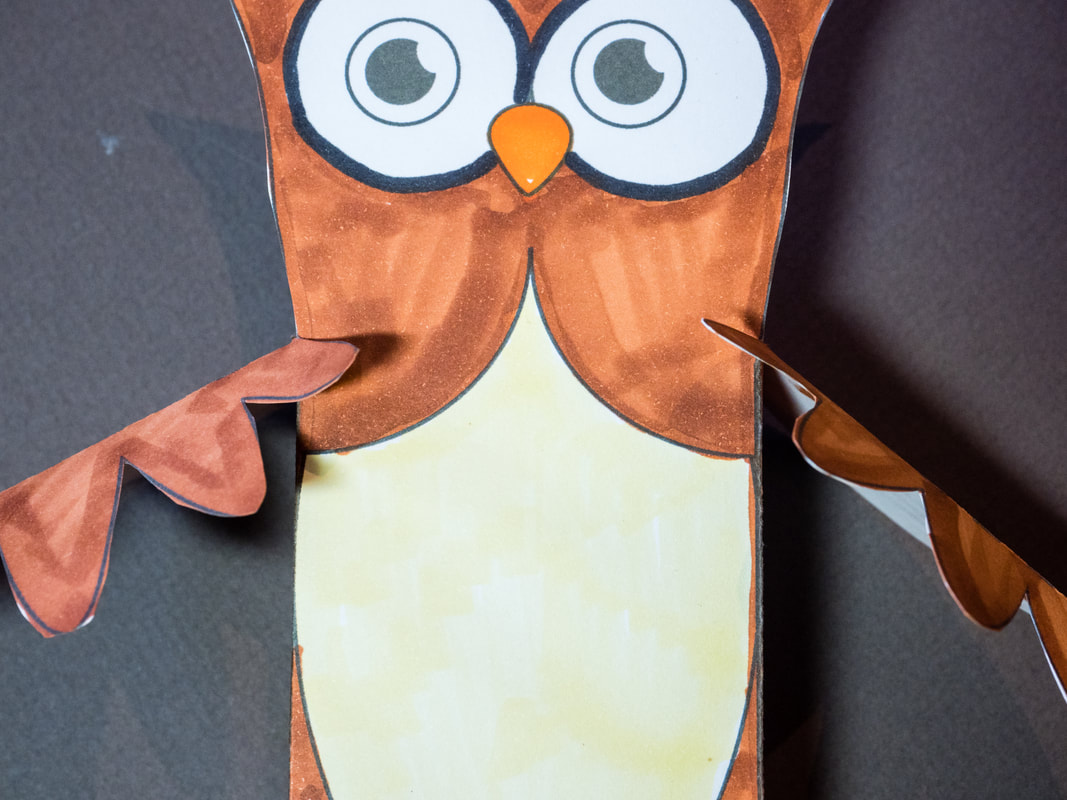
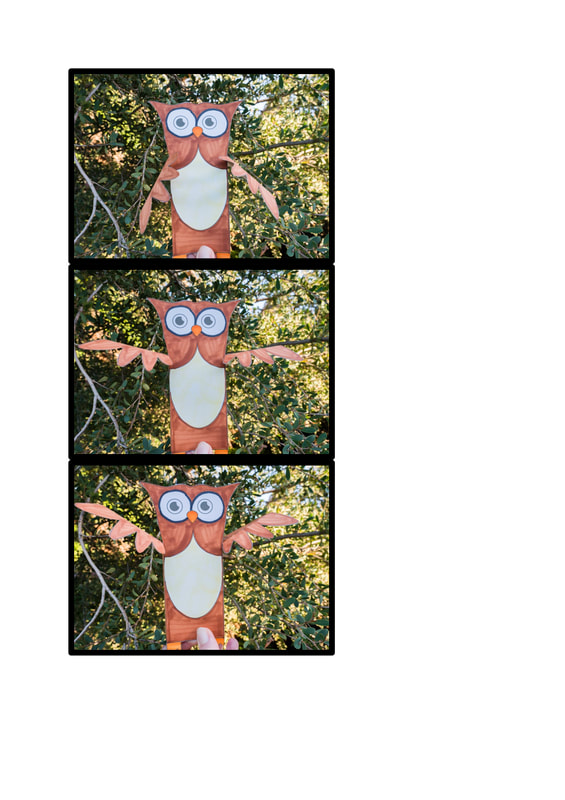
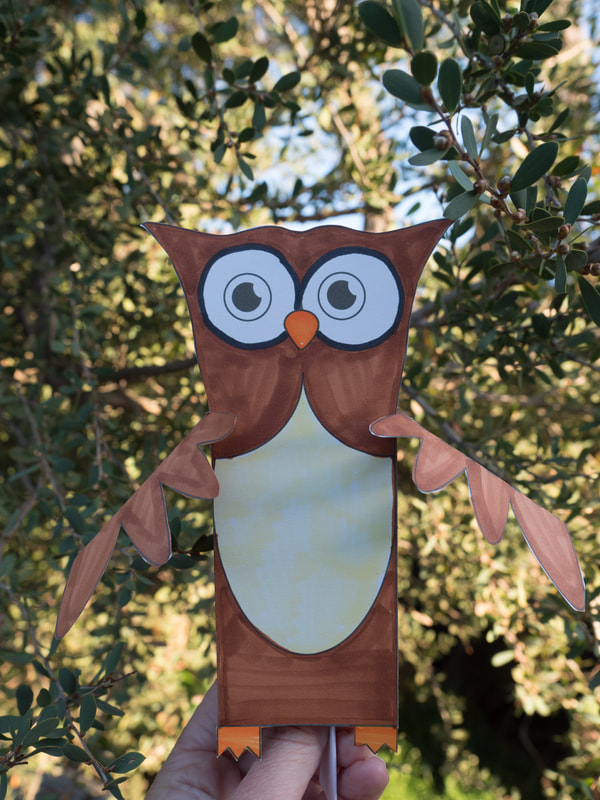
Make an owl puppet with wings that flap...
Materials
1. Two pieces of white A4 card that can go through your printer. Paper will work also, but the puppet will not be as robust or easy to use.
2. Colouring tools - eg. pens, pencils, crayons
3. Scissors
4. Tape - Double sided sticky tape is best
5. Printer (to print out the templates)
Instructions
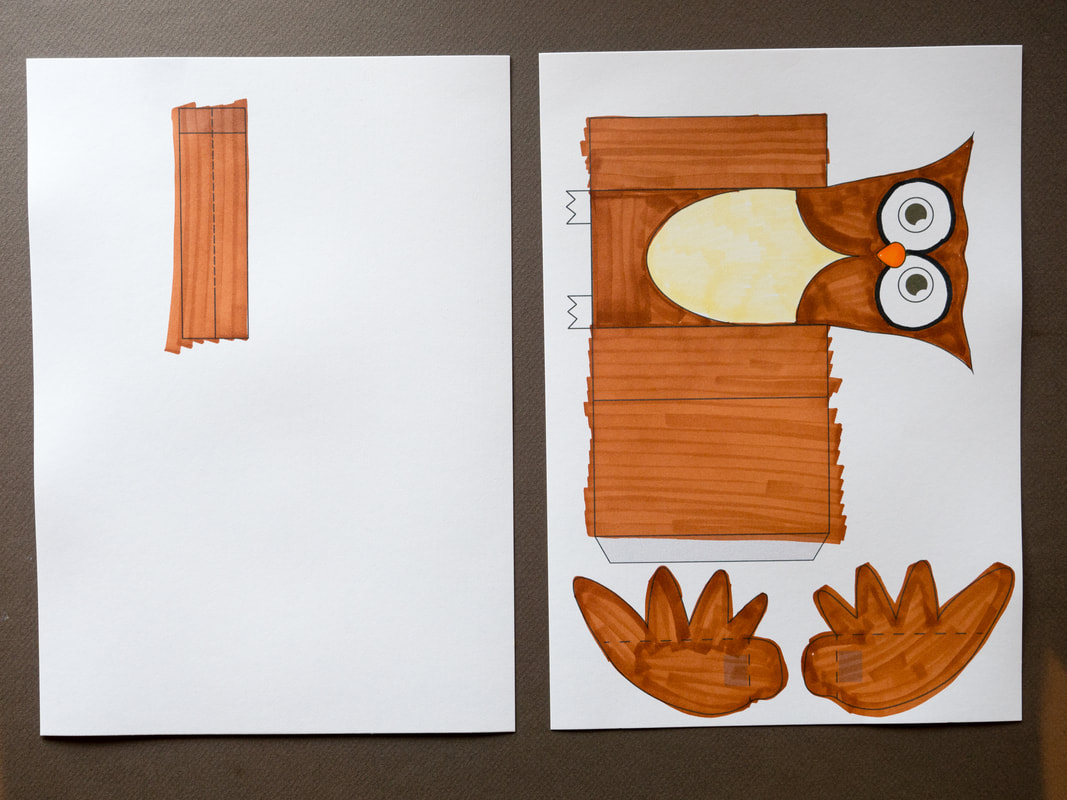
1. Print out the two templates for the owl puppet onto the white A4 Card. There are two choices to download (below) - pdf or jpg
|
| ||||||||||||
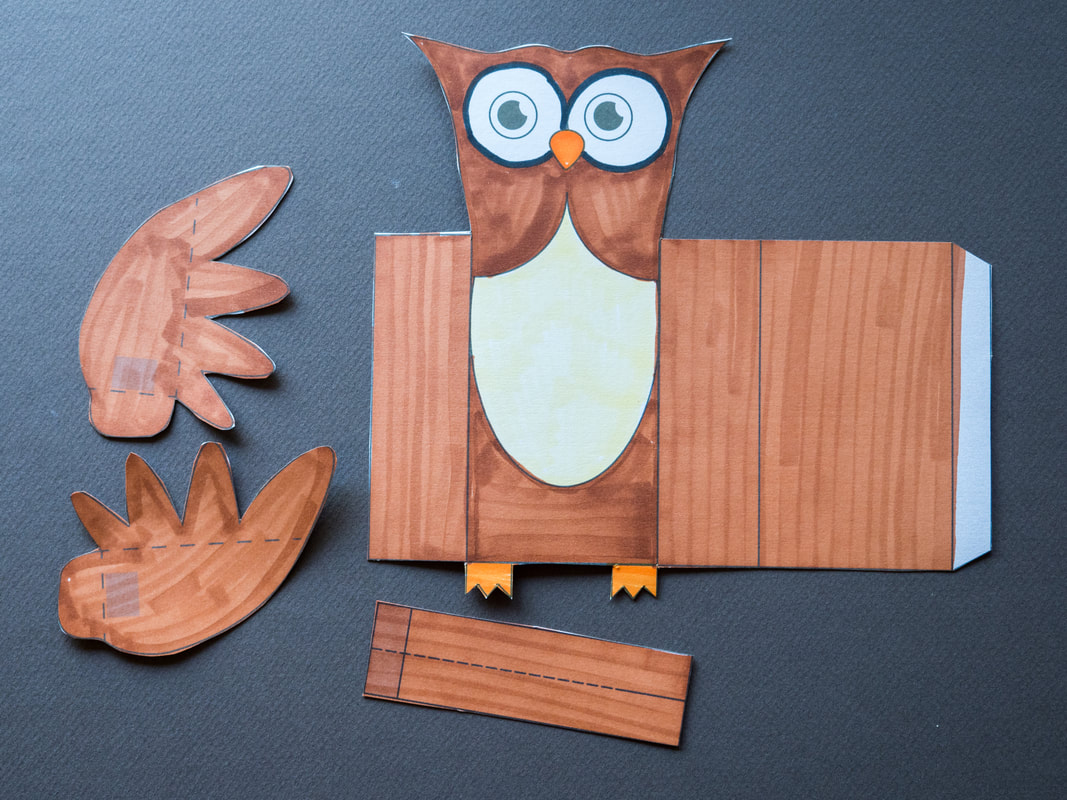
2. Colour in the pieces of the owl.
3. Cut out the pieces
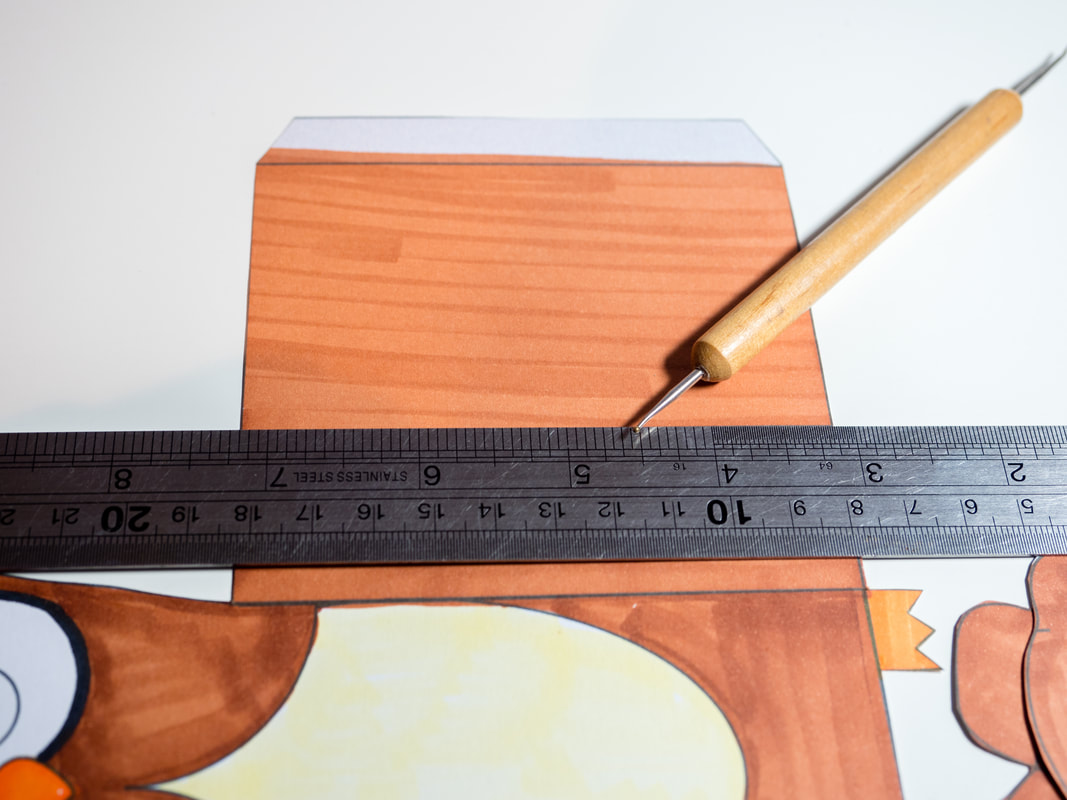
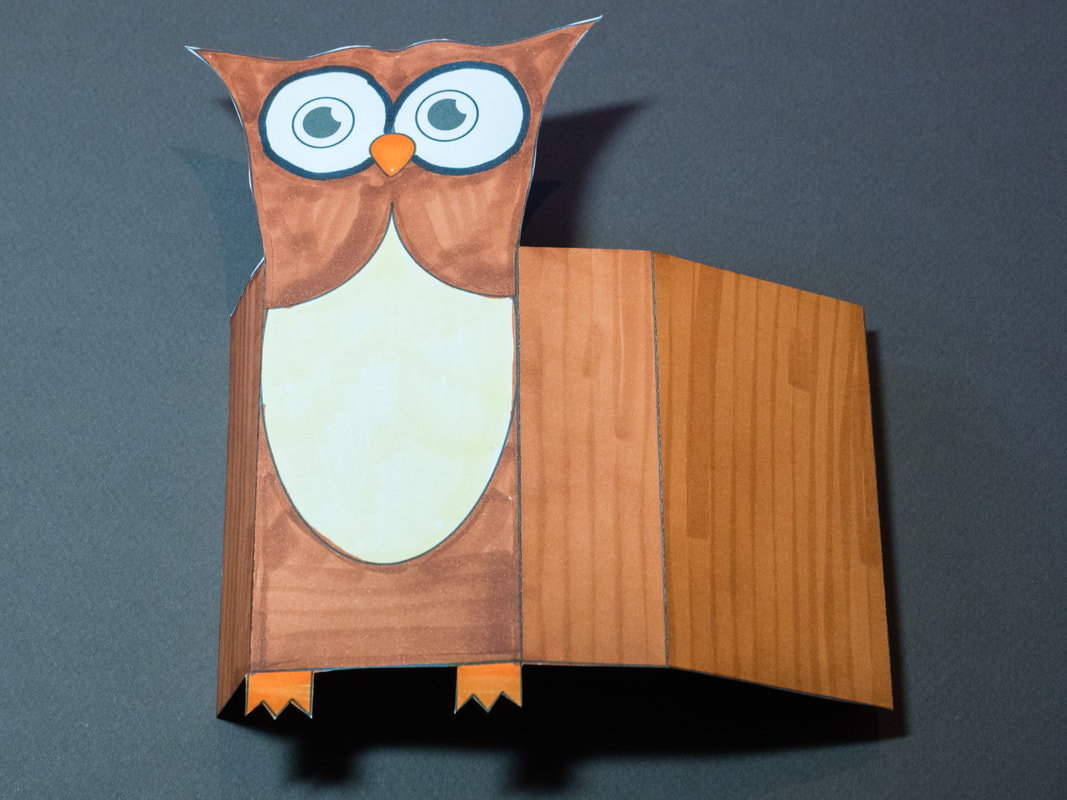
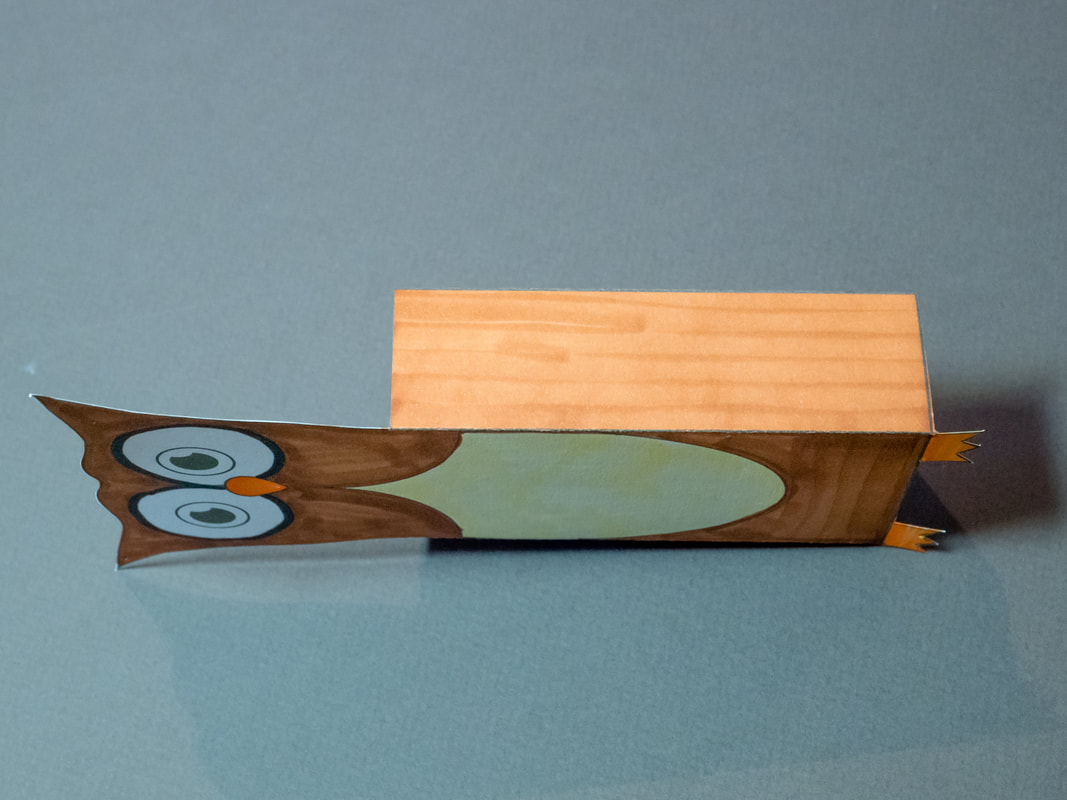
4. Fold the puppet (as shown below). I like to score the lines before folding them. This gives a sharp fold line and a better ed result. To score card you can wither use a scoring tool (you can find these in craft shops) or another blunt rounded instrument (I use an instrument designed to mould clay, a ball point pen that has run out of ink works well too).
5. Tape the owls body into shape (see below)
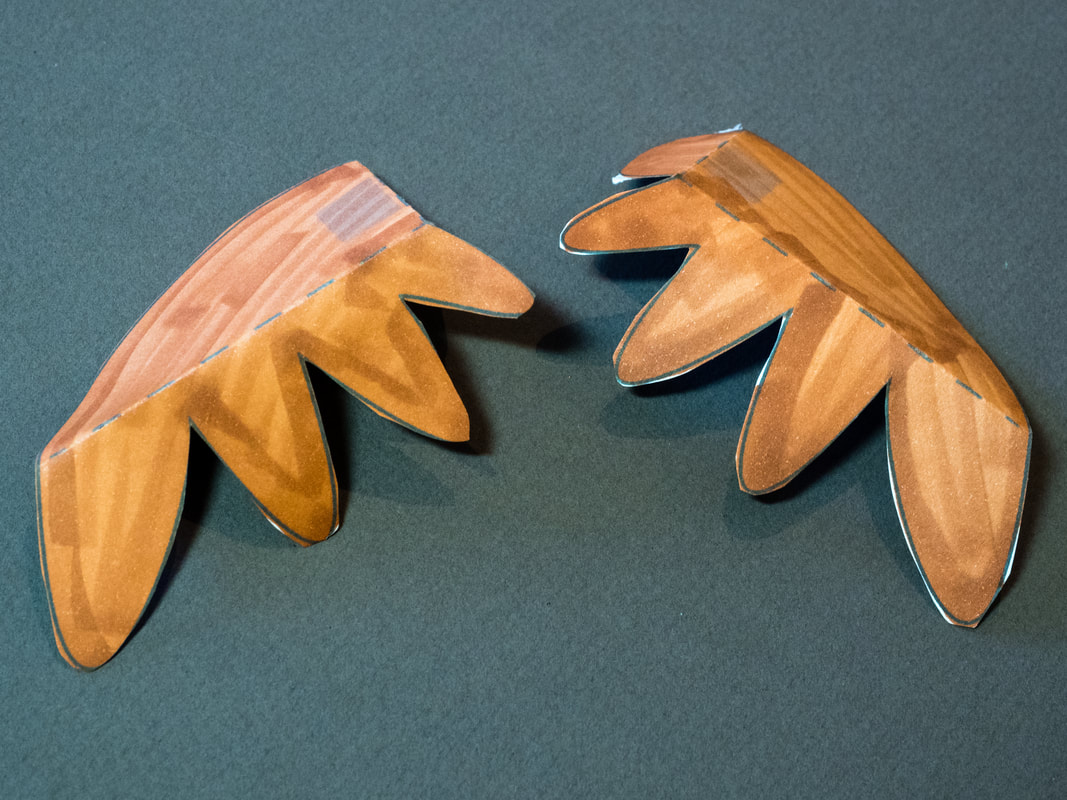
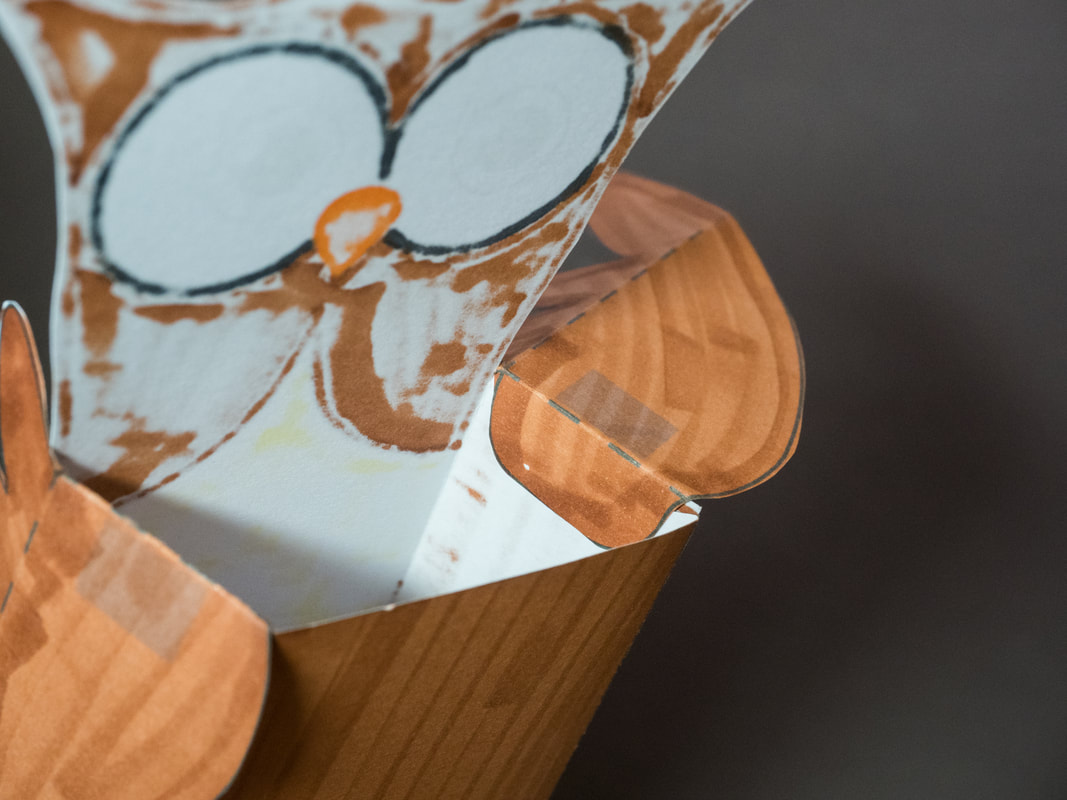
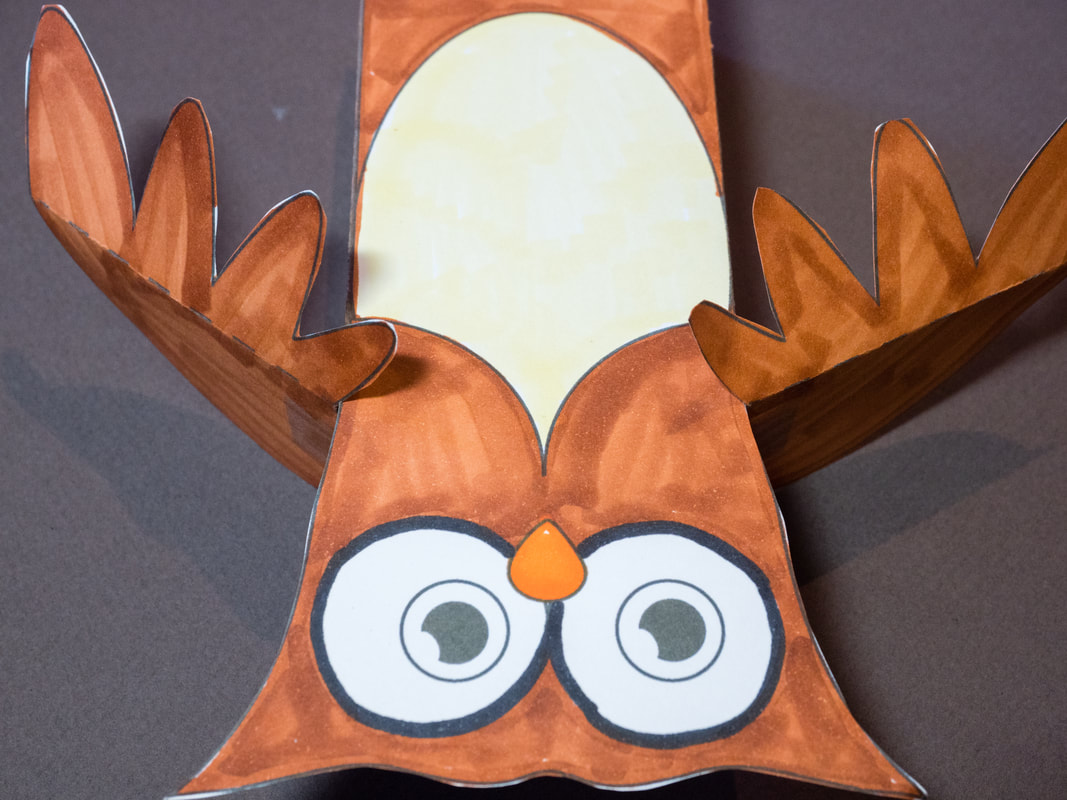
6. Tape the wings onto the owl (as shown below) using double sided tape. The tab folds over and adheres to the inside of the owl puppet. The tape is put onto the back (uncoloured) side of the wing tab. Make sure that the wing can still move freely before you tape it down.
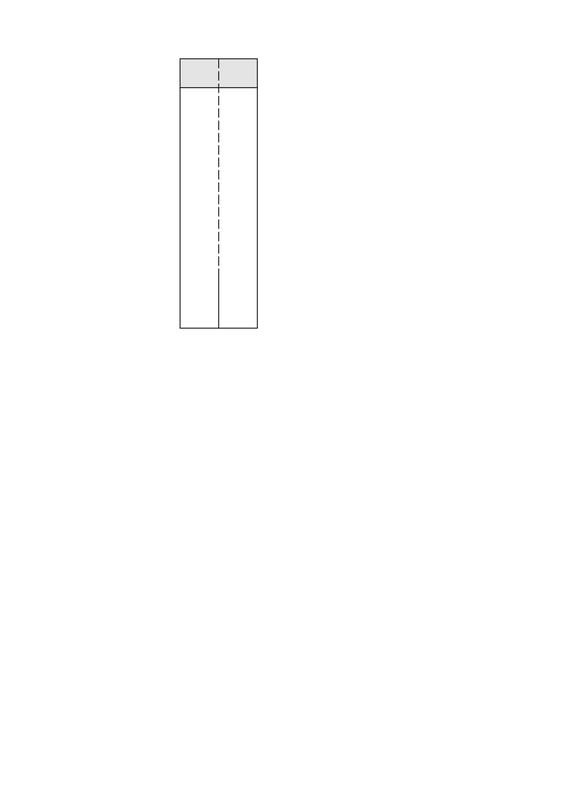
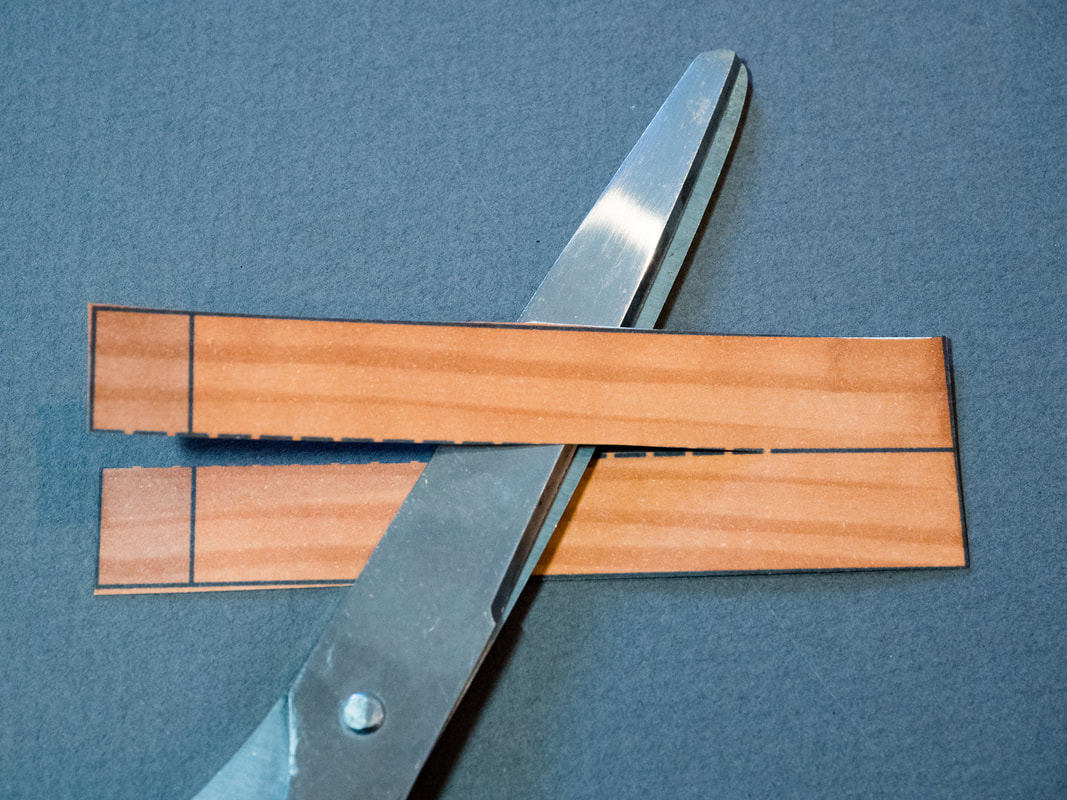
7. Cut the pulling stick down the middle on the dotted line. Do not cut the solid line. See the picture below for more details.
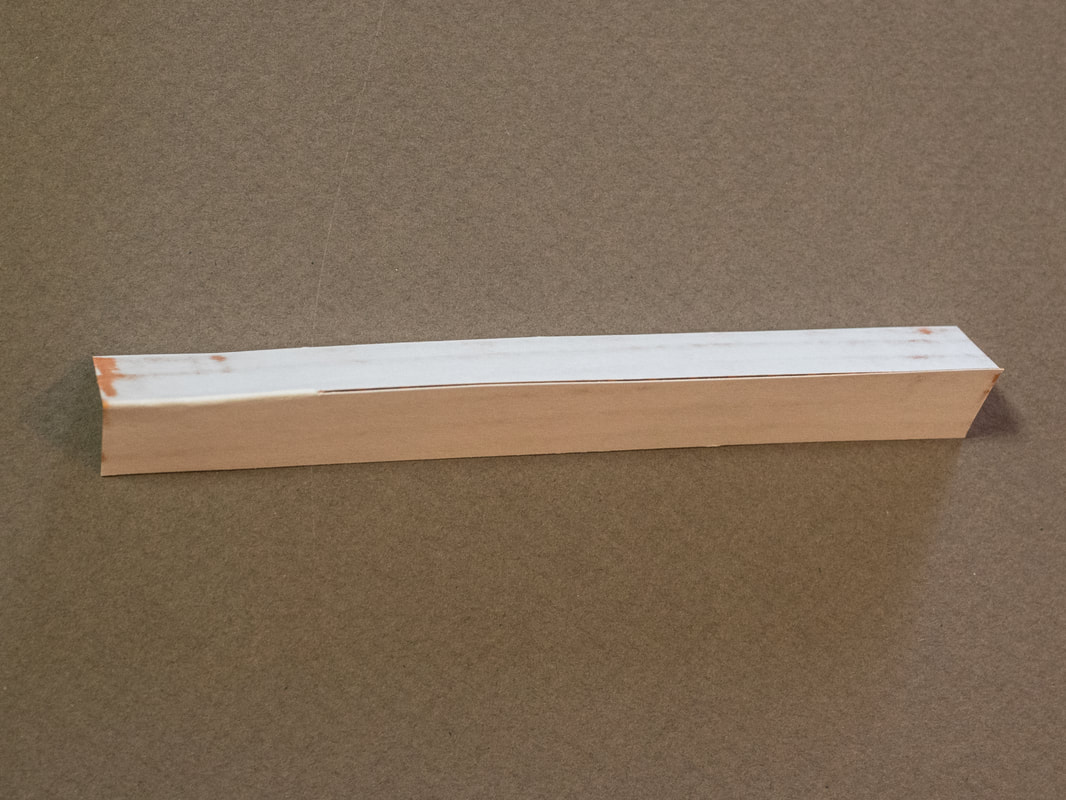
8. Fold the pulling stick in half (as shown) with the colour facing INWARDS.
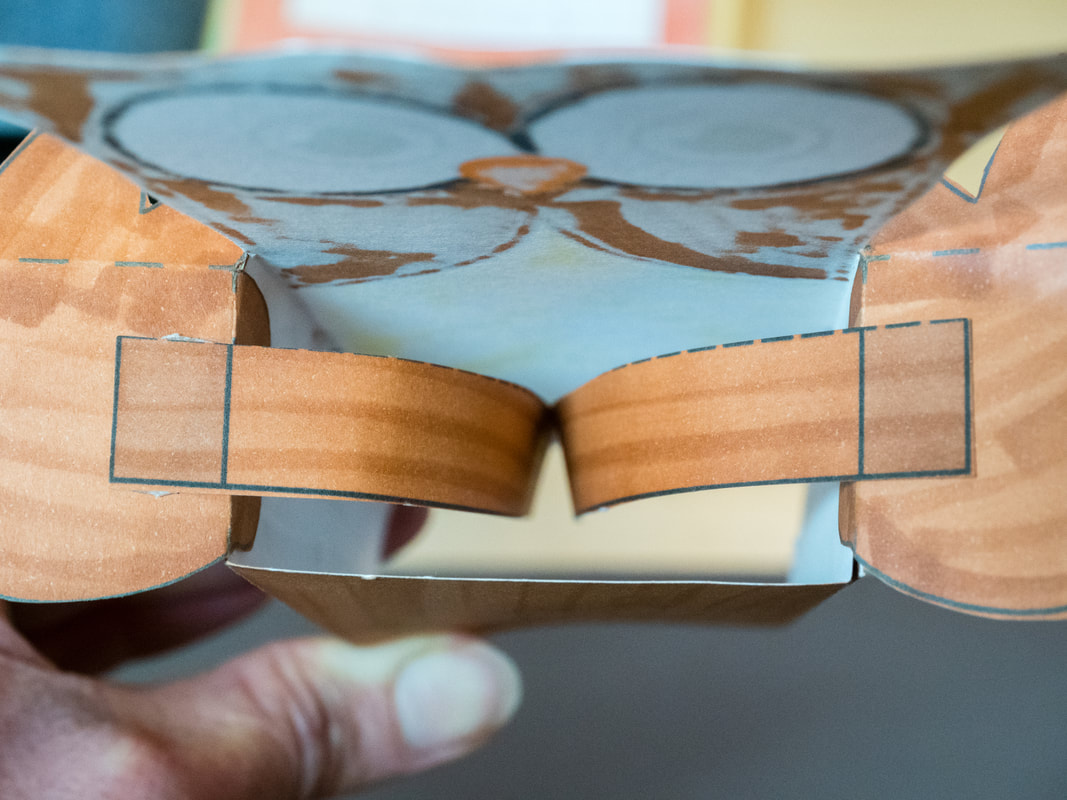
9. Attach the pulling stick to the top of the owls wings (as shown) using double sided tape. There is a spot marked on the owls wings where these should attach, and a corresponding mark on the pulling stick, however note that the tape goes on the back (uncoloured) side of the tab. I
When attaching the pulling stick, start by inserting the uncut portion into the owls body first, then open up the two pieces of the stick, one to each wing.
When attaching the pulling stick, start by inserting the uncut portion into the owls body first, then open up the two pieces of the stick, one to each wing.
10. Your owl is finished! Make the wings move by grasping the pulling stick inside the owl and moving it up and down. If you have big hands (like mine) that don't easily fit into the owls body, attach a length of card to the pulling stick (using double sided tape works well), forming an extension to the pulling stick that you can reach more easily.
|
|
All Crafts, Printables and Site Content are free for personal use only. Stock photos are free. If you find Craft n Home helpful, please buy me a coffee!
© craftnhome Privacy Policy |
