Kite Card
Thanks for your support!
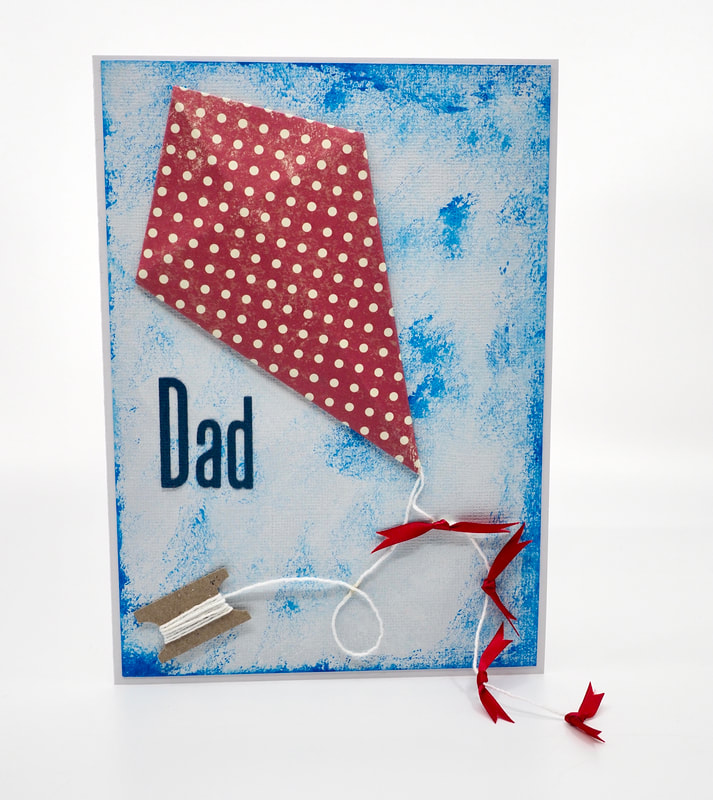
Perfect for Father's Day or for Dad's Birthday. This kite card is easy to make and personalise with colours and words.
Materials Required:
1. Piece of paper 15cm x 15cm square (for the kite)
2. Double-sided sticky tape
3. Double-sided mounting foam
3. White string (aprox 40cm length)
4. Four pieces of thin (approx 0.5cm wide) ribbon approx 10cm length each (coloured to match the kite paper)
5. A4 Cardstock. Either scored and folded in half to make a large (A5) card base OR halved, then scored and folded to make a standard size card base.
6. Small piece of thick kraft card approx 3.5cm x 1.5cm
7. Dark blue ink pad or paint
8. Off -white ink pad or paint
9. Small sponge
10 Ruler and pencil
11. Scissors.
12. Letters "D A D" - Hand punched letters, stickers or other cut-out letters
13. Sticky tape
14. PVA craft glue
|
Instructions:
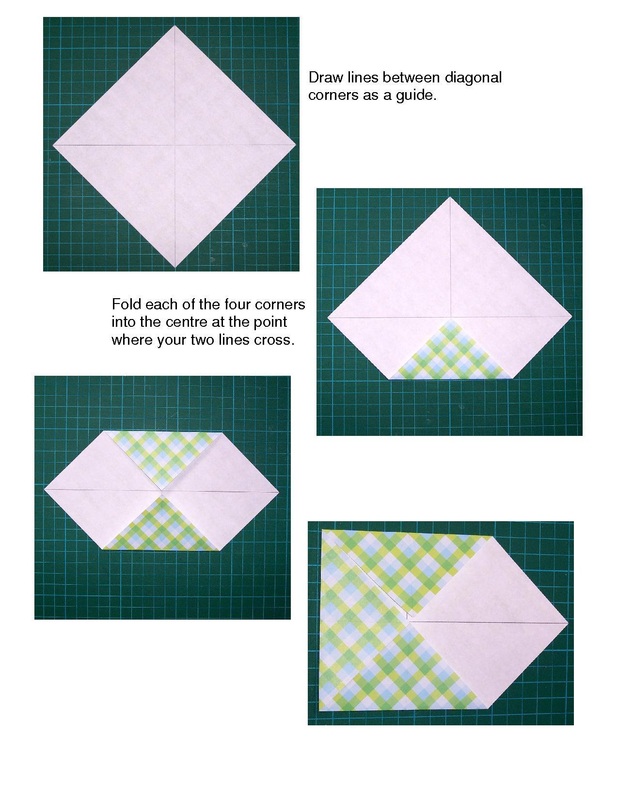
1. Turn the piece of paper 15cm x 15cm to the reverse side. Draw lines in pencil crossways between the corners to mark the centre of the paper with a cross (see picture below) 2. Fold each of the four corners into the centre (which you marked with the cross). You should end up with another square shape. (see picture below) |
|
|
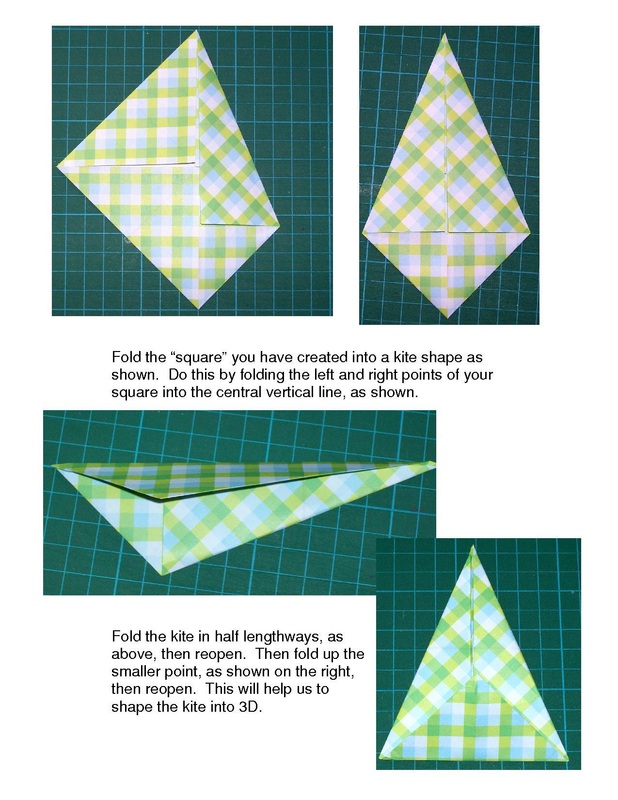
3. Fold this square into a kite shape as shown in the photos. Do this by folding the left and right points into the central vertical line.
4. Crease the kite by folding in in half lengthways, unfold, and then fold again where the two triangles meet. Unfold (see picture below) |
|
|
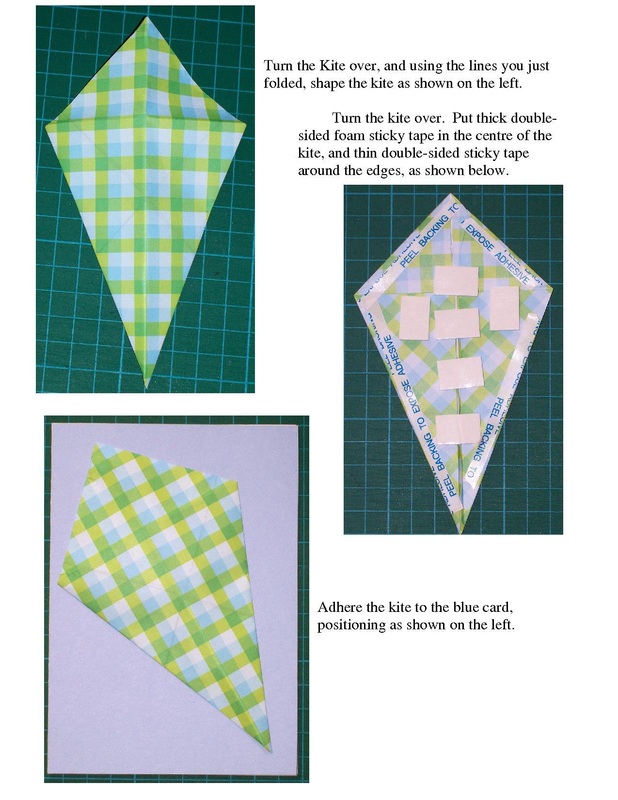
5. Turn the kite over, and shape the kite to 3D, as shown below.
6. Turn the kite over again, and put the double-sided mounting tape in the centre, and the thin double-sided tape around the edges, as shown below. The mounting tape will hold the kite in the 3D shape. 7. Adhere the kite to the blue card, positioning as shown below, but do not adhere the base down as the string has to be put in place first. Hint - it would be helpful to leave the covering on the double-sided tape on the lower part of the kite until the string has been put in place. |
|
|
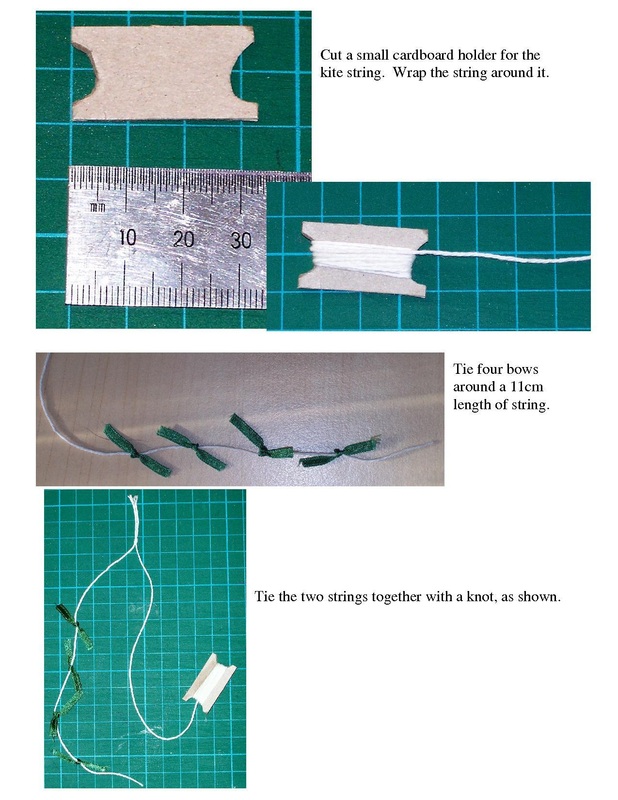
8. Make a small holder for the kite string from a piece of thick brown card (approx 3cm x 1.5cm), see below for how to shape the holder.
9. Wrap string around the holder, as shown below, until the holder looks half filled. Glue the string down onto the holder so that it can't unravel. See below picture to help with the amount of string. 10. Tie the four ribbons around a length of string about 14cm long. Trim the ends. 11. Tie the kite string and the holder string together with a knot, as shown below. |
|
|
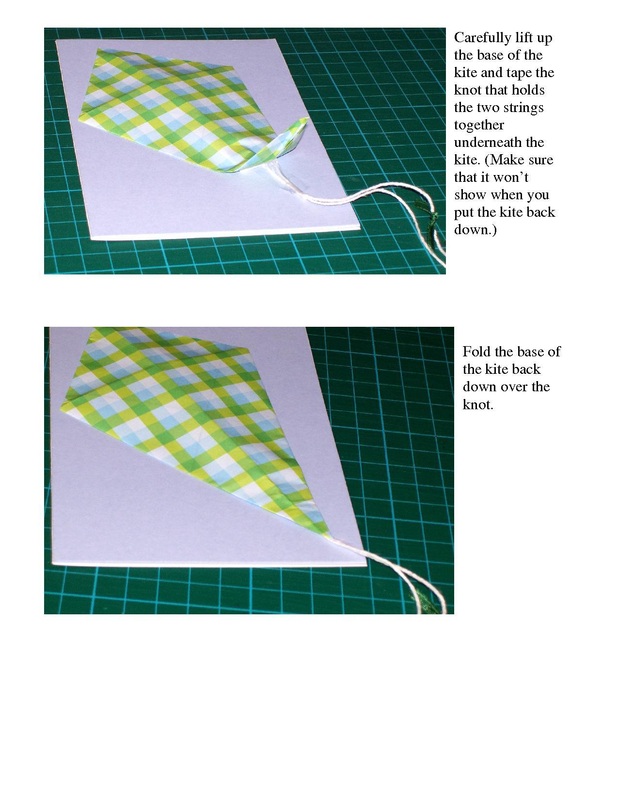
12. Carefully lift up the base of the kite and tape the knot that holds the two strings together underneath the kite. (Make sure that it won’t show when you put the kite back down.)
13. Fold the base of the kite back down over the knot. |
|
|
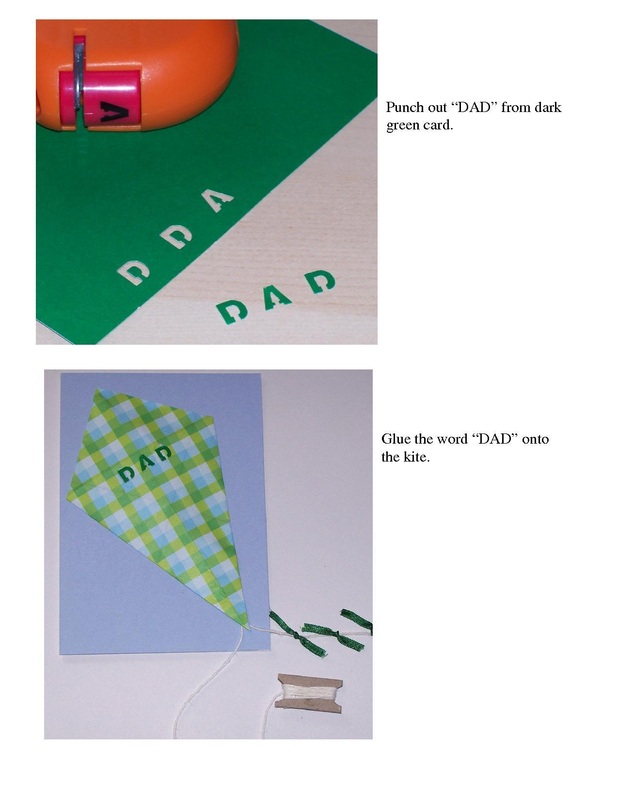
14. Get your letters ready - Cut, die cut or punch "D a d" or your chosen phrase from paper or card (or use stickers)
15. Adhere the "Dad" onto the kite, as shown below. |
|
|
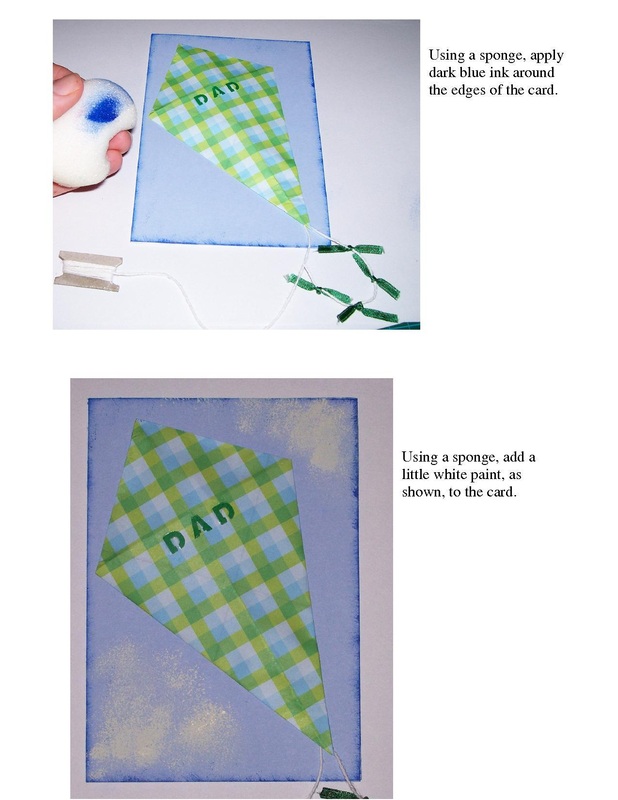
16. Using a sponge, apply dark blue ink / paint around the edges of the card.
17. Using a sponge, add a little white ink / paint, as shown, to the card. |
|
|
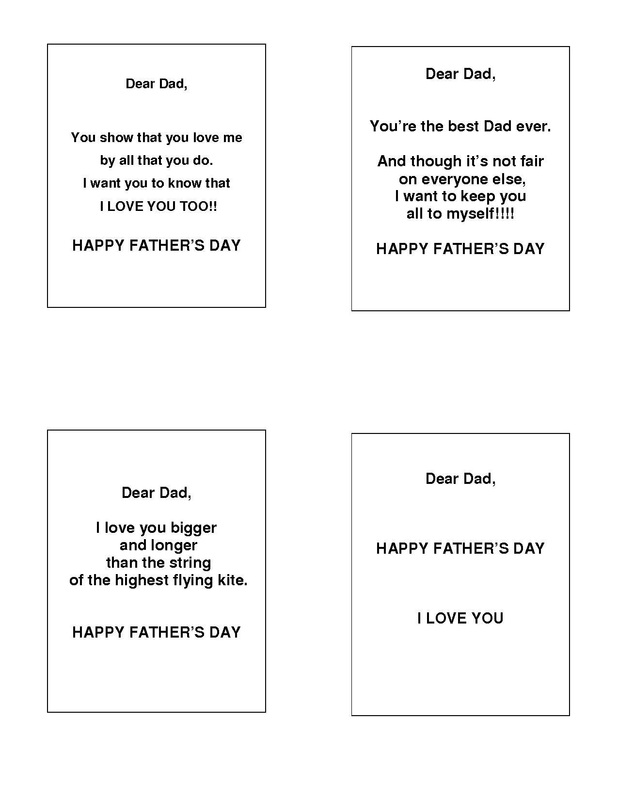
18. Print off the template for words inside the card.
If you do not want to use the given words, you can use your own words by typing them out on your computer or writing them into the card by hand. To Print Open the jpg template (right) OR open the pdf doc (below) and select print.
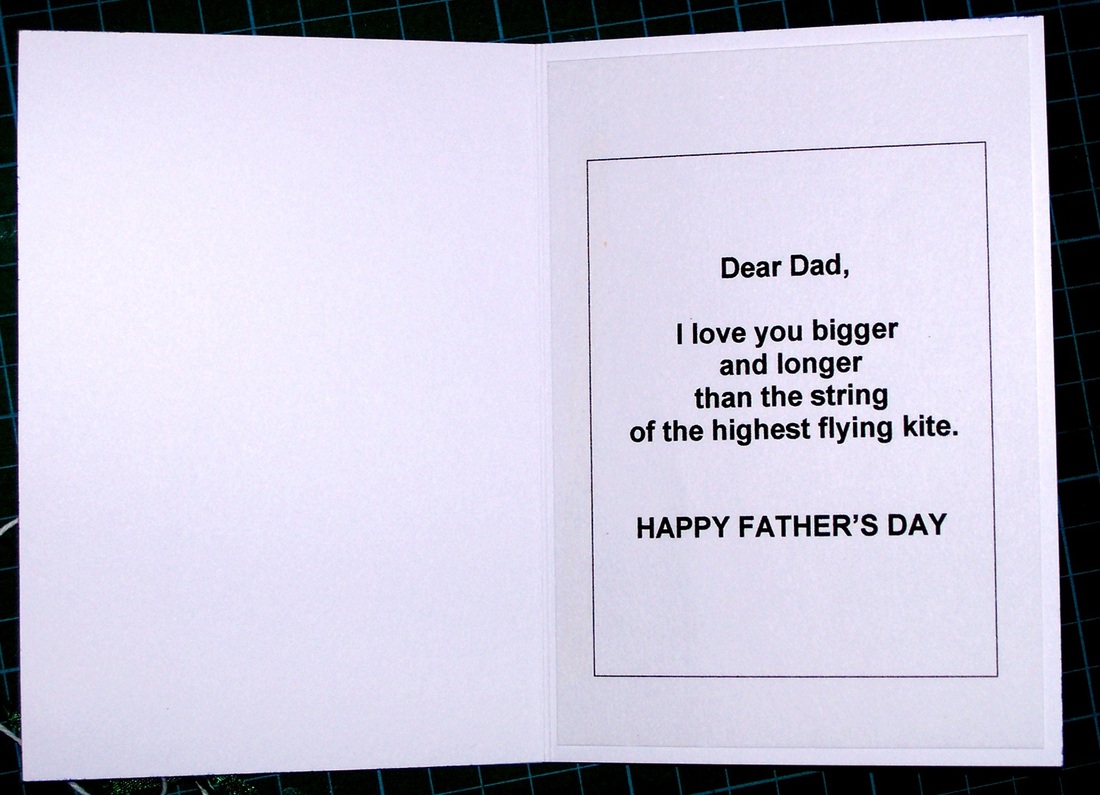
19. Cut out the required words into a rectangle shape that measures 1cm less width and height than your greeting card (this should be 14cm x 9.5 cm for a standard card base). Centre the words in the rectangle - see picture below.
20. Attach the rectangle with the words into the card using a strip of double-sided tape on the back of the left-hand side of the rectangle |
Words Template
| ||
|
21. Use double-sided tape to adhere the kite string holder to the card, as shown.
|

|