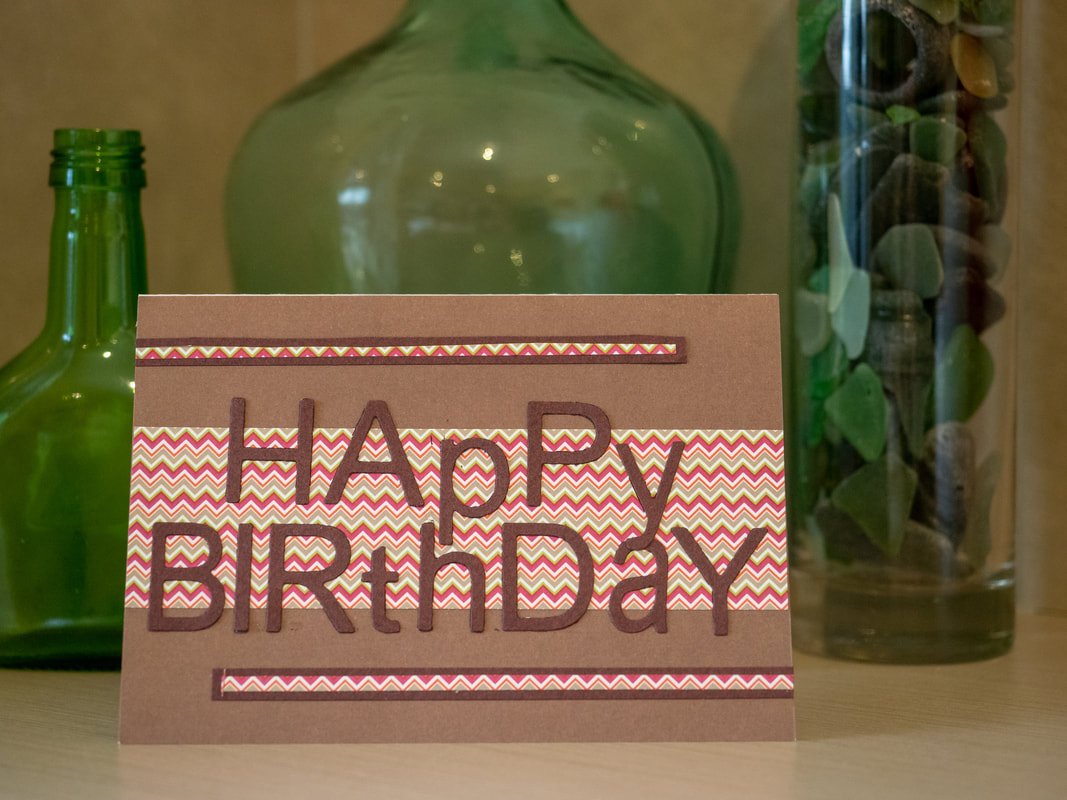
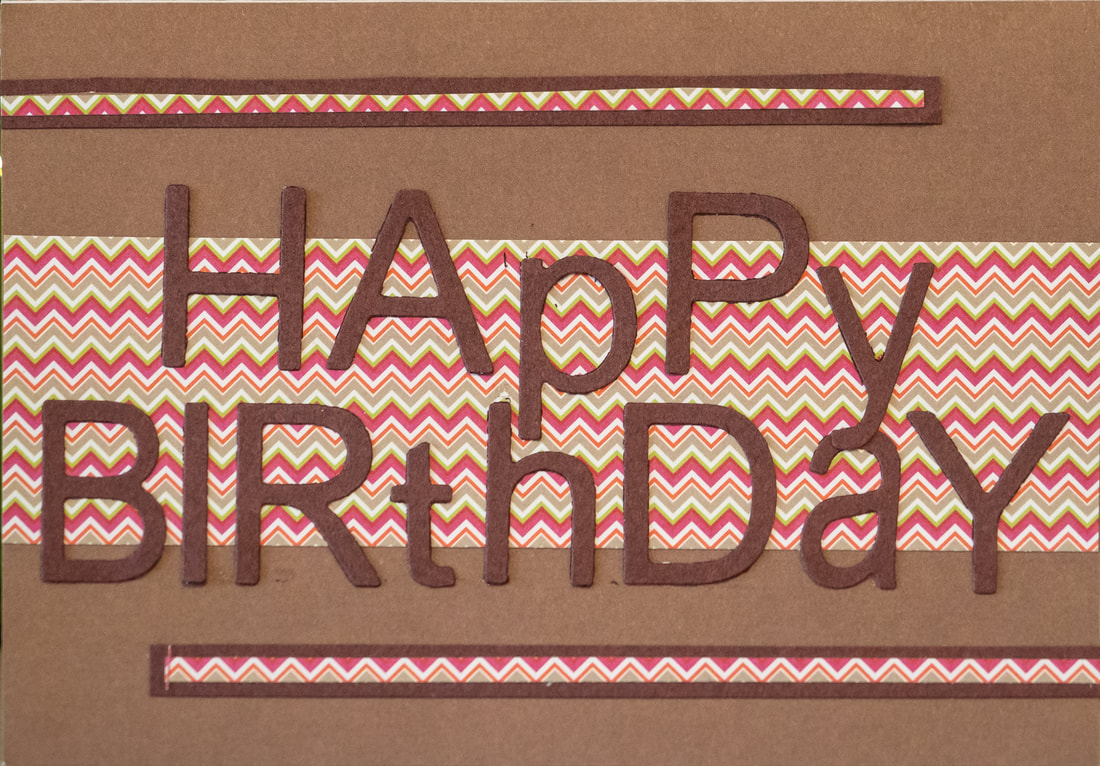
Happy Birthday Card
Thanks for your support!
Materials Required:
White card base 15cm wide x 21cm high, scored and folded in half
Piece of light brown card or paper 15cm x 10.5cm
Double-sided sticky tape
Dark brown card
Patterned paper
Sticker maker or glue
Scissors, craft knife or craft paper cutter
Ruler
Sizzix Big shot or other die cut machine
Alphabet dies in both upper and lower case. The letters will need to be up to a max 2cm wide, but some will need to be thinner than this if they are to fit across the card (mine varied in width from 0.3 to 2cm). The height of the letters should be about 2.5cm maximum.
Instructions:
1. Adhere the piece of light brown paper/card to the front of the base white card using double sided sticky tape.
2.Cut two strips of dark brown card approximately 13cm wide and 0.8cm high and set aside.
3. Cut the letters for "Happy Birthday" using the rest of the dark brown card and the alphabet dies.
4. Cut a piece of patterned paper 15cm wide and measure it's height against your die-cut letters. Cut the paper so that the letters will protrude slightly off the top and bottom of the paper (it should be about 4 to 4.5cm high).
5. Cut two thin strips of the patterned paper approximately 12.5cm long and 0.3cm high
6. Use double-sided sticky tape (or glue or a sticker maker) to adhere the larger piece of patterned paper to the centre of the card, as shown.
7. Then use double-sided sticky tape (or glue or a sticker maker) to adhere the dark brown strips of paper to the card, as shown, approximately 1cm from the top and bottom edges of the card respectively. Then adhere the thin strips of patterned paper on top, as shown.
8. Carefully plan out your placement of the "Happy Birthday" letters by placing them onto the card and rearranging them until you are happy with how they look. Once you are happy, adhere the letters down onto the card one at a time to ensure that you keep their placement (using a sticker maker if you have one, otherwise use double-sided sticky tape or glue.)
8. Carefully plan out your placement of the "Happy Birthday" letters by placing them onto the card and rearranging them until you are happy with how they look. Once you are happy, adhere the letters down onto the card one at a time to ensure that you keep their placement (using a sticker maker if you have one, otherwise use double-sided sticky tape or glue.)
|
|
All Crafts, Printables and Site Content are free for personal use only. Stock photos are free. If you find Craft n Home helpful, please buy me a coffee!
© craftnhome Privacy Policy |

