Layered Punched Shape Cards
Thanks for your support!
These cards are incredibly simple but also striking... an easy way to make a card with an impact. Grab those punches out of the cupboard and put them to good use making geometric shaped cards...
Materials Required
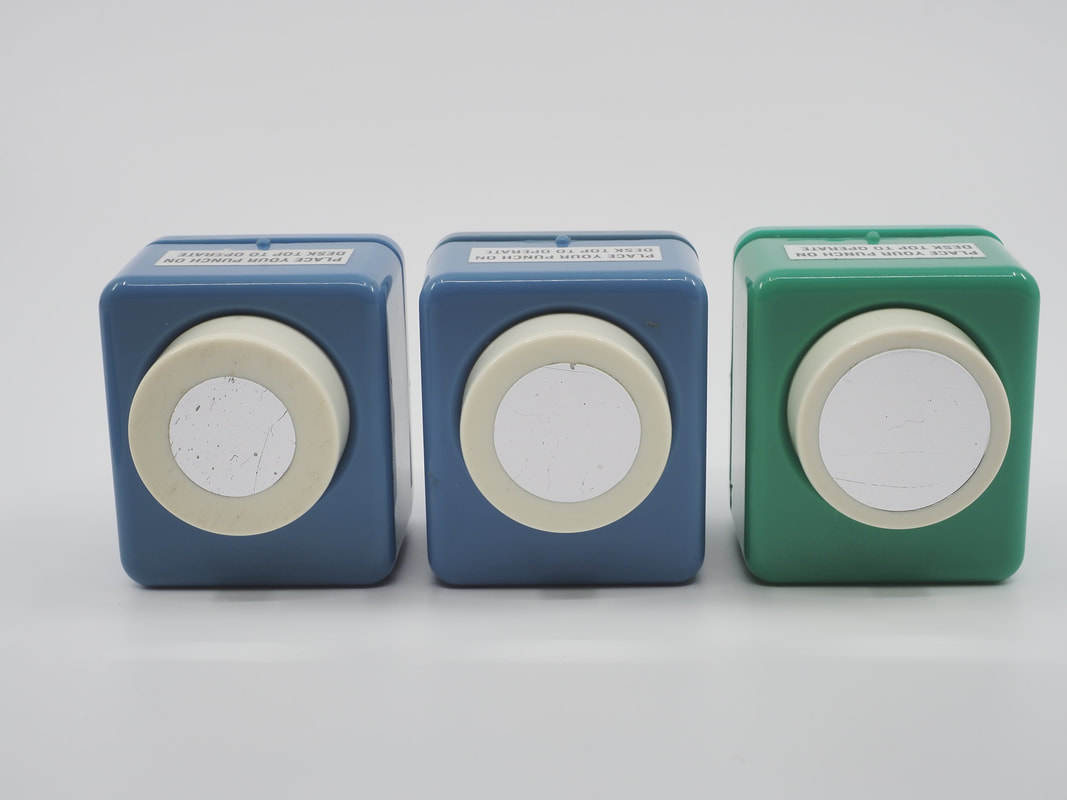
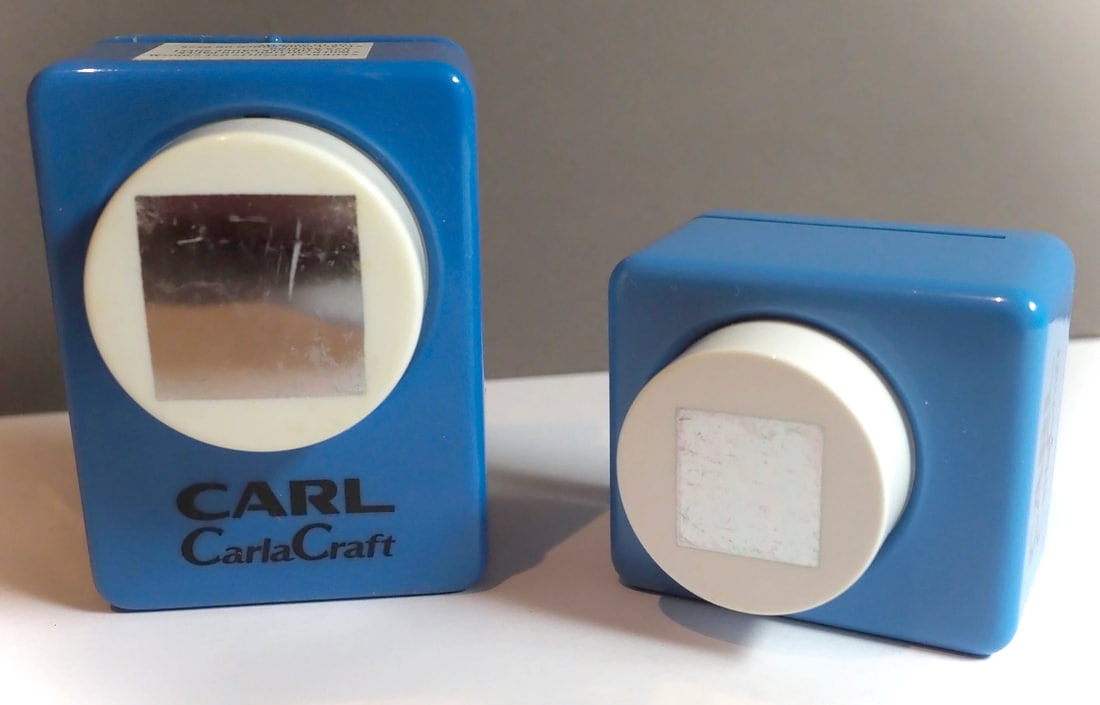
- Punches - simple shapes in several different sizes eg: circles, squares, hearts
- Card in 3-4 colours
Instructions
Use punches of the same shape but in various sizes - three different sizes of the same shape works well, but two sizes will also work.
Choose a colour scheme. Three or four colours works well. One of those colours can be the same as the background card, however, remember that when you layer your shapes, if the lowest layer is the same colour as the base card it will blend into the background...
Choose a colour scheme. Three or four colours works well. One of those colours can be the same as the background card, however, remember that when you layer your shapes, if the lowest layer is the same colour as the base card it will blend into the background...
|
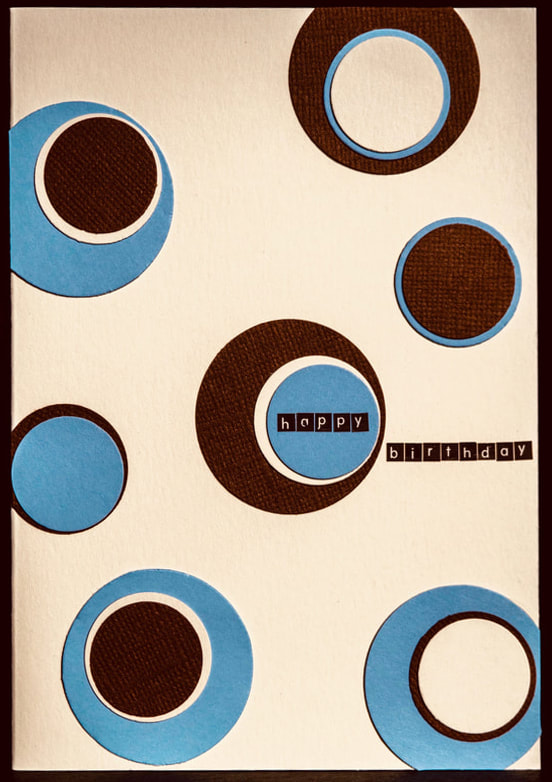
In the circular punch card (right), I used the three colours: chocolate, cream and blue. I chose cream as the colour of my base card, so I only used chocolate or blue to be the circle at the back of the layering. The cream circles were always on top of either blue or chocolate to help them stand out. I chose to arrange the circles randomly over the card, laying some out over the edges which were later carefully trimmed level with the edges using a craft cutter.
Small alpha stickers, or stamped words can personalise your card for a specific occasion... |
|
|
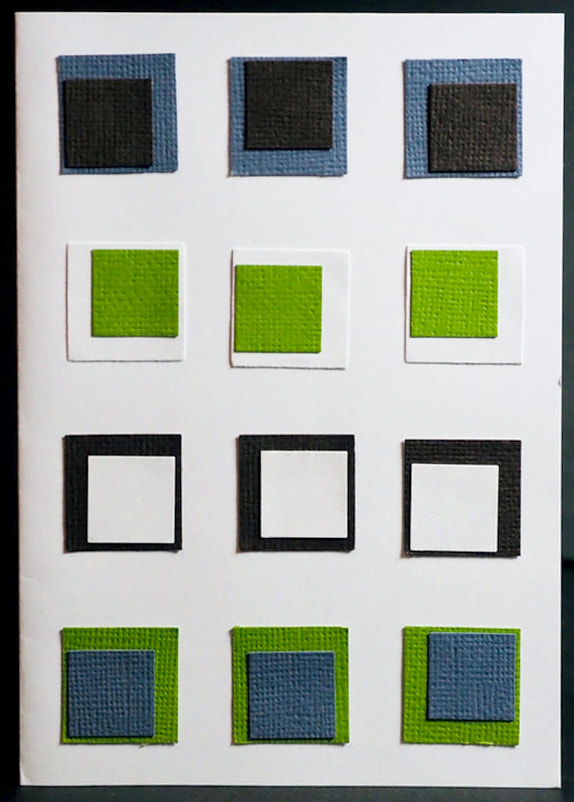
In the square-punch card (right), I have layered the white card on the white base in the second row of squares.
In this card the symmetric placement of the bottom layer of squares makes this an interesting feature. I've used only two sizes of square, four different colours. When you layer your shapes, think about layering them off centre and all slightly differently - to create interest. Instead of punches you can easily cut out your own squares of varying sizes. |
|
WOrking out the symmetrical placement of circles
|
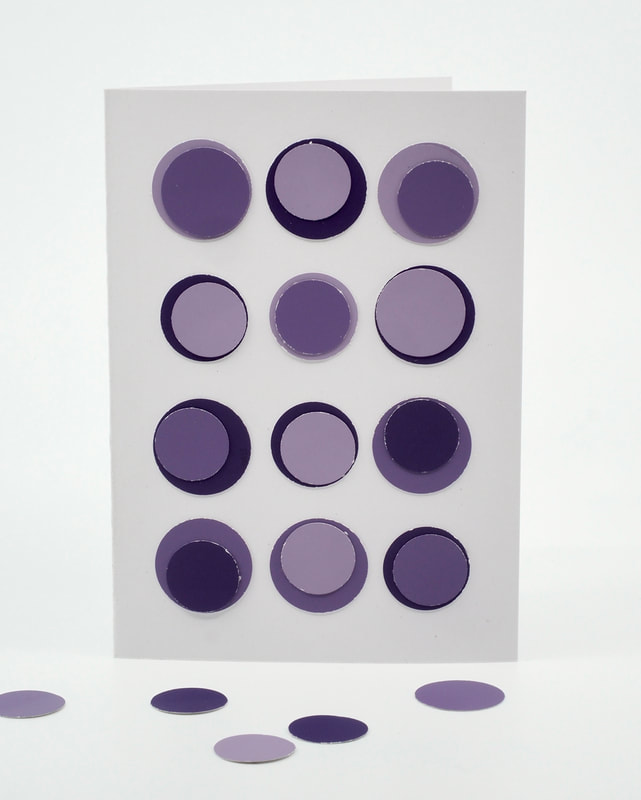
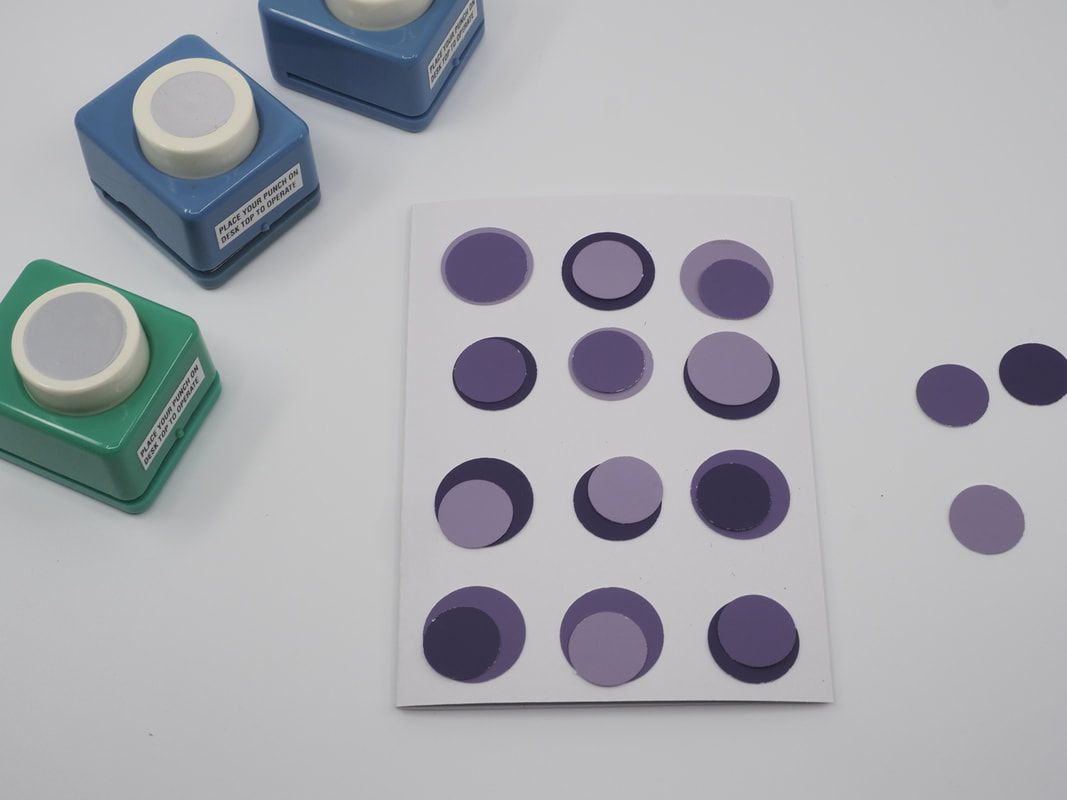
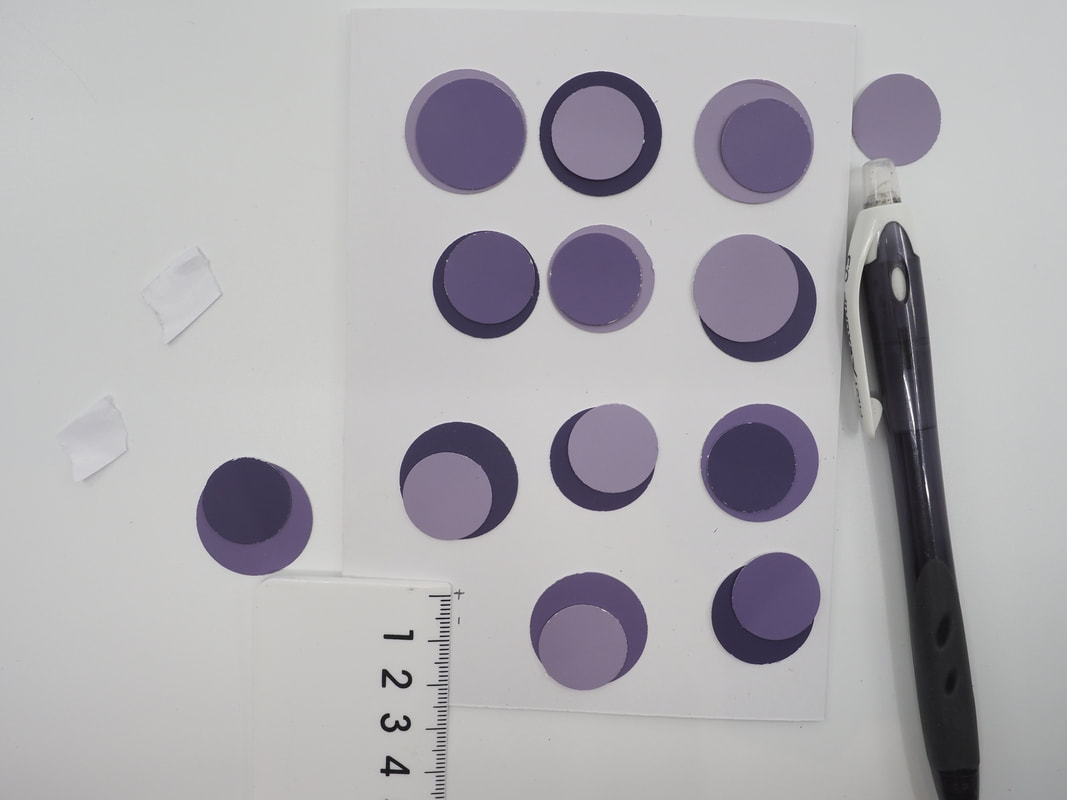
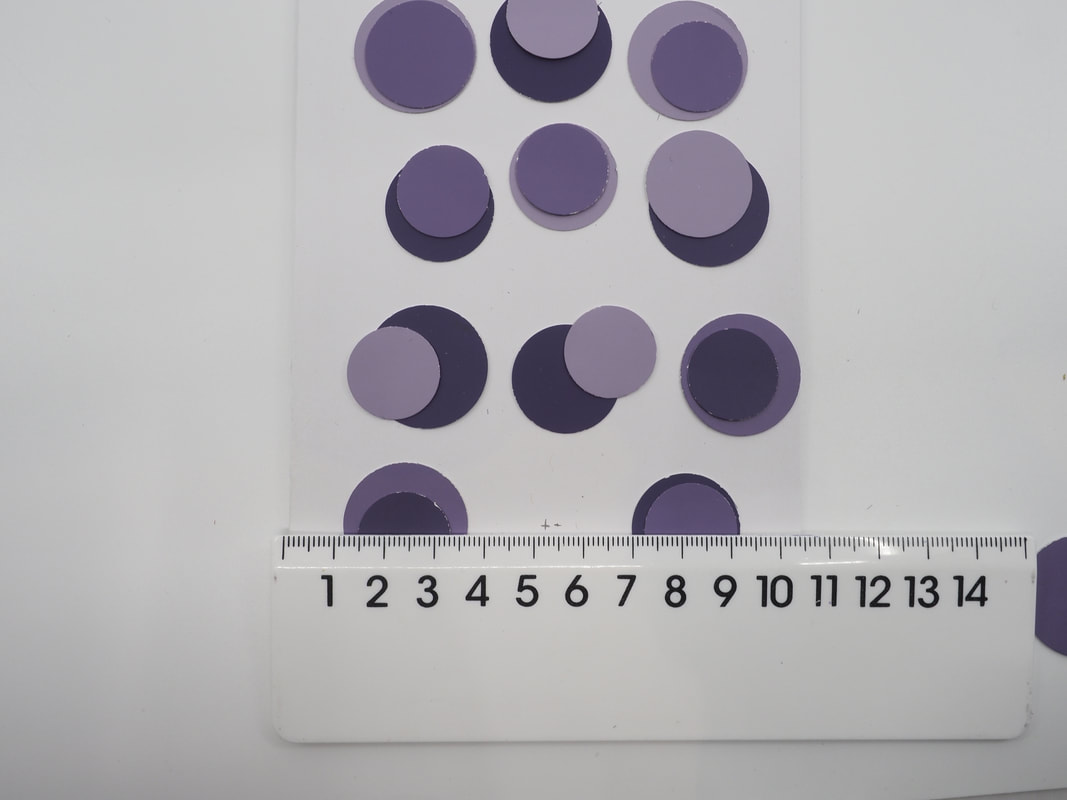
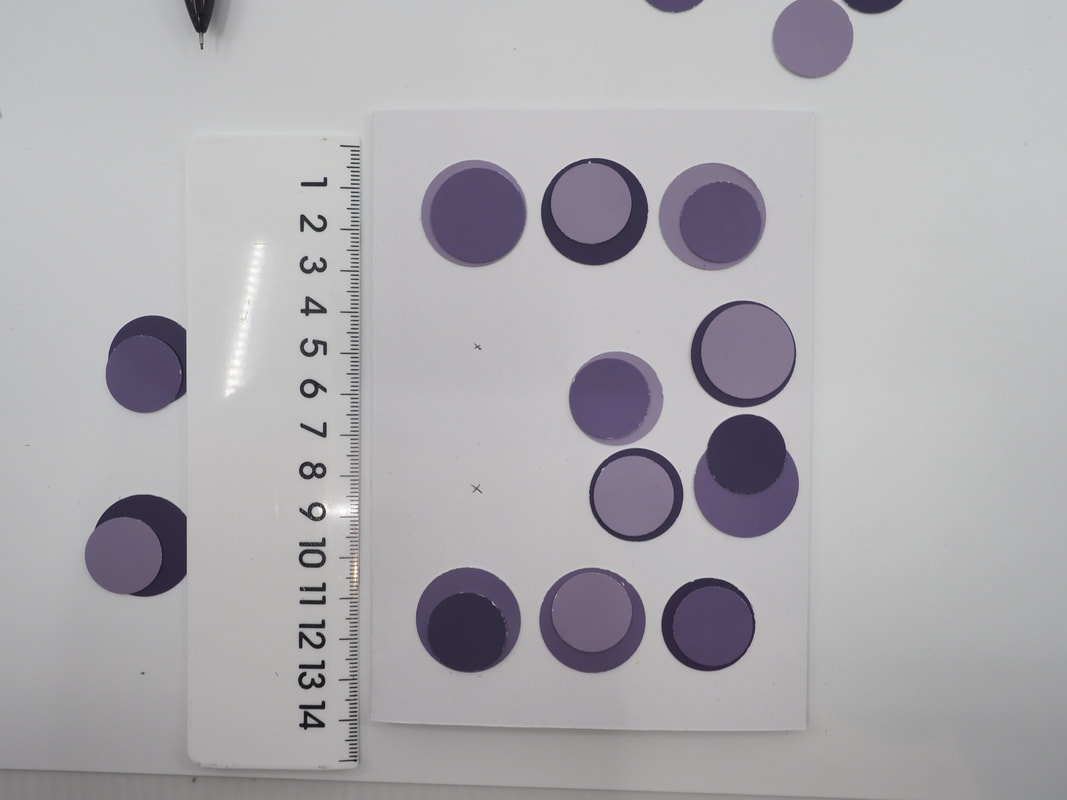
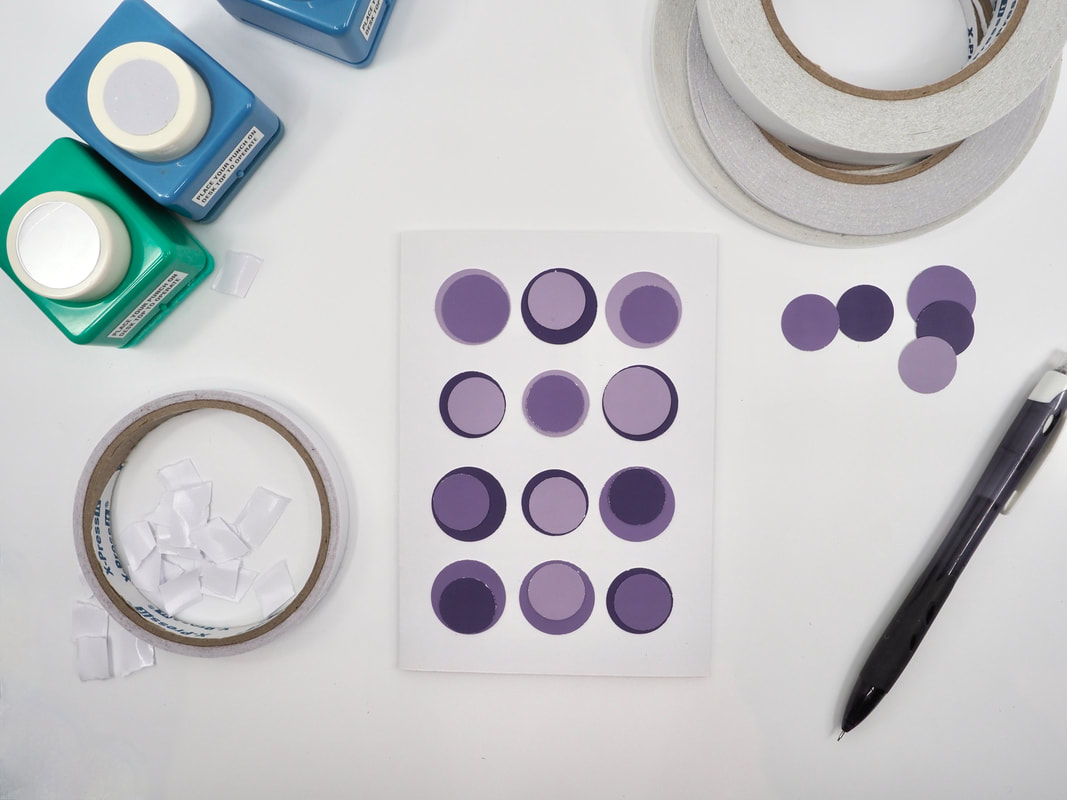
When making the purple circles card (right) I used three different purple colours punched in three different sizes arranged in a grid of 3 columns /4 rows.
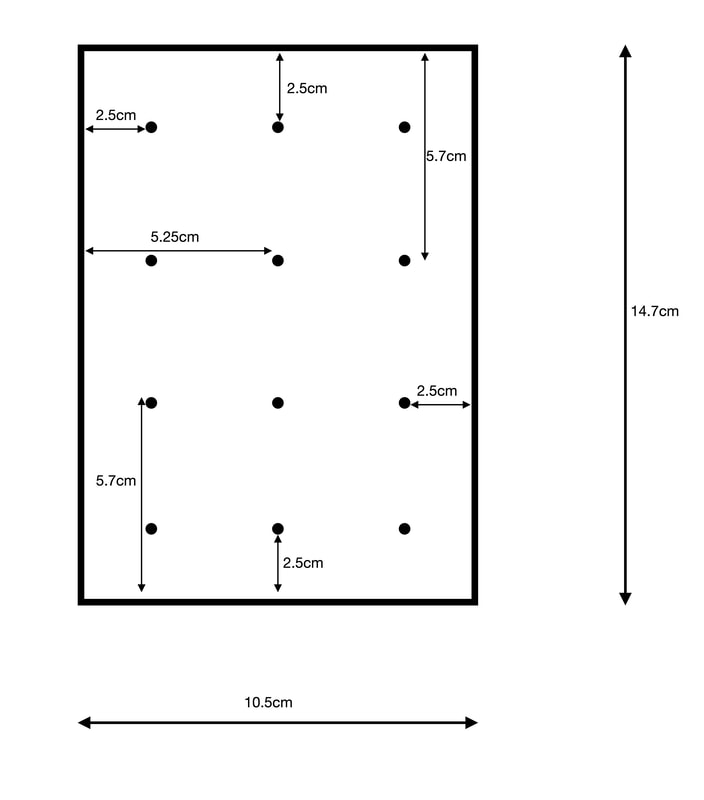
The base circles are all symmetrically placed, while the upper circles were all off-centre. The base card was made by cutting a piece of A4 paper in half (21cm wide x 14.7cm high), then scoring and folding it in half to make a card (10.5cm wide x 14.7cm high) |
|
Circle Placement
|
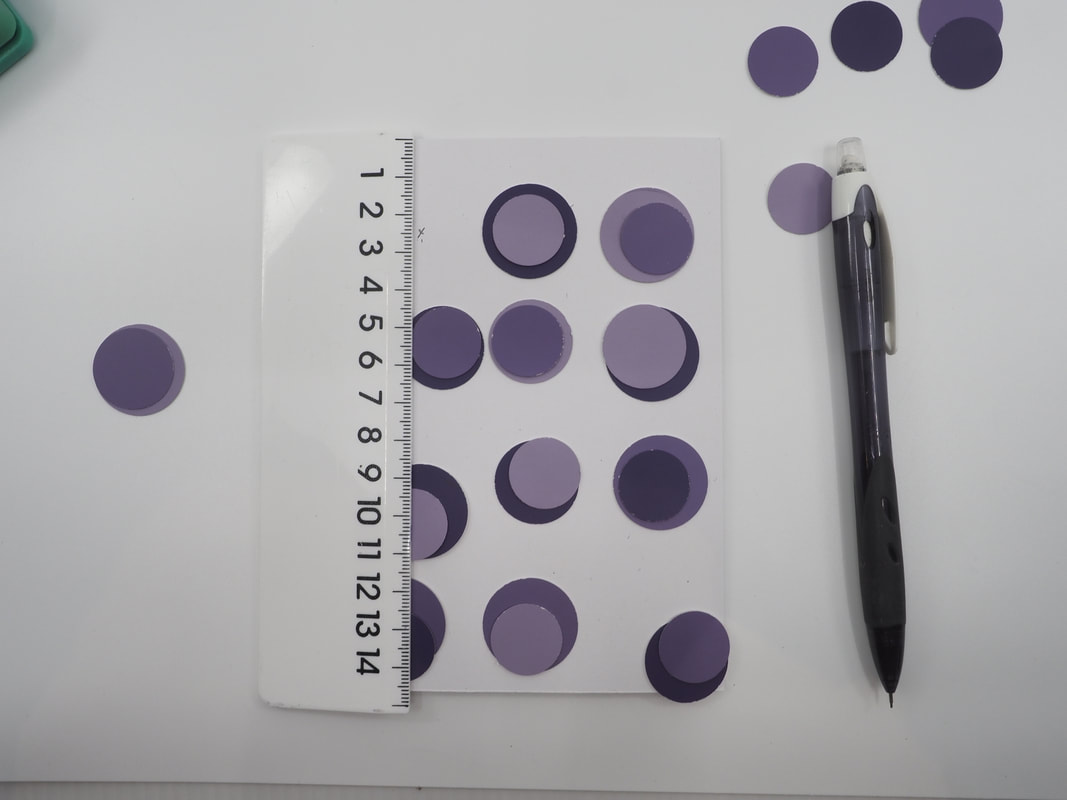
First I roughly arranged the circles onto the base card until I was pleased with how they looked.
|
|
|
Then I used a pencil to mark 2.5cm from both the top and left edges - this is the centre placement of my first base circle. Then I carefully adhered the base circle onto the card, centred onto this mark, and the smaller circle on top of that, slightly off centre.
|
|
|
Then I measured 2.5 cm in from the bottom and left edges, marking the site for the centre of the lowest set of circles in this first column. Then I adhered this base circle onto the card, and the smaller circle on top of that.
Next I marked and adhered the top and bottom circles of the right column into place using the same 2.5cm measurements. |
|
|
Next came the circles in the top and bottom rows of the centre column.
The card measured 10.5cm wide, so I marked the card 5.25cm from the left edge, and 2.5cm from the base of the card for the bottom circle in the centre column, and 2.5cm from the top of the card and 5.25cm from the left edge for the top circle in the centre column. I adhered the circles down. |
|
|
The card is 14.7cm high so the centre of the second row is at 5.7cm from the top of the card, and the third row is at 5.7cm from the bottom of the card.
Mark out the position of the middle two circles in the first column: 2.5cm from the left edge and 5.7cm from the top of the card and 2.5cm from the left edge and 5.7cm from the bottom of the card Adhere down the circles. Then mark out and the positions of the remaining two right column circles: 2.5cm from the right edge and 5.7cm from the top of the card and 2.5cm from the right edge and 5.7cm from th bottom of the card Adhere down the circles |
|
|
The centre column is 5.25cm from the sides of the card.
Place marks 5.25cm from the left edge of the card at:
Then adhere down the centre row of circles. |
|