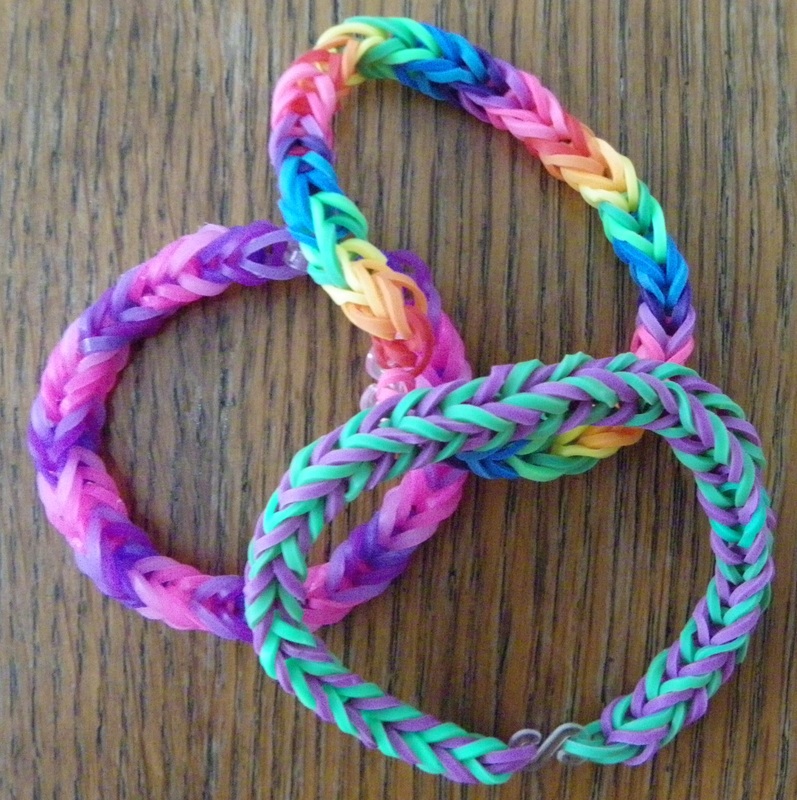
Fishtail Bracelet
On a Mini Loom
Please consider supporting me :)
|
|
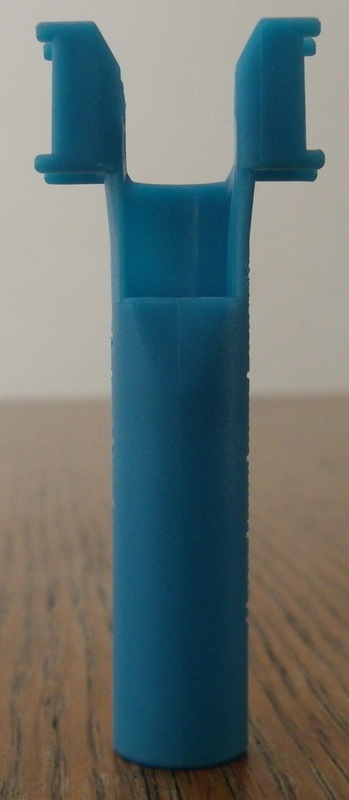
Mini Loom
This bracelet design can also be done using two pegs of a normal rubber band loom.
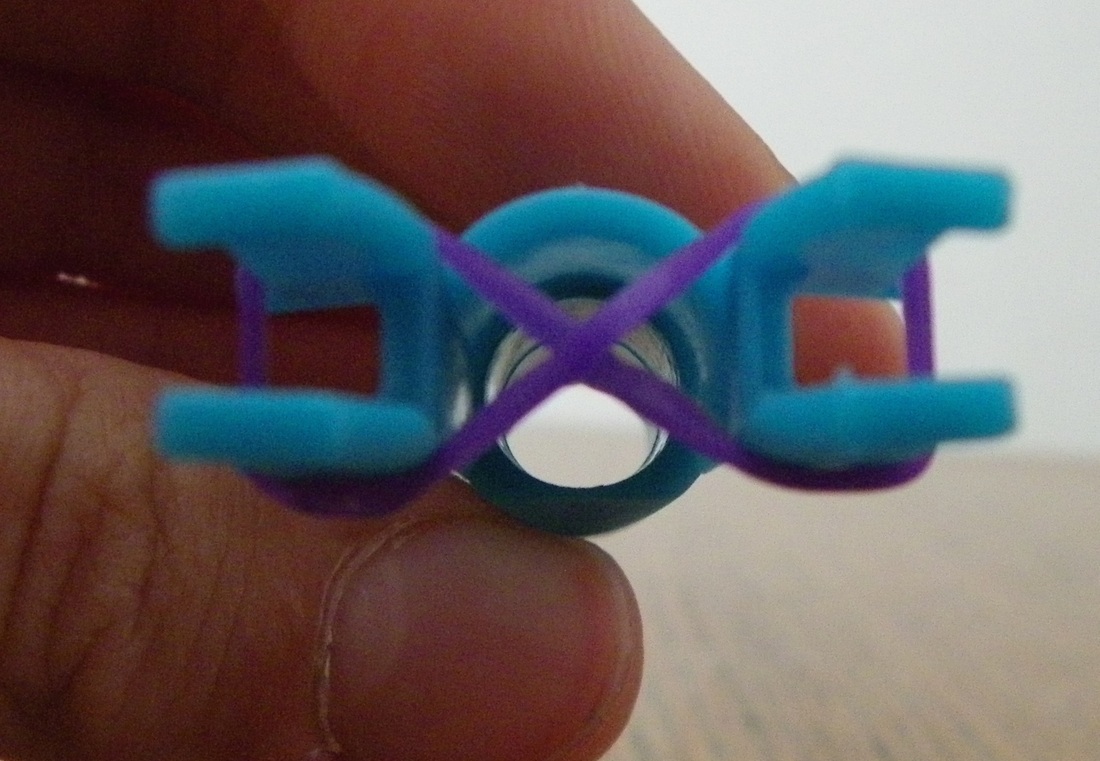
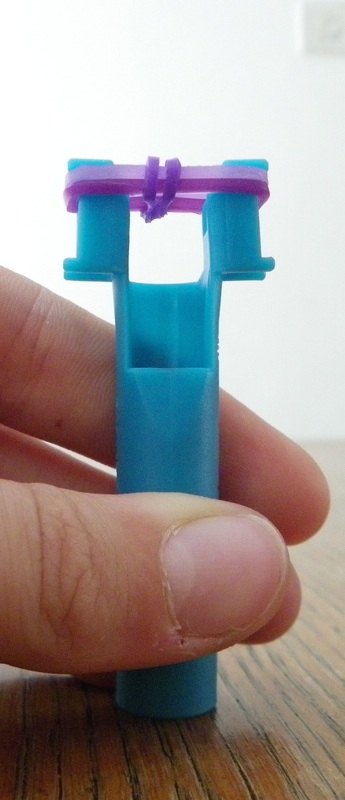
Step 1
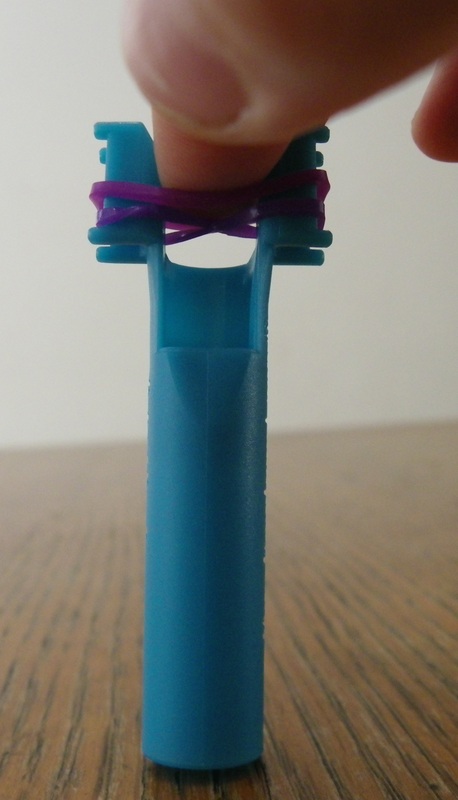
Place your first band from peg to peg on the mini loom, twisting it to make a figure 8 shape.
This is the only band that you will need to twist.
Place your first band from peg to peg on the mini loom, twisting it to make a figure 8 shape.
This is the only band that you will need to twist.
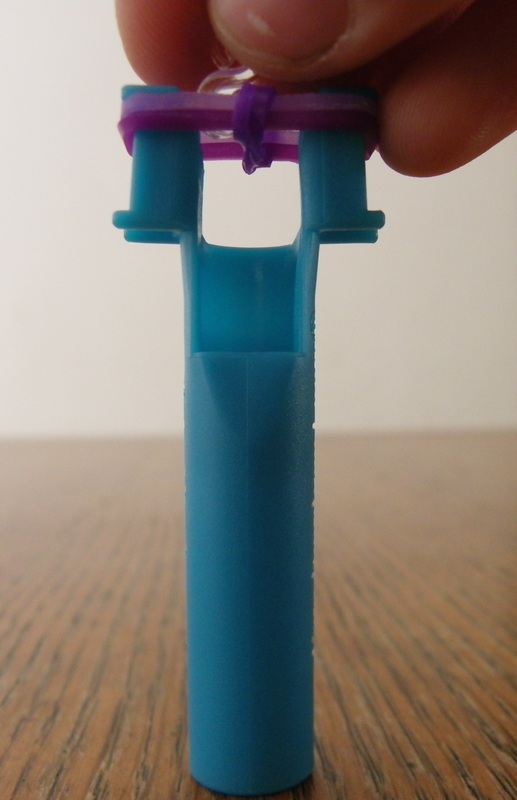
Step 2
Place a second band onto the loom from peg to peg (no twisting needed).
Remember to press down the bands as you go.
Place a second band onto the loom from peg to peg (no twisting needed).
Remember to press down the bands as you go.

|
|
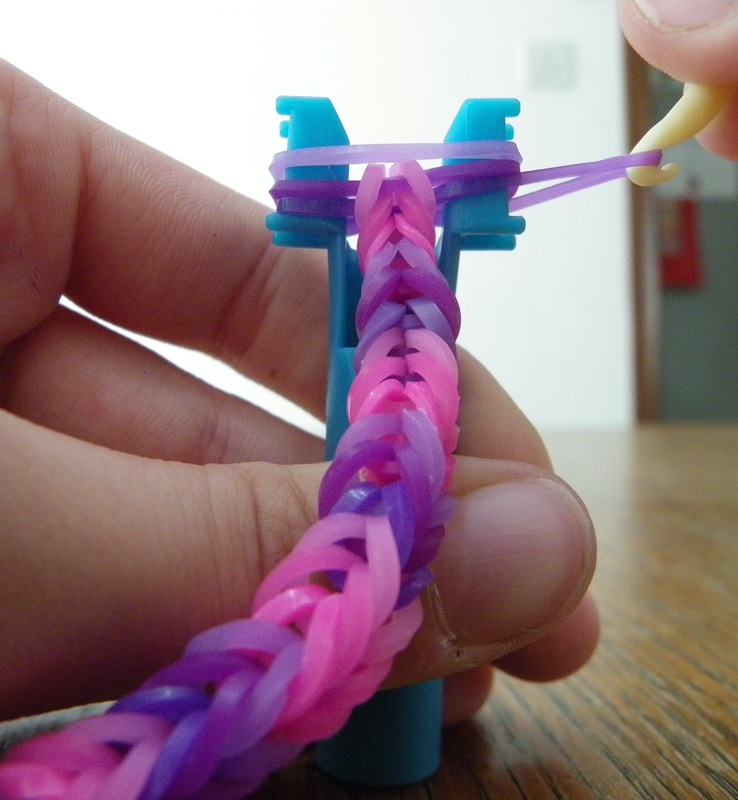
Step 3
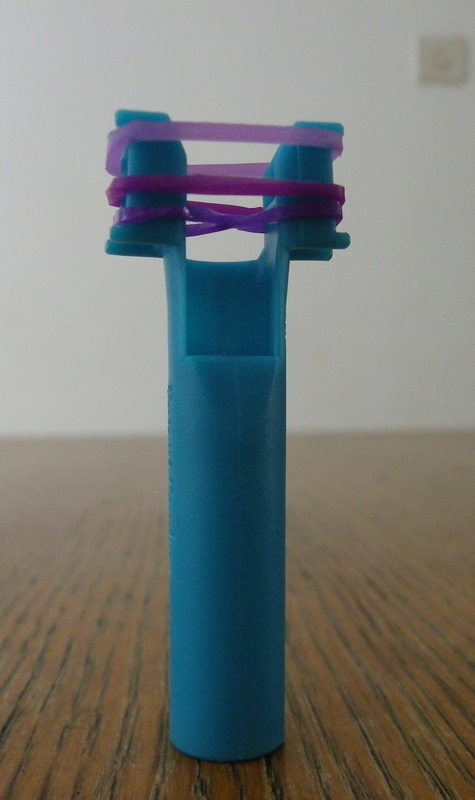
Place a third band on the loom.
Place a third band on the loom.
Step 4
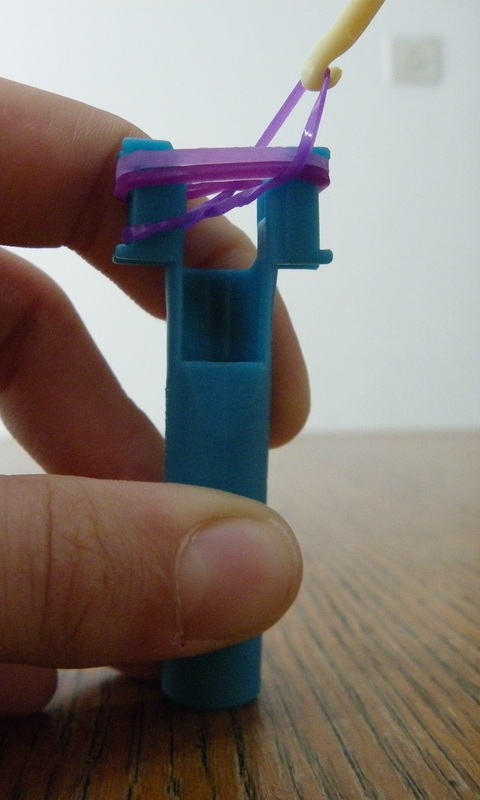
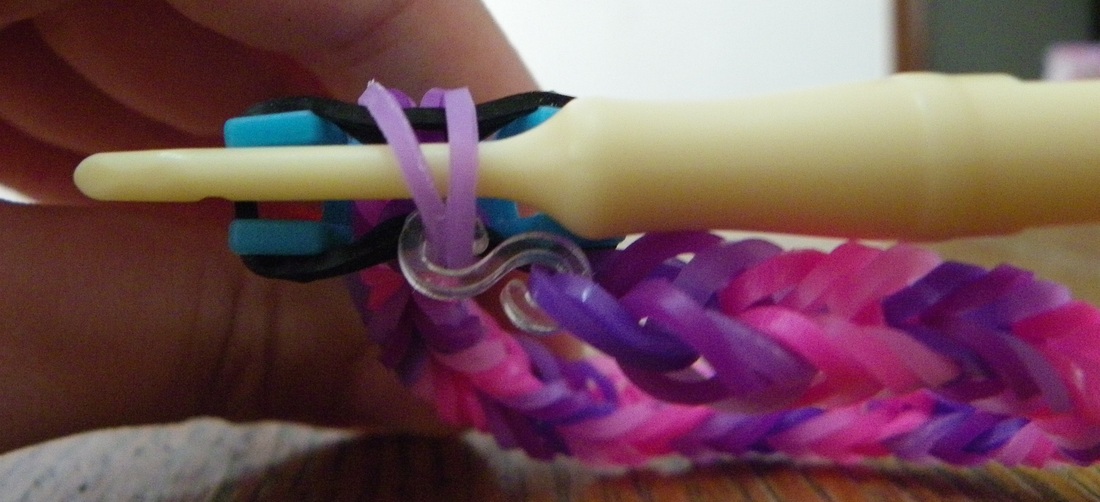
With your hook grab the bottom band on the right of your loom and pull it over the top of the loom and release it
With your hook grab the bottom band on the right of your loom and pull it over the top of the loom and release it
|
|
|
Step 5
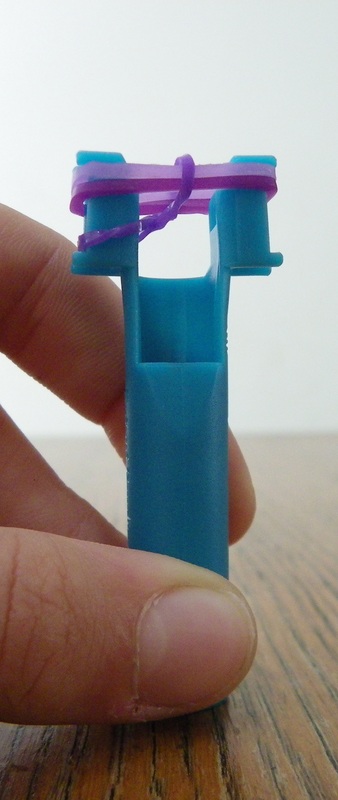
With your hook grab the bottom band on the left of your loom and pull it over the top of the loom and release it |
|
|
Step 6
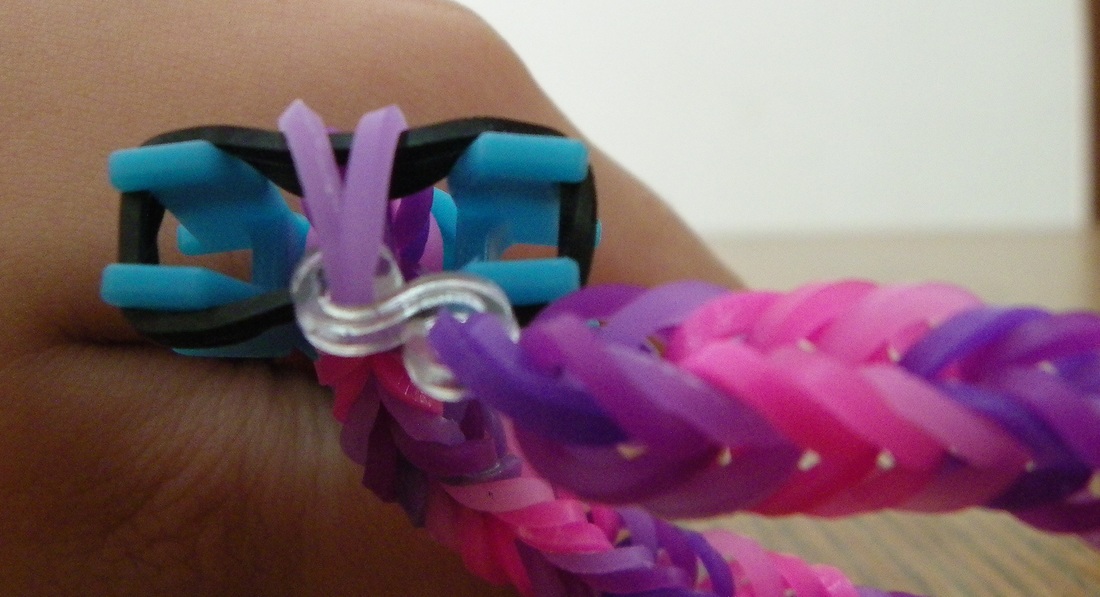
Take a S-clip or C-clip and secure it onto both pieces of the band that you just looped. |
|
|
Step 7
Turn the looped band around so that the S-clip or C-clip is now at the bottom. Place another band on the loom. Each time after you loop a top band, you should place another band on the loom so that there is three bands on the loom again. |

|
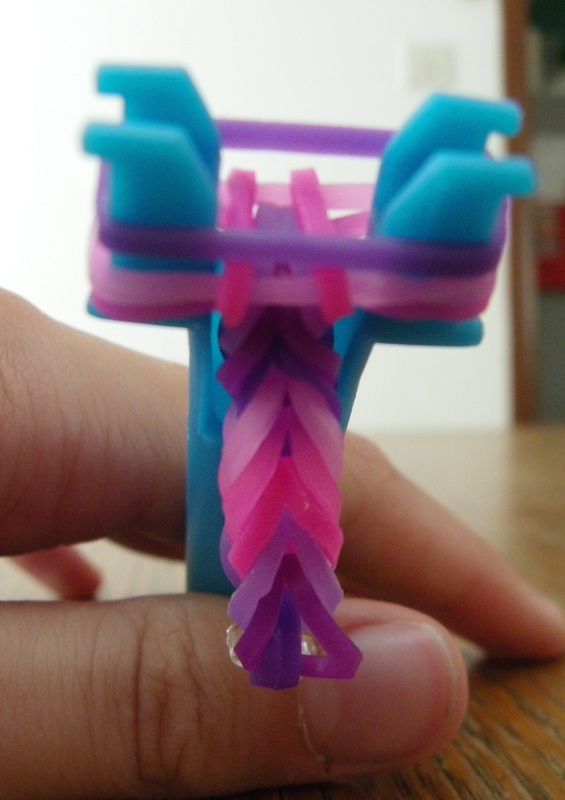
Step 8
Continue the cycle of looping up both ends of the bottom band and then replacing it with another band on the top. As you do this the length of the bracelet will grow.
Continue the cycle of looping up both ends of the bottom band and then replacing it with another band on the top. As you do this the length of the bracelet will grow.

|
|
Regularly stretch out the bracelet as you go
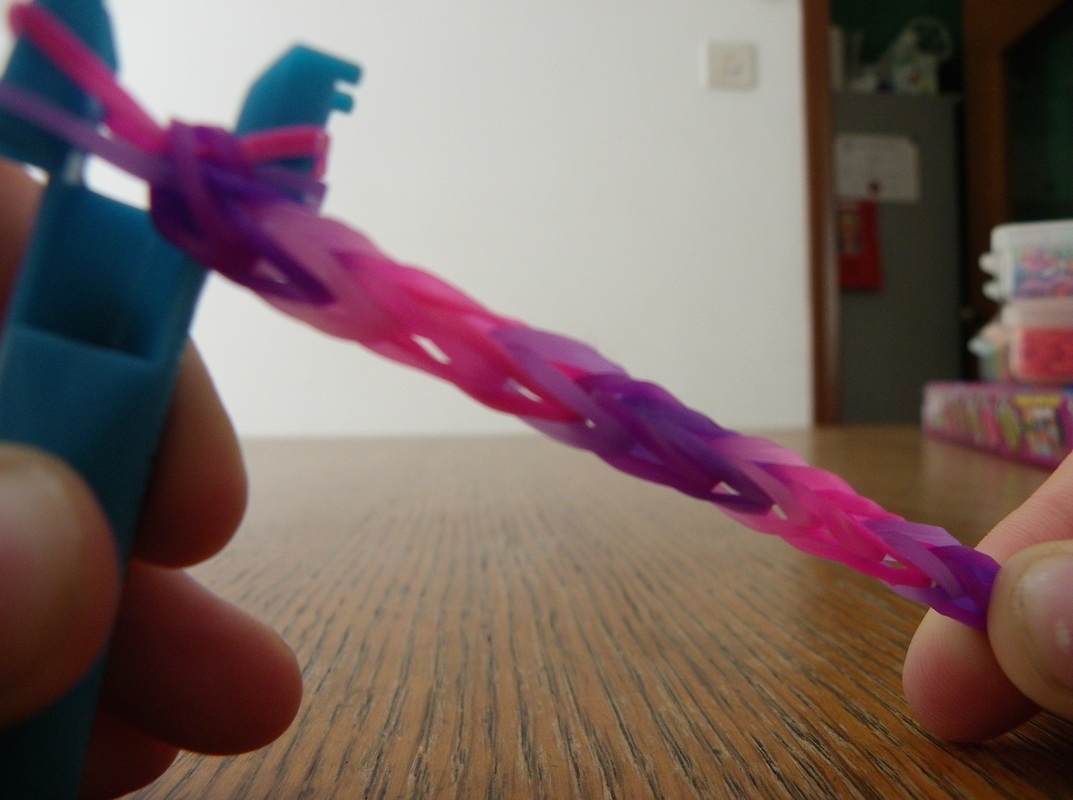
Continue looping replacing bands until the bracelet is long enough to fit your wrist.
|
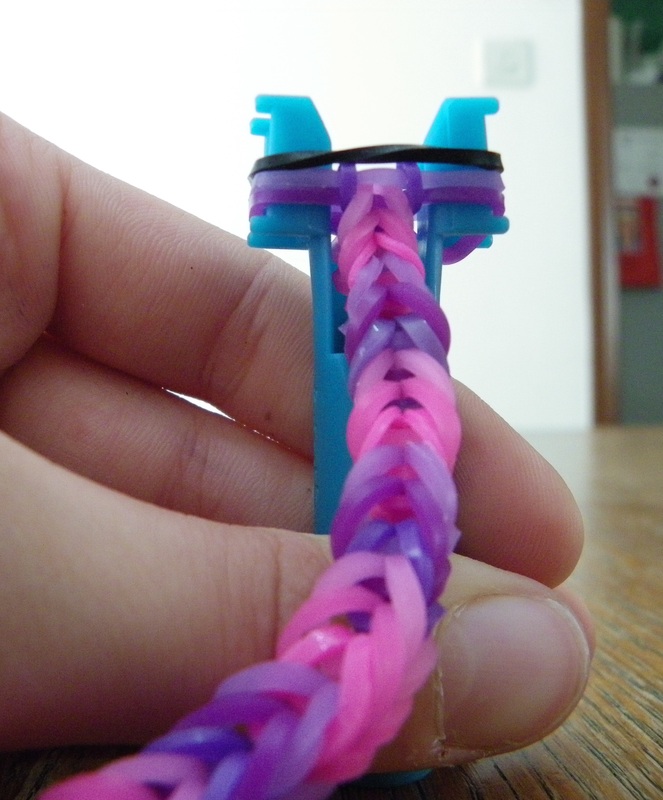
Step 9
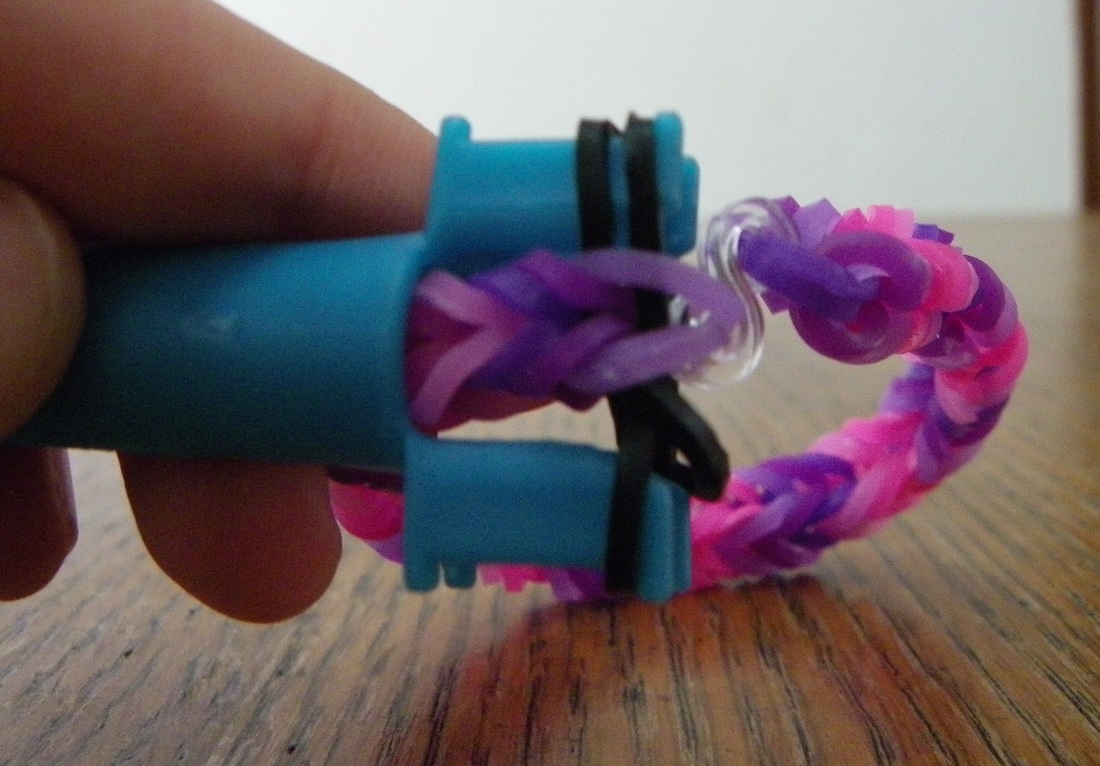
When your bracelet is long enough, place a band of a contrasting colour onto the loom. (This band will not be a part of the final bracelet) |
|
|
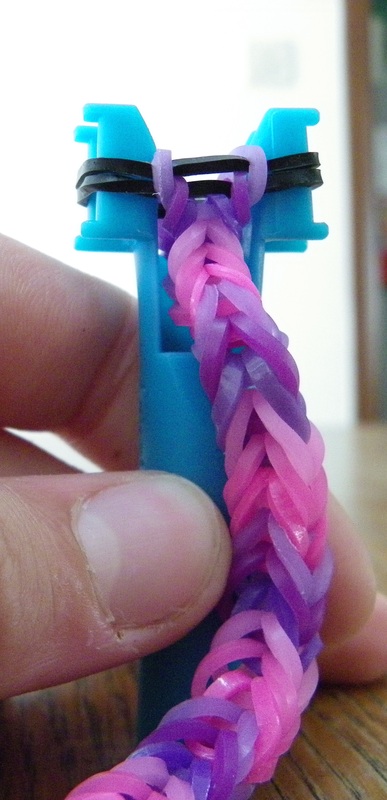
Step 10
Loop over both ends of the bottom band |
|
|
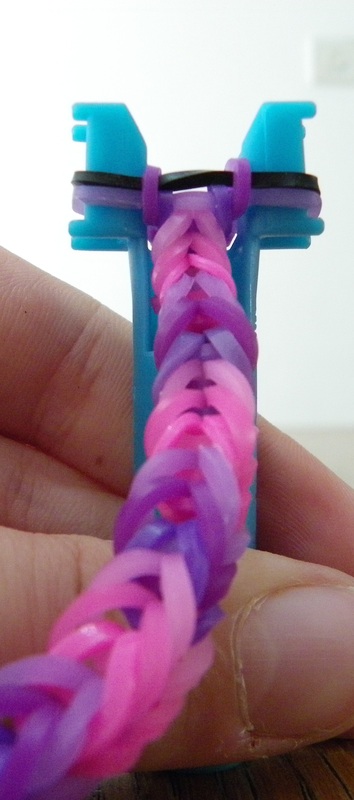
Step 11
Place a second contrasting colour band on the top of the loom and again loop up the ends of the bottom band. |
|
|
Step 12
Slide your hook through the two band loops on the top of the loom. Then place the S-clip or C-clip that is on the other end of the bracelet over the two band loops. |

|
|
Step 13
Gently slide out the hook. Lift the contrasting colour bands off the loom and pull them away from the bracelet. |
Slide out the hook
Remove the bands of contrasting colour off the loom
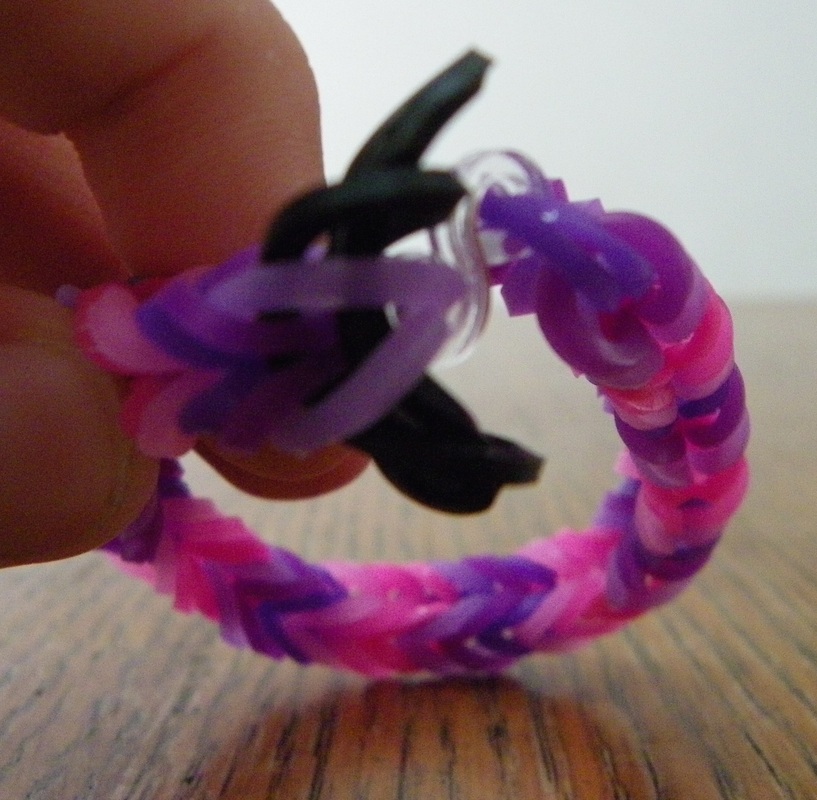
Pull the bands of contrasting colour out of the bracelet

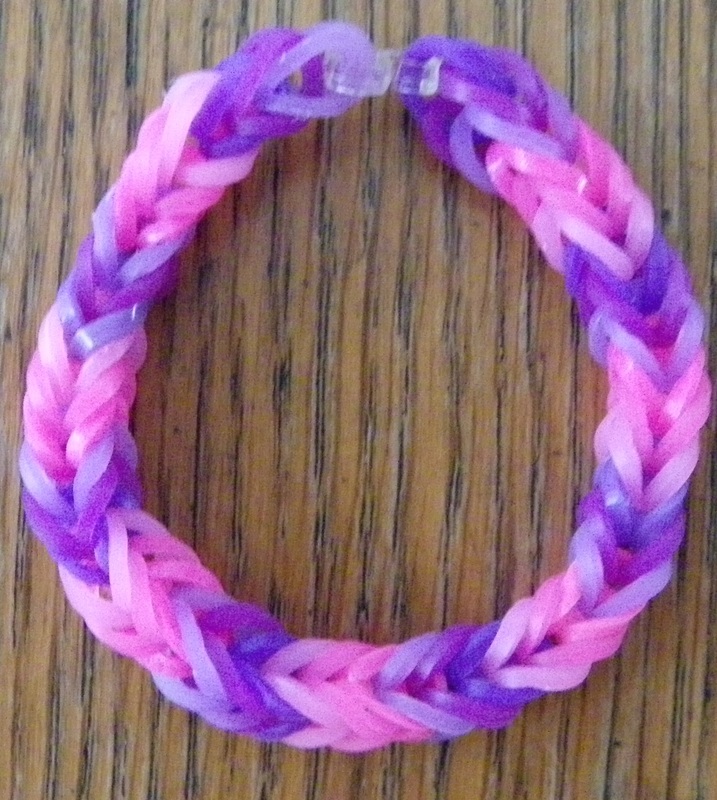
The finished bracelet
|