Dying Eggs
Please consider supporting me :)
|
Easy and bright, dying hard boiled eggs is a fun & edible craft, it's also great for Easter fun...
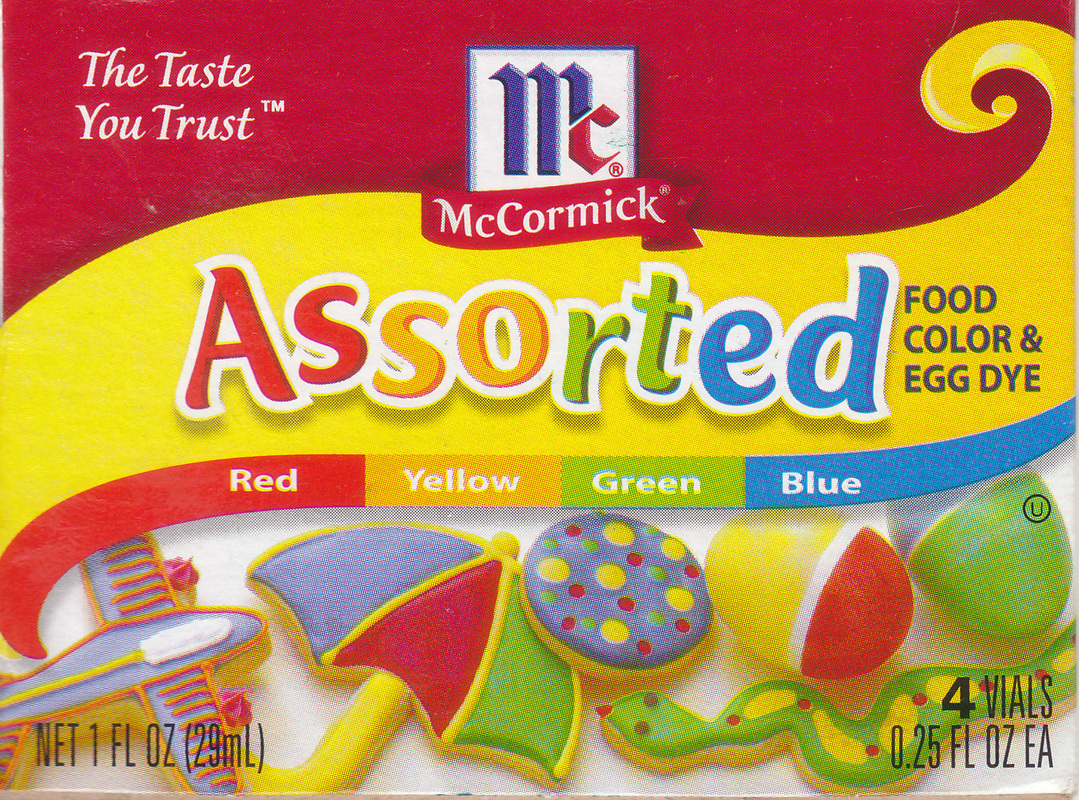
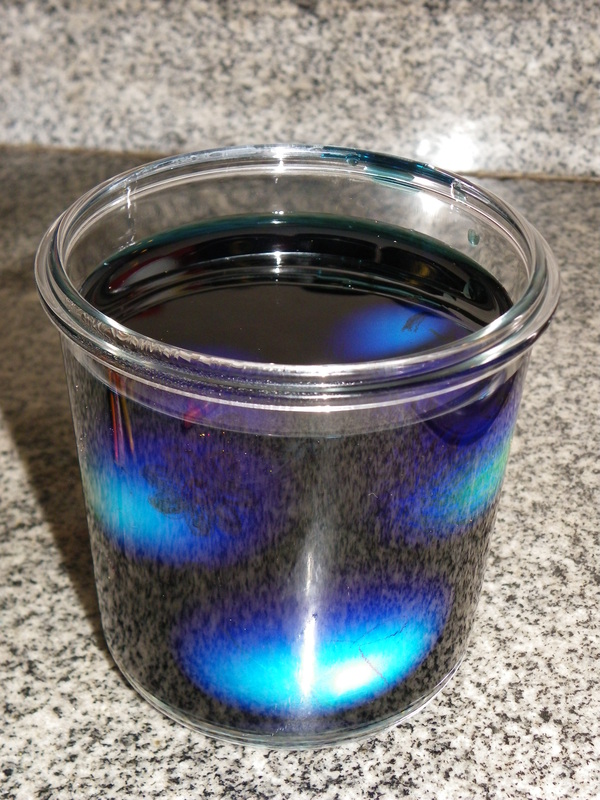
Firstly hard boil some eggs. I recommend white shelled eggs if you can find them, but if you only have brown eggs they will work too, though the colours will not be as clean. To hard boil eggs taken from the fridge: 1. Heat water in a pot till boiling 2. Add your eggs carefully so you don't crack their shells. Use a spoon to lower them into the water if necessary. 3. Cover with the lid. Reduce heat so that the water is just continuing to boil over, and boil for 10 minutes. 4. After 10 minutes, place the eggs into a bowl of cold water to start them cooling. 5. Once cool enough to handle, either decorate and dye, or put them back into the fridge until you are ready. To dye the eggs: 1. Make up some bowls filled with dye in the colours of your choice: -You need the dye to completely cover your eggs completely, so using a deep, narrow dish is best. - I used "McCormick Assorted Food Color and Egg dye" . It worked really well. -To dye eggs, you will need to add vinegar. The proportions I used with these dyes were 1 cup of boiling water, 2 teaspoons of vinegar and 40 drops of the chosen colour (or colours if you are mixing. For example orange used 34 drops of yellow and 6 drops of red dye). If you are using another brand, follow the proportions recommended by the manufacturer. |

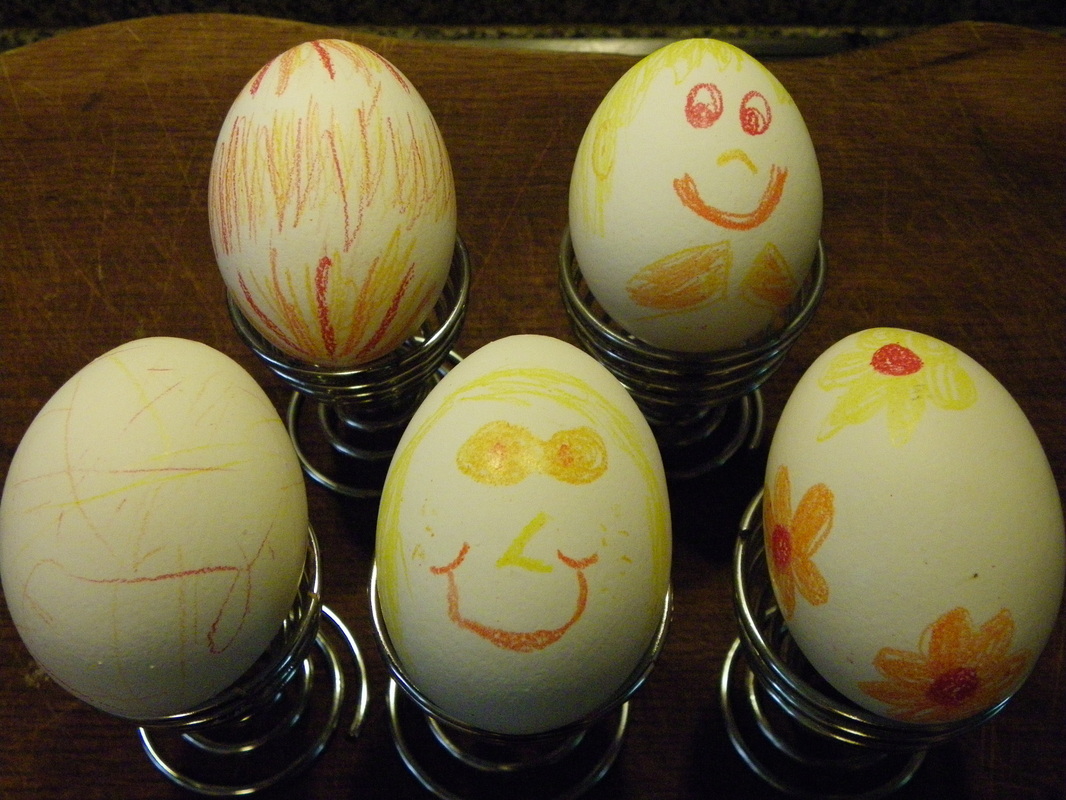
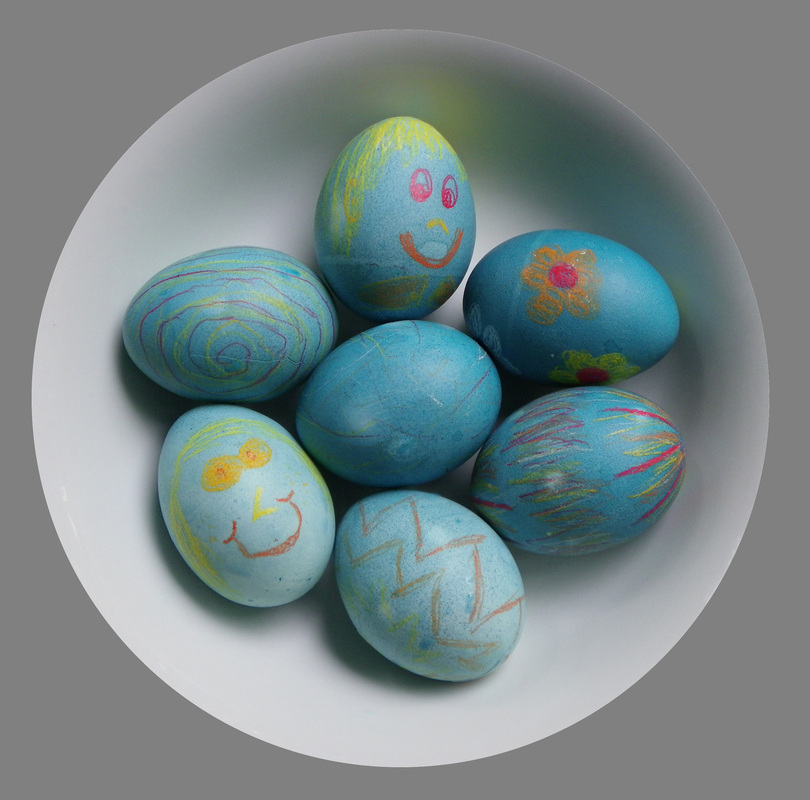
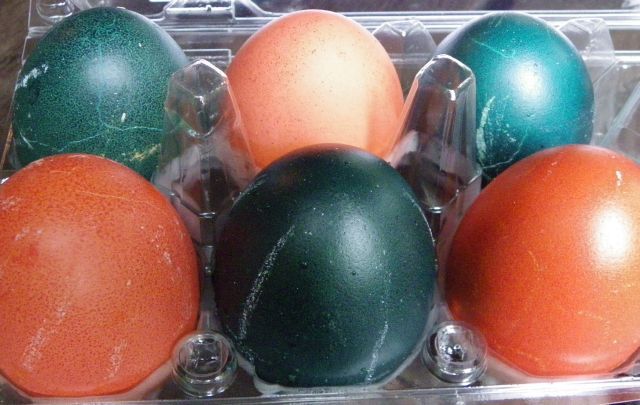
White Shelled Egg, Crayon Decorated and Dyed.
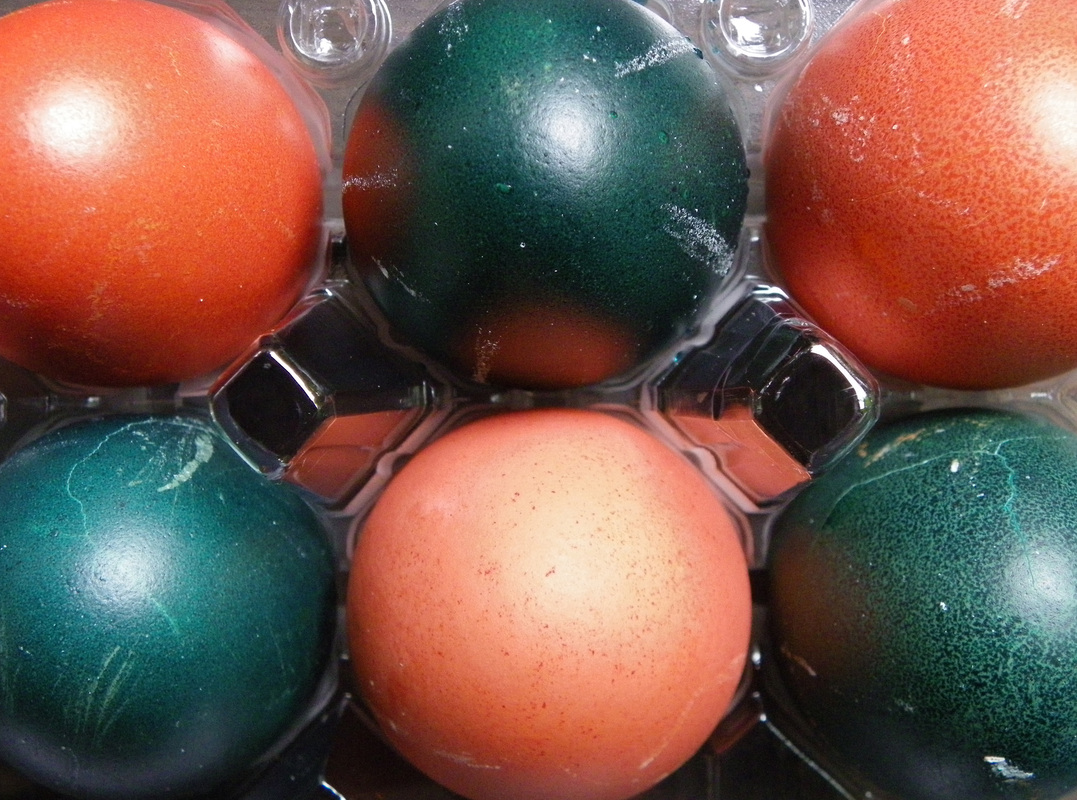
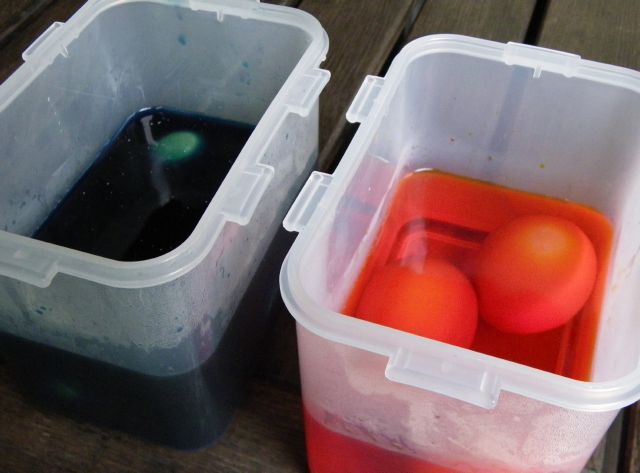
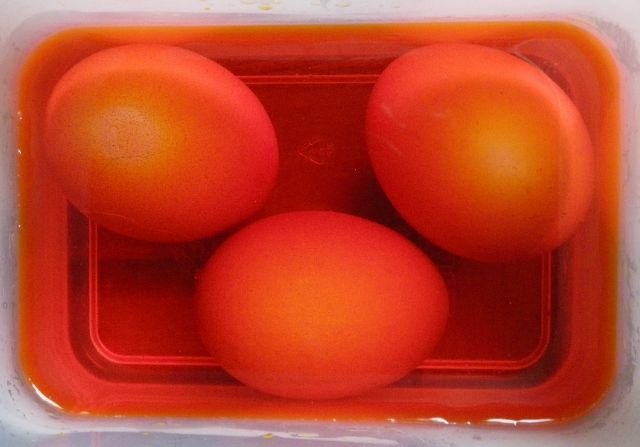
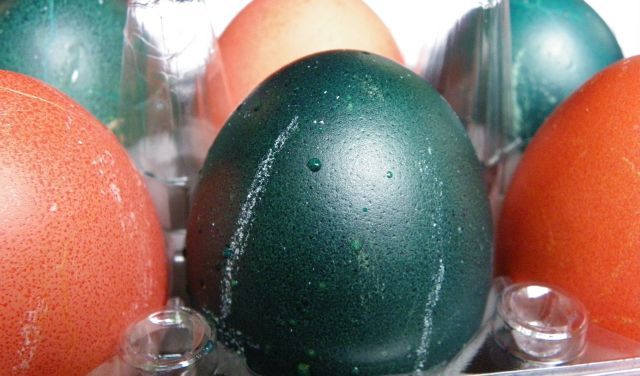
Brown Shelled Eggs Dyed Blue and Orange.
|
|
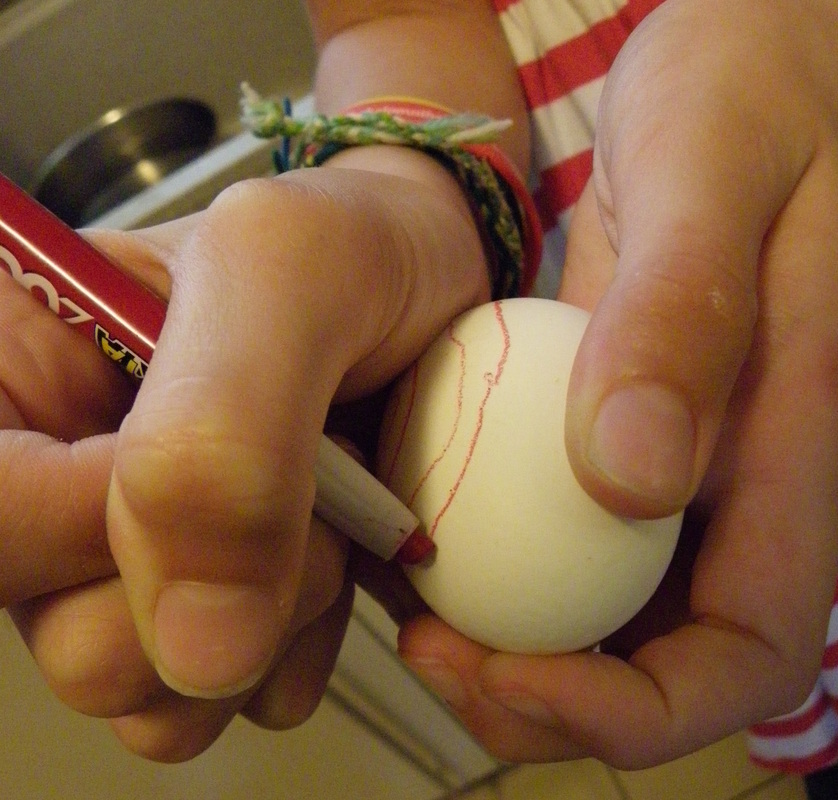
2. If you would like to try putting patterns on your eggs, you can draw on them with wax crayons. Crayons the colour of the egg shell will leave your drawing "clear", resulting in an egg-shell coloured pattern. Otherwise use crayons of contrasting colours to the dye you are using. The wax in the crayons stops the dye penetrating the egg-shell. It helps if you wipe the egg dry with some paper towel before drawing.
|
|
|
3. Put the eggs into the dye (while the water is still hot) and leave for 5 to 10 minutes.
|
|
|
4. Remove the eggs. Put them straight into the fridge to keep them for fresh for eating.
|
|
