No Bake CheeseCake
Have you found this helpful?
Please consider supporting me :)
Please consider supporting me :)
|
Vegetarian
Gluten Free option available Thermomix Instructions Included |
|
Creamy and smooth, but not too sweet because the lemon juice takes the edge of the sugar. This is a favourite in our family for celebrating our special occasions.
Ingredients
250g plain biscuits (like Nice or Marie biscuits). Substitute Gluten Free biscuits for a gluten free cheesecake.
150g butter, melted
400g can of sweetened condensed milk
250g cream cheese
1/3 cup (80 ml) lemon juice
Whipped cream (to decorate)
Strawberries, sliced (to decorate)
250g plain biscuits (like Nice or Marie biscuits). Substitute Gluten Free biscuits for a gluten free cheesecake.
150g butter, melted
400g can of sweetened condensed milk
250g cream cheese
1/3 cup (80 ml) lemon juice
Whipped cream (to decorate)
Strawberries, sliced (to decorate)
Print out the Recipe
The recipe can be printed out below from either the pdf doc or as a jpg image.
The recipe can be printed out below from either the pdf doc or as a jpg image.
|

Printable Cheese Cake Recipe
| ||
Method
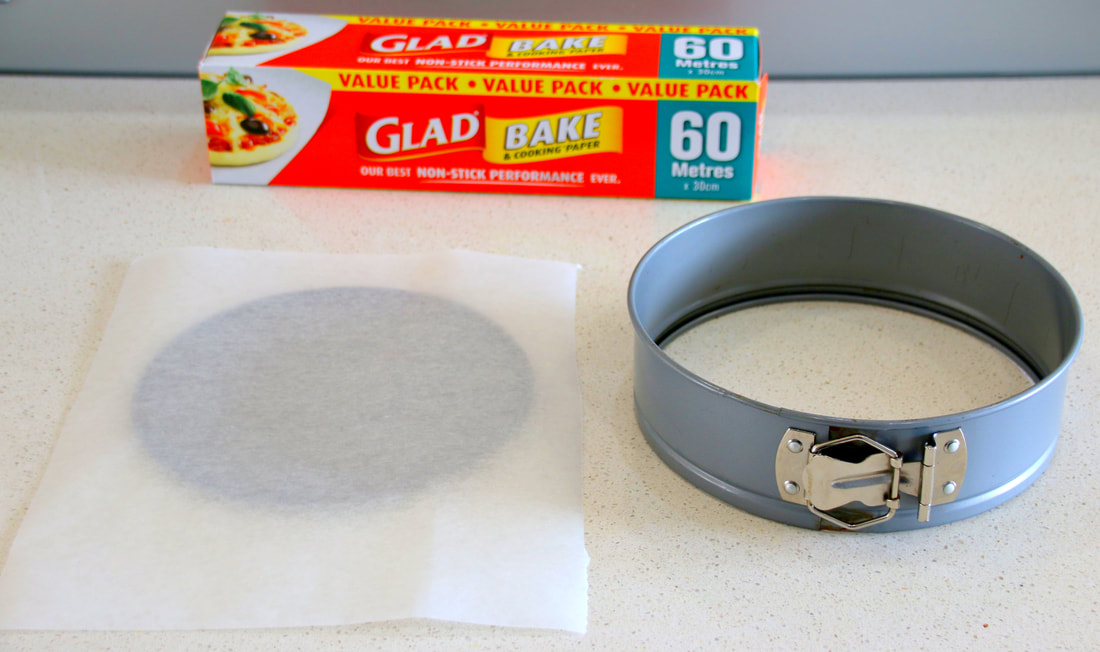
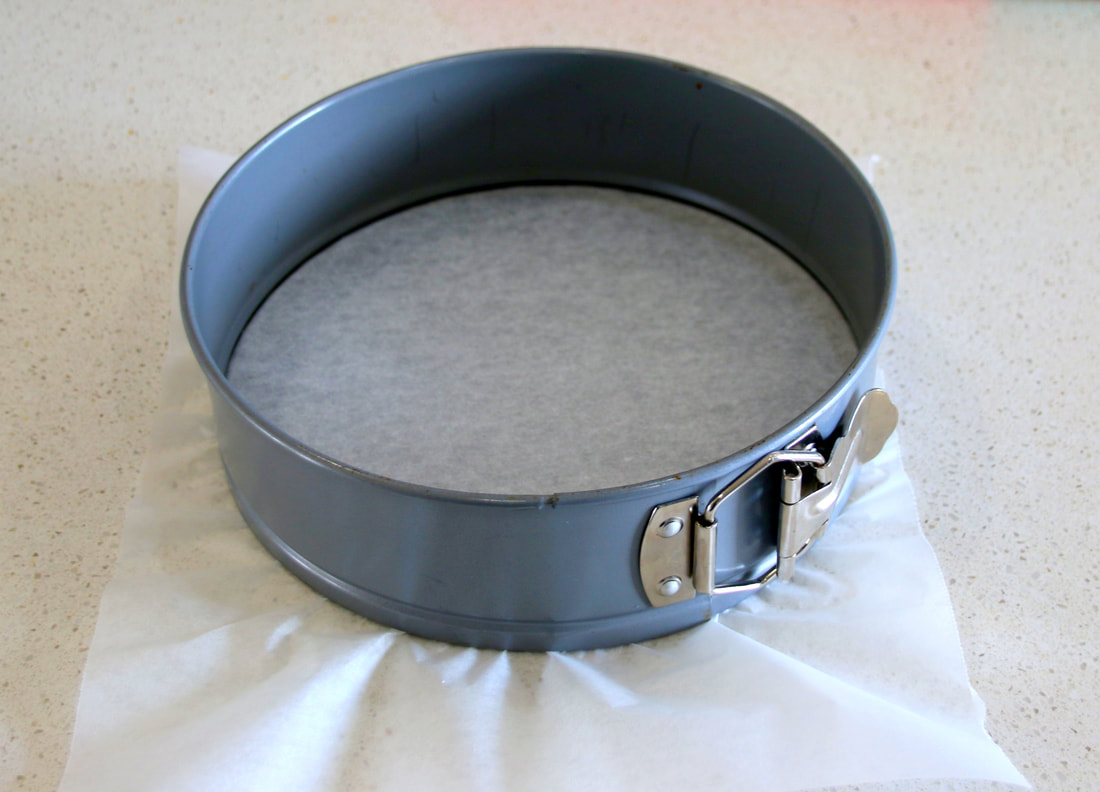
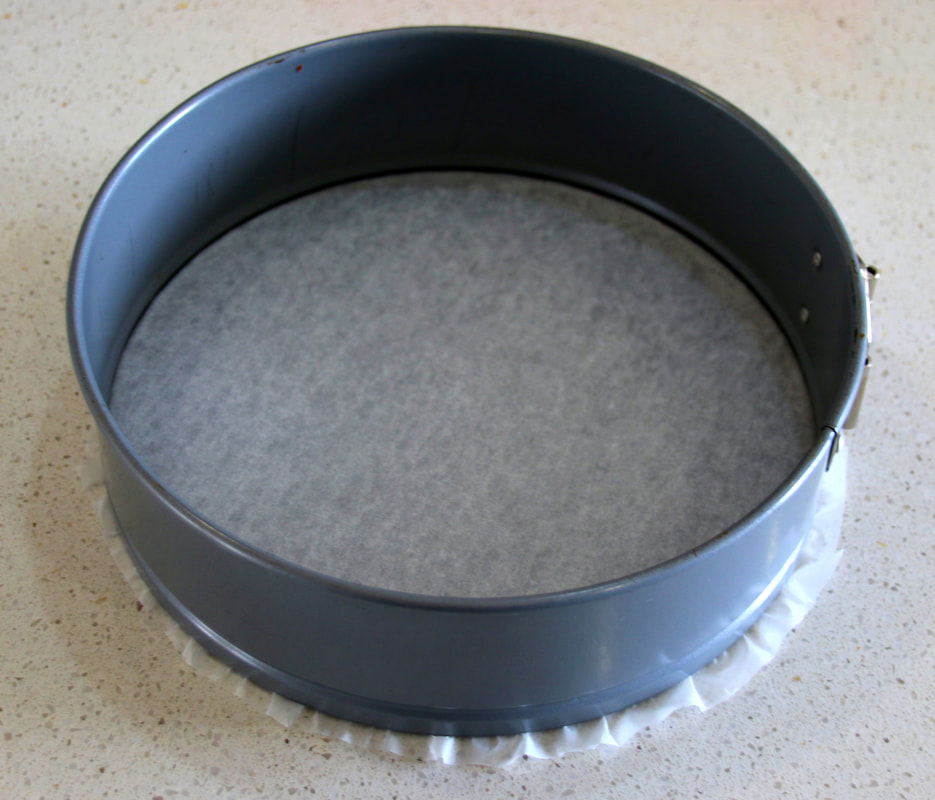
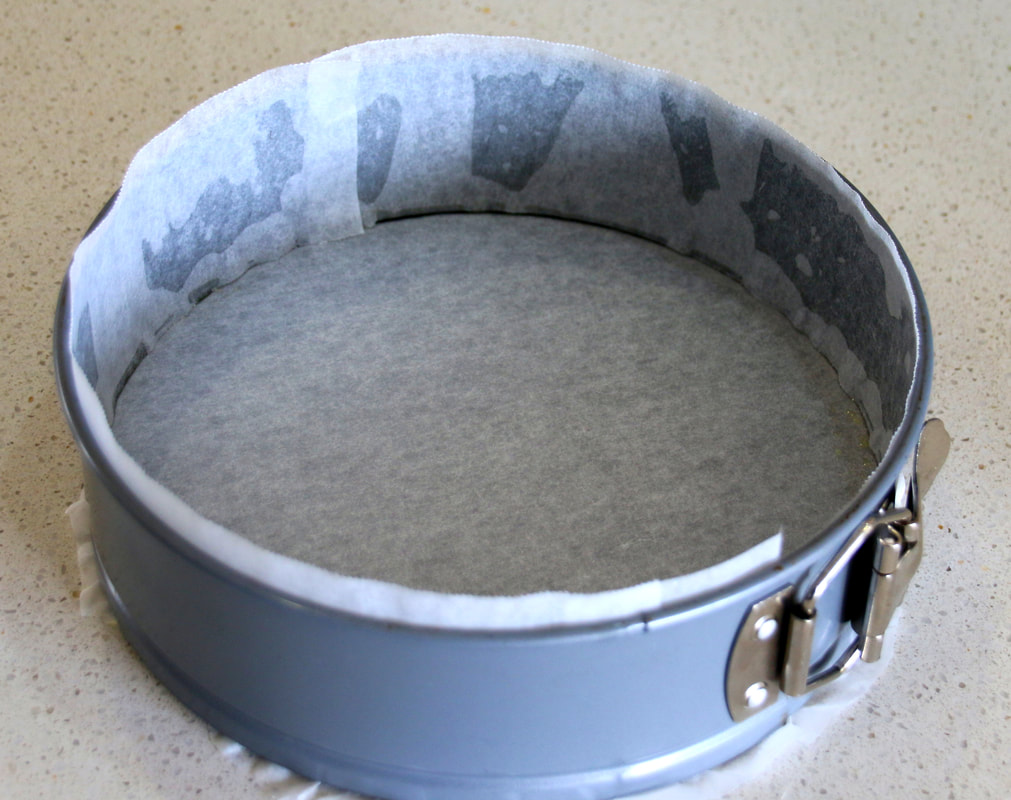
1. Line a 20cm diameter round spring-form tin with baking paper.
1. Line a 20cm diameter round spring-form tin with baking paper.
|
|

Trim the paper around the tin. This step is optional as the cheese cake will not be baked. It can also be helpful to have some extra paper to hold while removing the cheese cake from the tin.
|
|
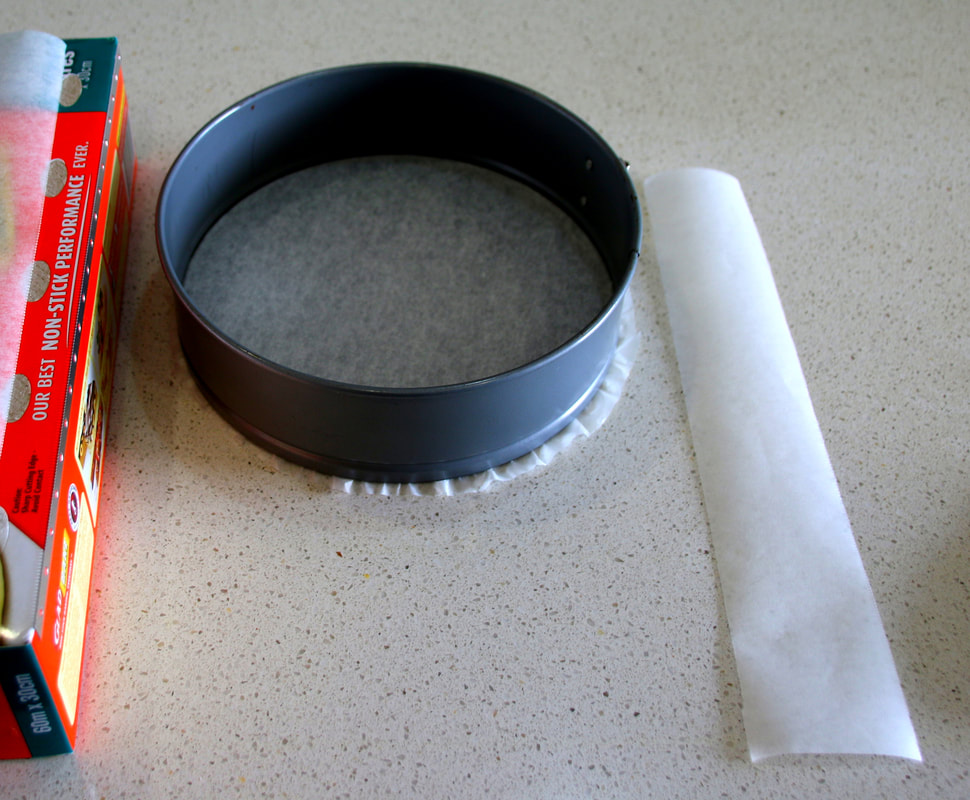
Lightly cover the sides of the tin with oil (olive oil, butter, or coconut oil). The oil is to help the paper stick to the sides of the tin
|
|
|
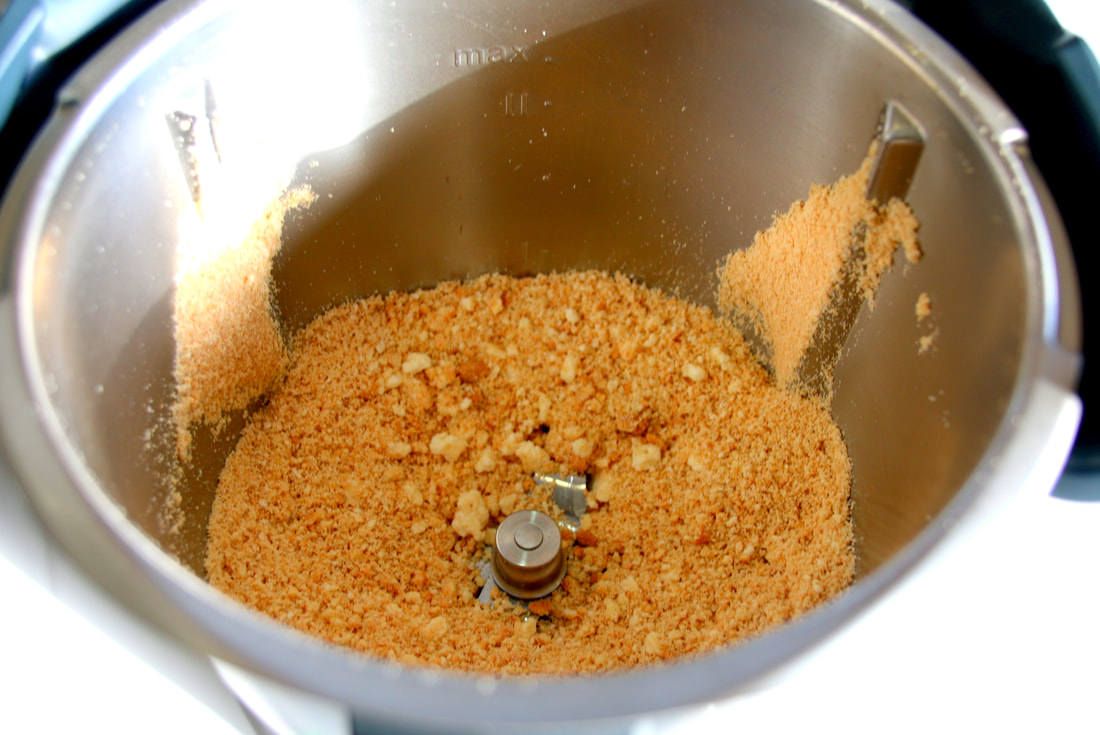
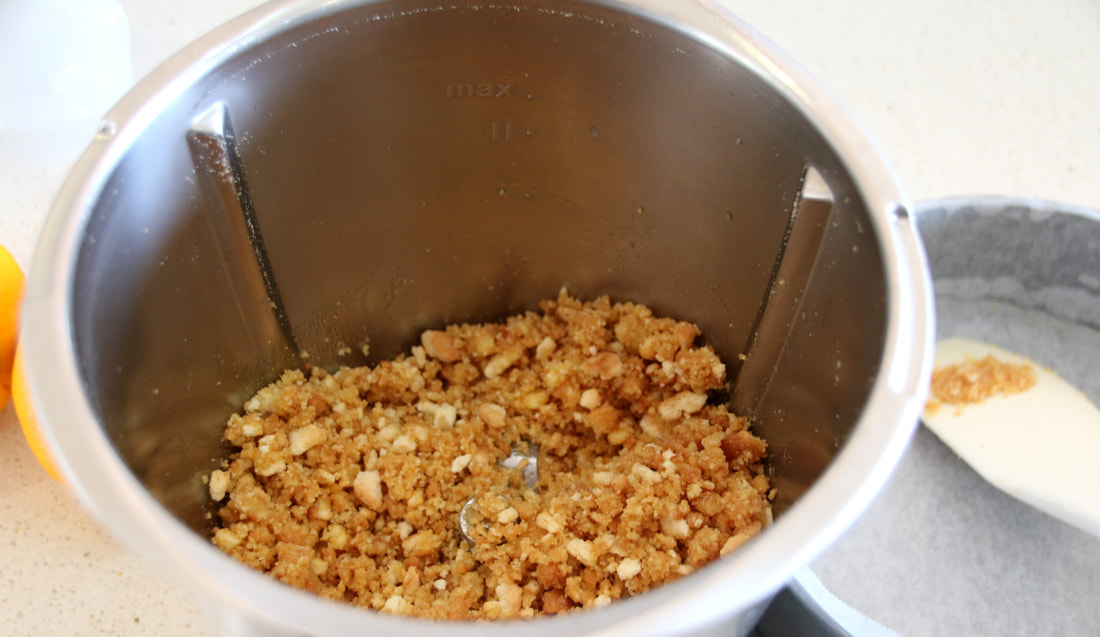
2. Crush the biscuits till they resemble breadcrumbs by pulsing in a food processor or by rolling over them with a rolling pin.
( Thermomix: Process for 5 seconds, reverse speed 5, then repeat for a further 3 seconds if required) If using a rolling pin: Crush only a few biscuits at a time. Place the biscuits onto a chopping board or similar so that you can easily transfer the crushed biscuits into a bowl. Roll evenly over each batch of biscuits until they resemble breadcrumbs. Transfer to a bowl, and then roll out the next batch of biscuits. |
|
|
3. Add the melted butter and mix well.
( Thermomix: Process for 5 seconds, reverse speed 2). |
|
|
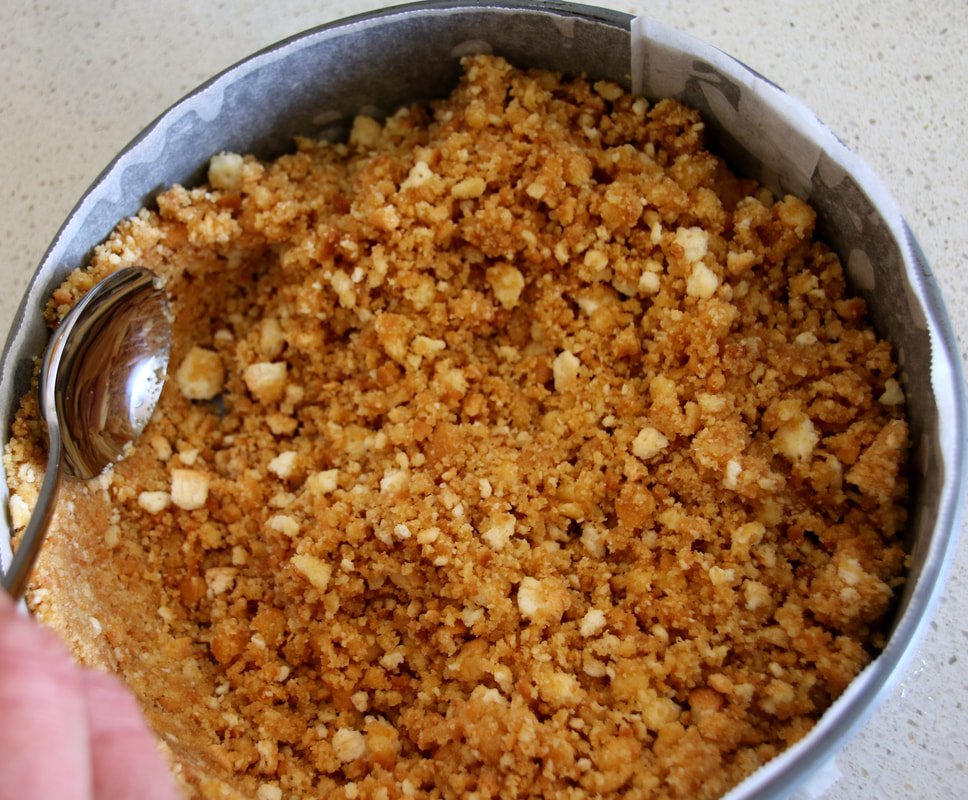
4. Transfer ad press the biscuit mix firmly into the tin to make a crust (about 0.5 cm thick). Use the back of a spoon to press the mixture up the sides of the tin and to smooth it firmly over the base of the tin. Put the crust into the fridge to set.
|
|
|
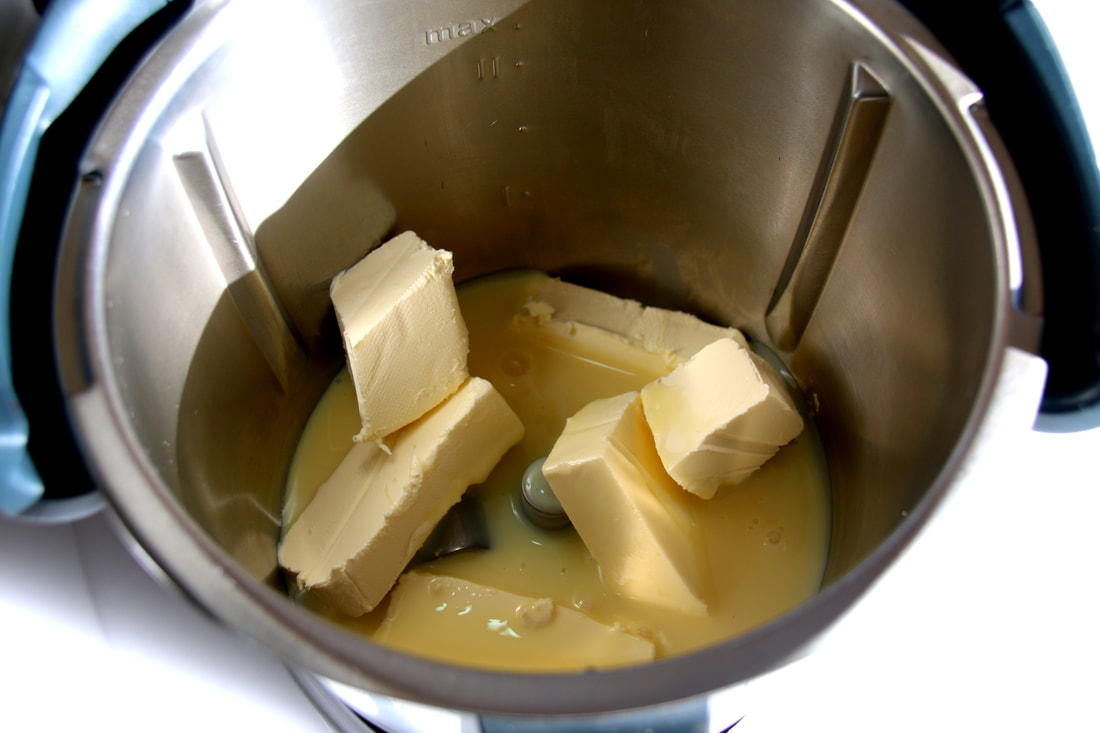
5. Beat the cream cheese and sweetened condensed milk together until smooth. This can be done with an electric mixer or a food processor.
( Thermomix: Clean the bowl first. Process for 10 seconds at speed 3, then scrape down the sides. Then process for another 15 seconds at speed 7.) 6. Remove the crust from the fridge and have it ready nearby. Also have a spatula handy ready to use. |
|
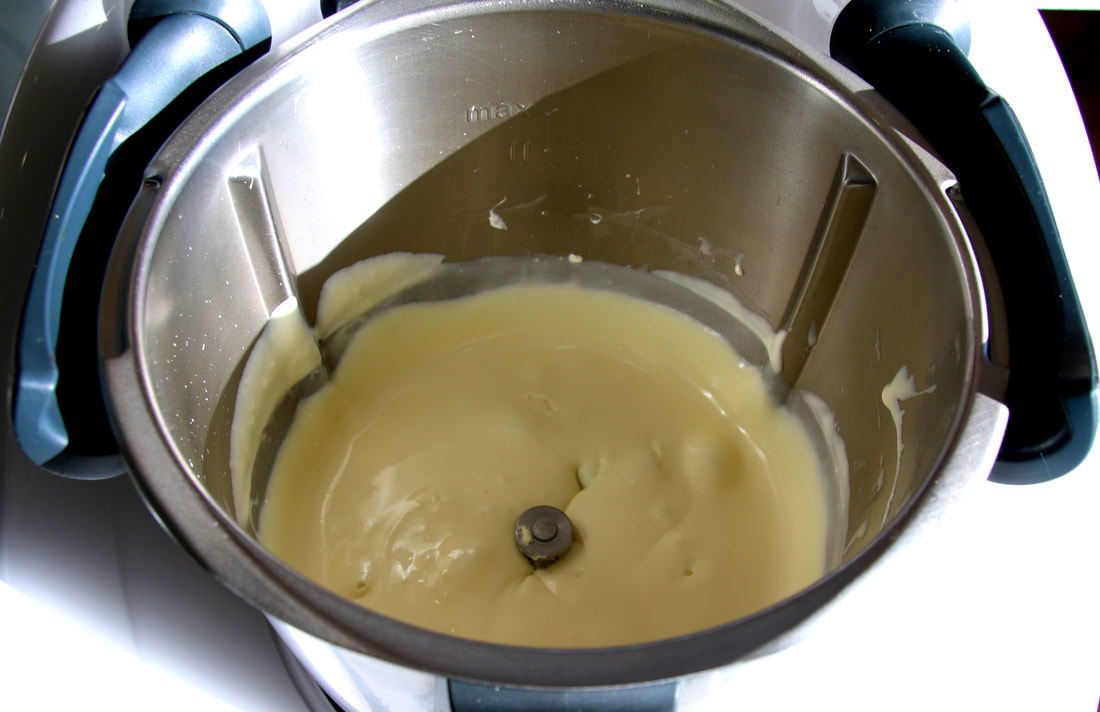
7. Beat the lemon juice into the cream cheese mixture. Once the lemon juice is added, the cream cheese mixture will set QUICKLY, so you will need to work fast.
( Thermomix: Process for 5 seconds at speed 3, then quickly scrape down the sides. Process for another 5 secods at speed 7).
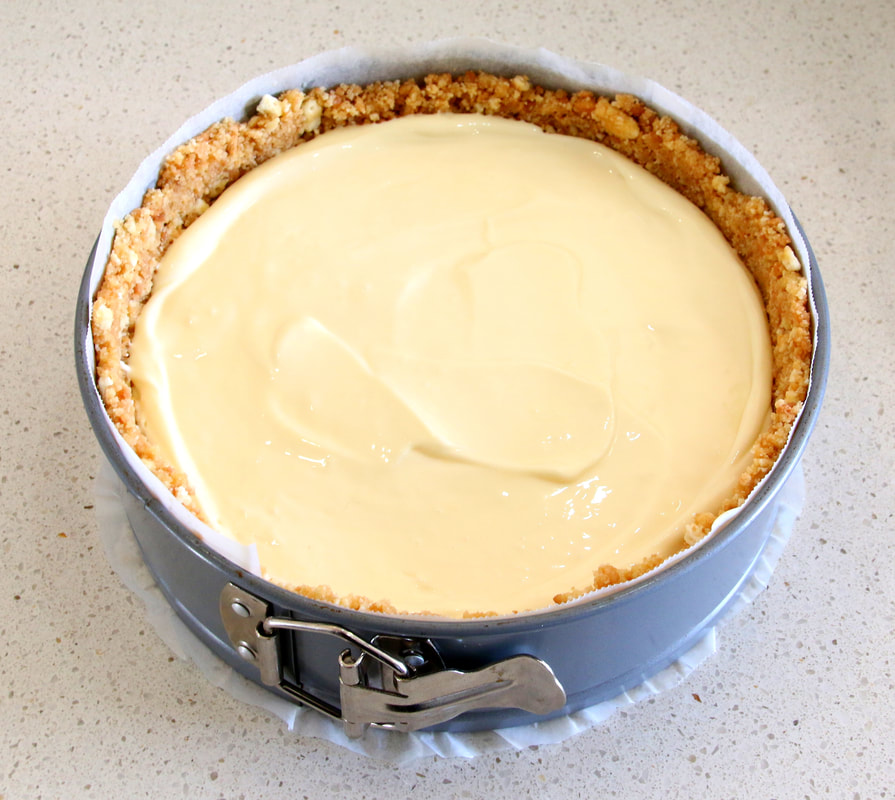
Transfer the mixture into the biscuit crust and then smooth out the top of the mixture.
( Thermomix: Process for 5 seconds at speed 3, then quickly scrape down the sides. Process for another 5 secods at speed 7).
Transfer the mixture into the biscuit crust and then smooth out the top of the mixture.
|
|
8. Place the cheesecake into the fridge to set. Ideally it should be in the fridge for at least 1 – 3 hours to set properly
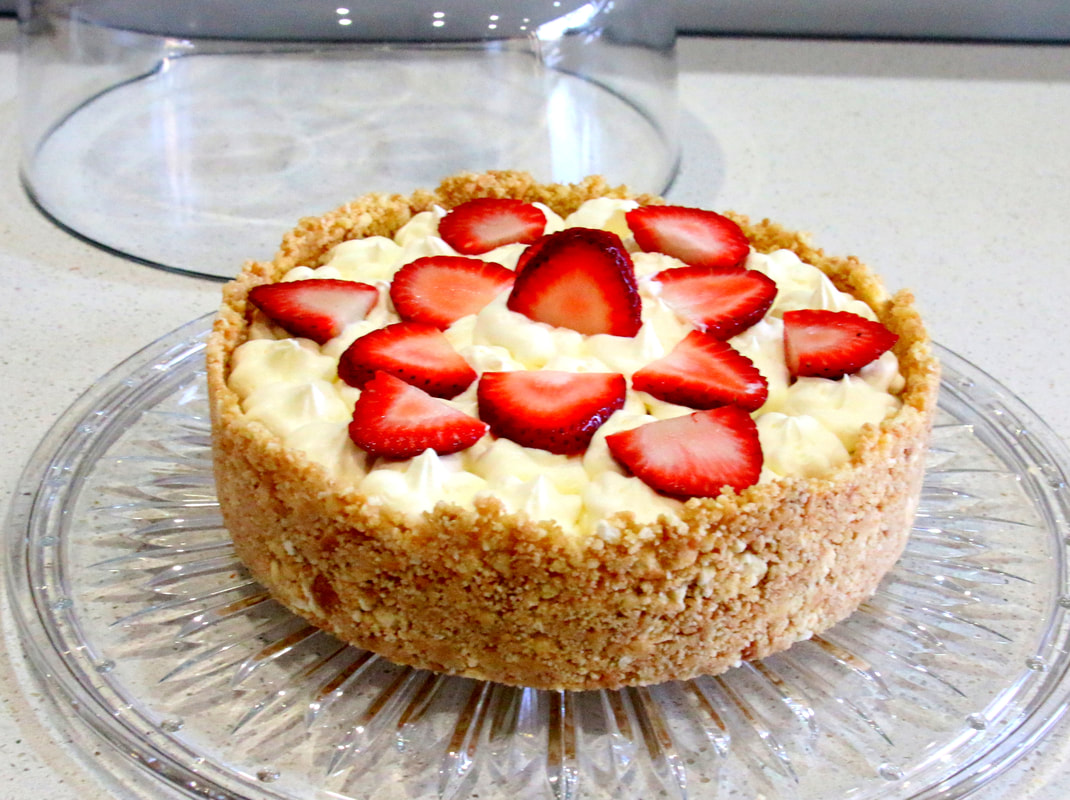
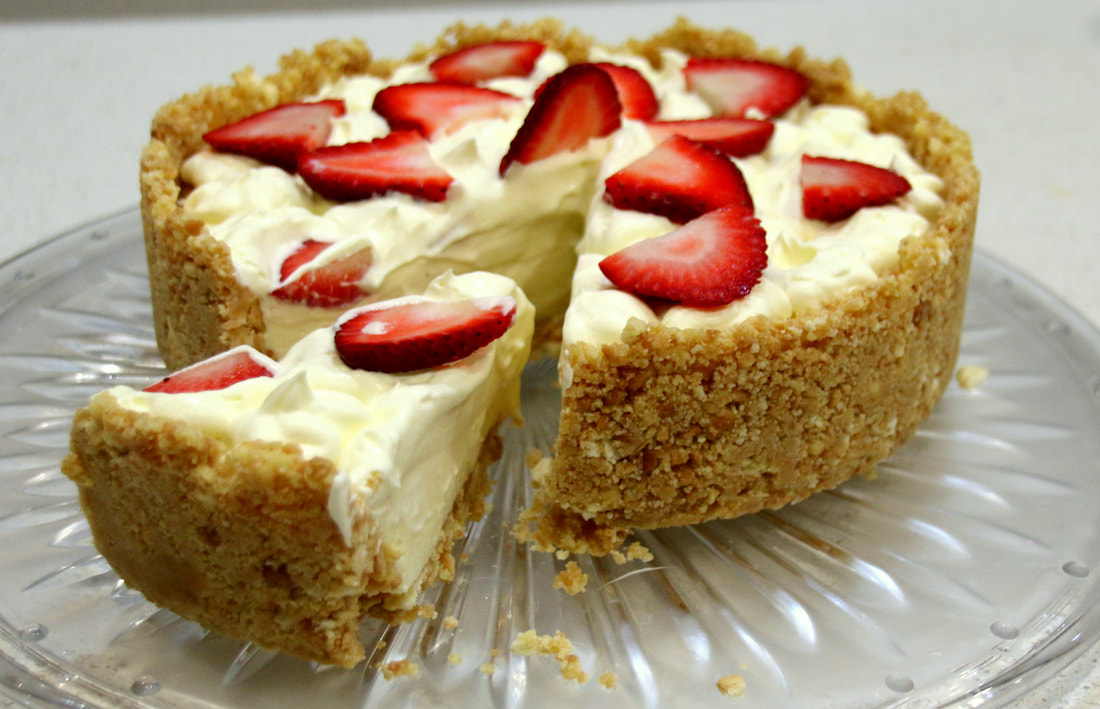
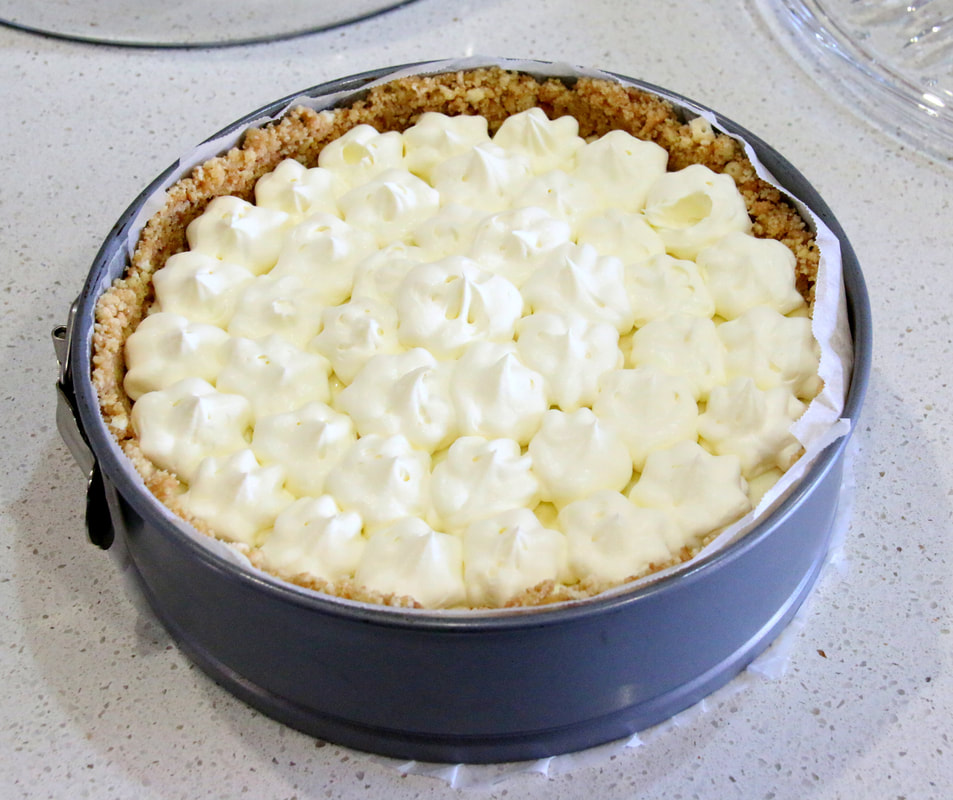
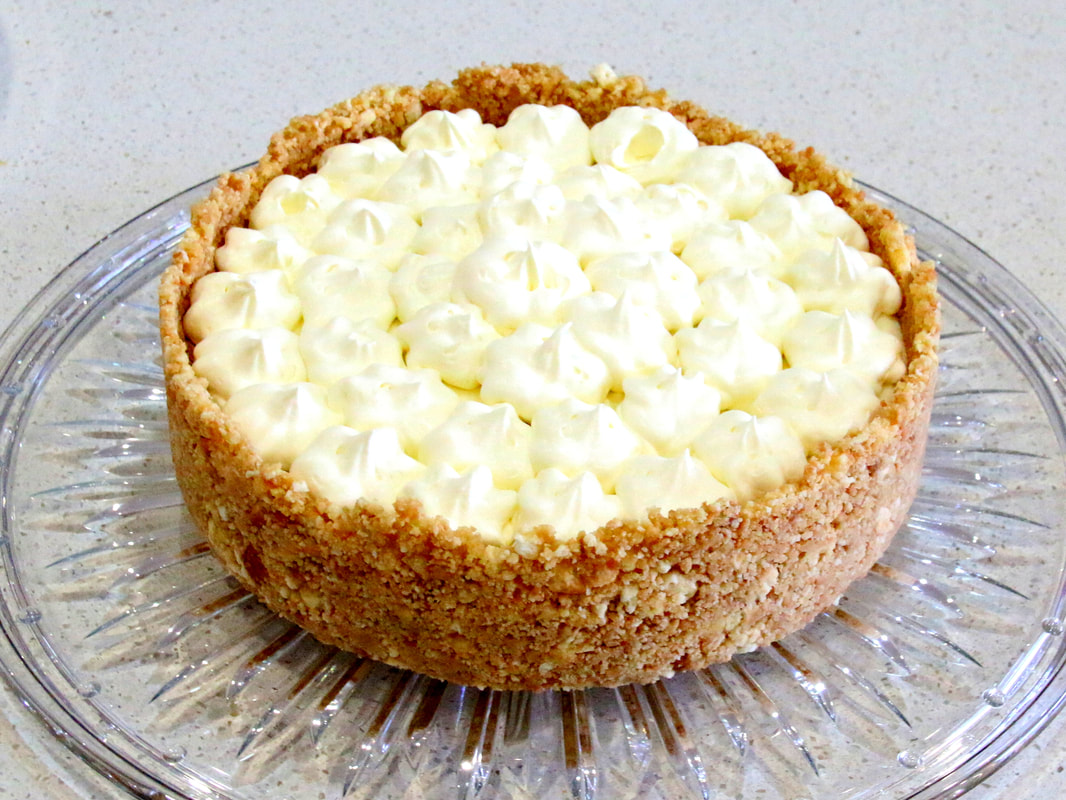
9. Once the cheese cake has set, decorate it with whipped cream and sliced strawberries (or other toppings of your choice).
9. Once the cheese cake has set, decorate it with whipped cream and sliced strawberries (or other toppings of your choice).
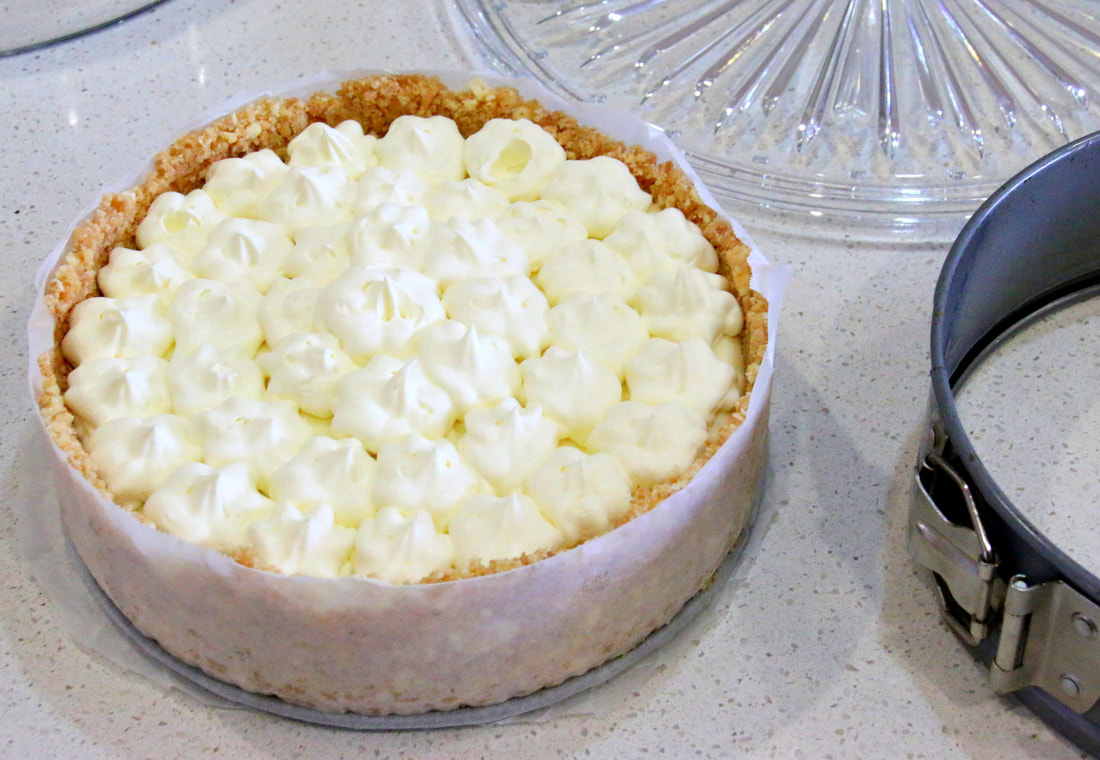
10. Carefully remove the cheese cake from the spring form pan. First remove the outside ring. Then slide the cheese cake off the base, removing the base paper at the same time, onto the serving plate.
|
|
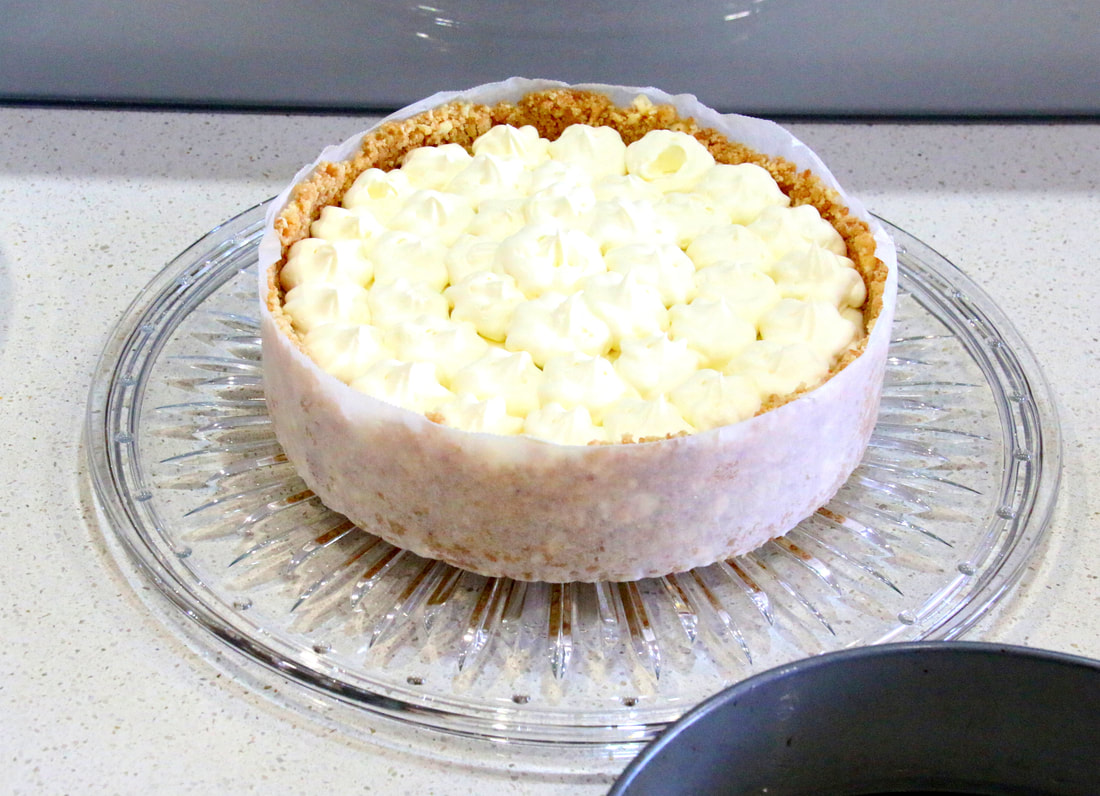
11. Remove the paper from around the sides of the Cheese Cake. Keep in the refrigerator.
|