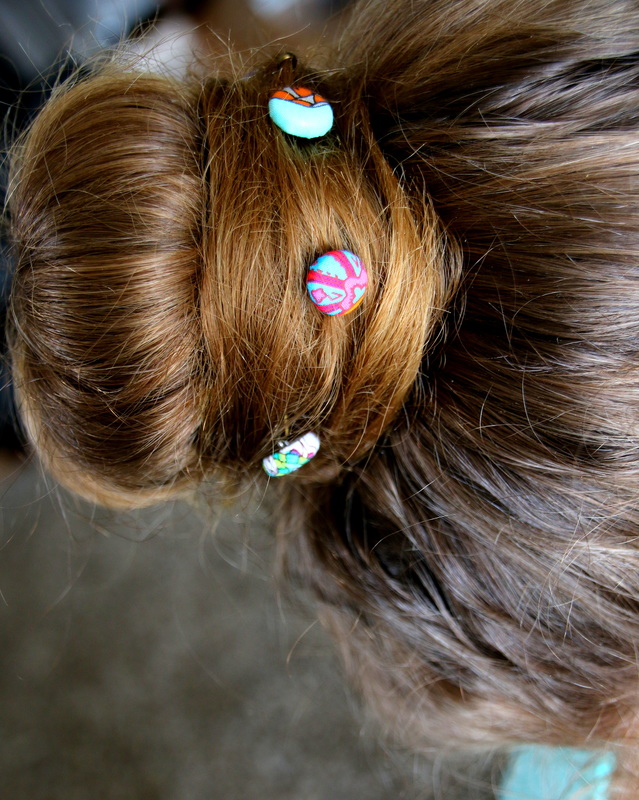
Button Hair elastics and Pins

Make cute hair elastics in a few easy steps
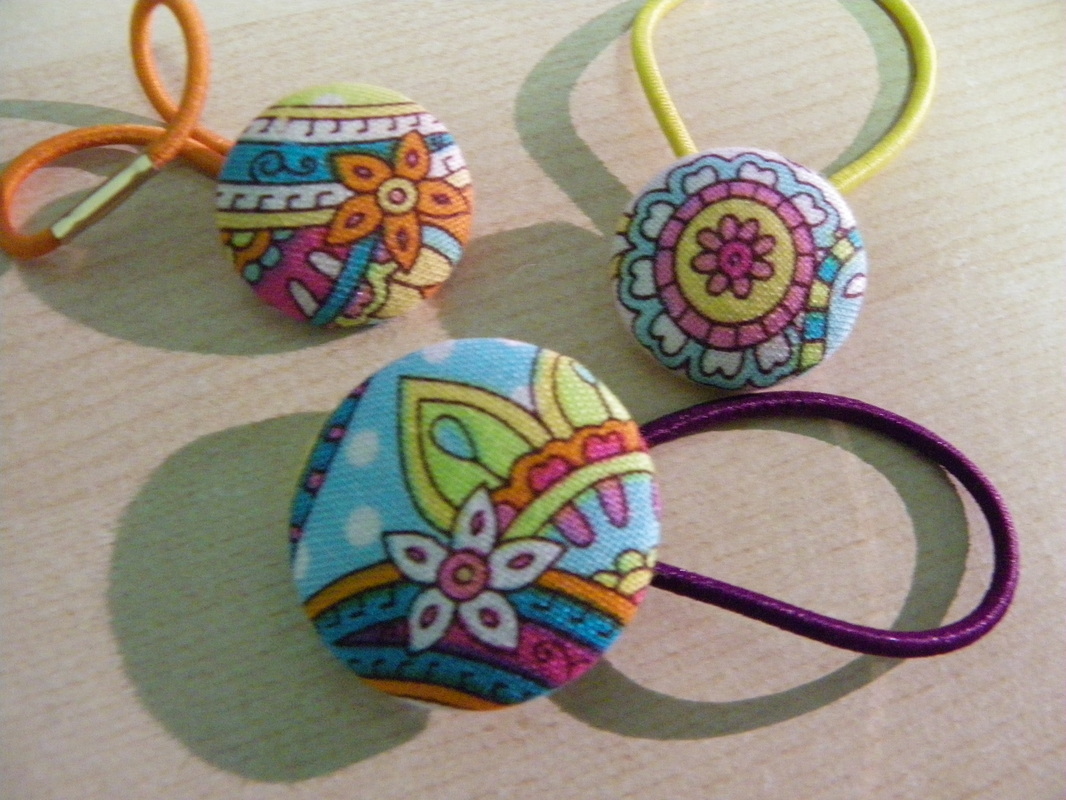
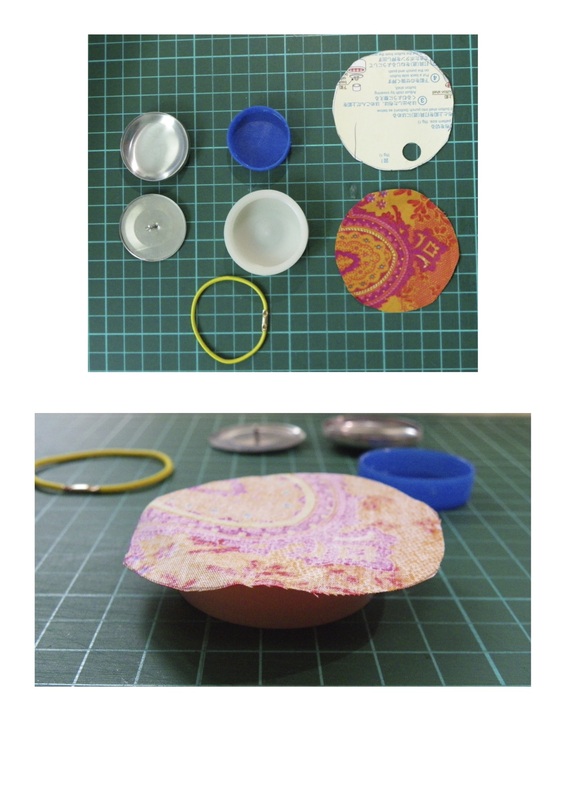
Materials 1. Hair elastics - the elastic must be thin enough to feed through the hole on the back of your buttons. 2. Material-Covered Button-making kit - these come in different sizes 3. Material of your choice - I recommend material with small intricate patterns, so that you can incorporate an interesting design onto your hair tie. 4. Scissors 5. Pen 6. Bobby Pins |
|

|

|
|
Instructions:
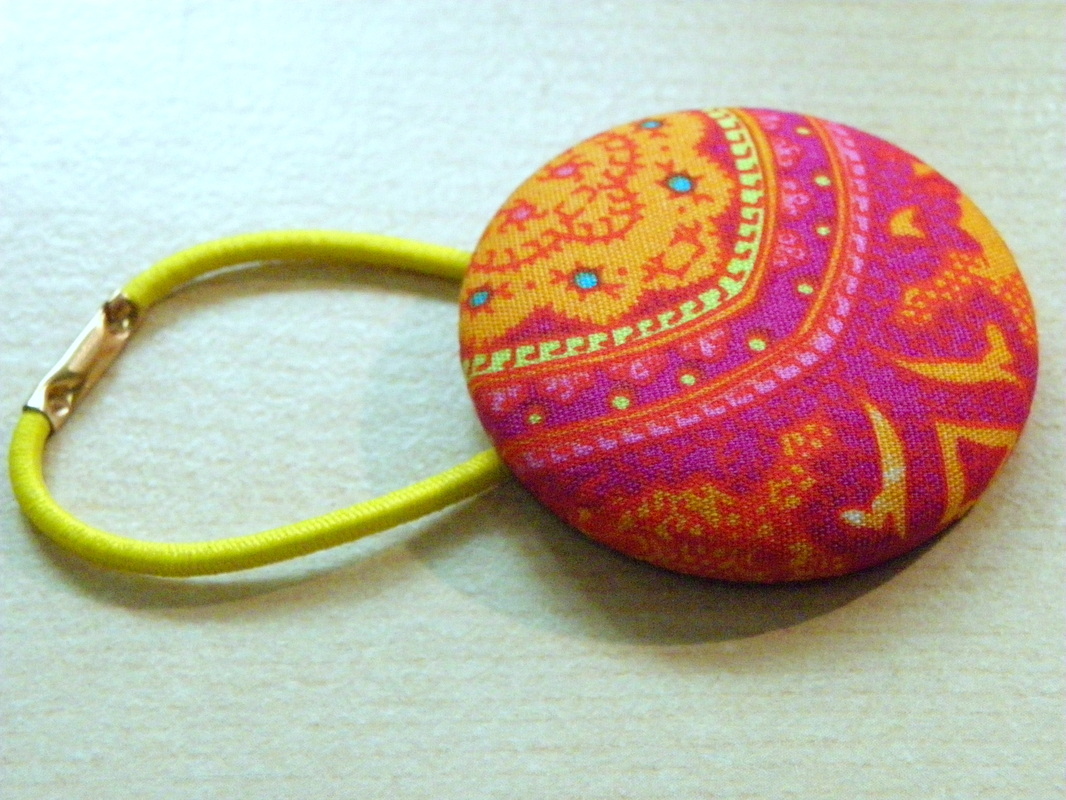
Cover your button as per your button covering kit. The kit should come with a circle template which you use to cut out a circle of material the right size.
Centre your materials picture/design in the circle, remembering that the outer area of material will end up inside your button.
Remember to put the material design-side down when you are covering your button, so the design ends up on the outside of the button.

|
|
|
|
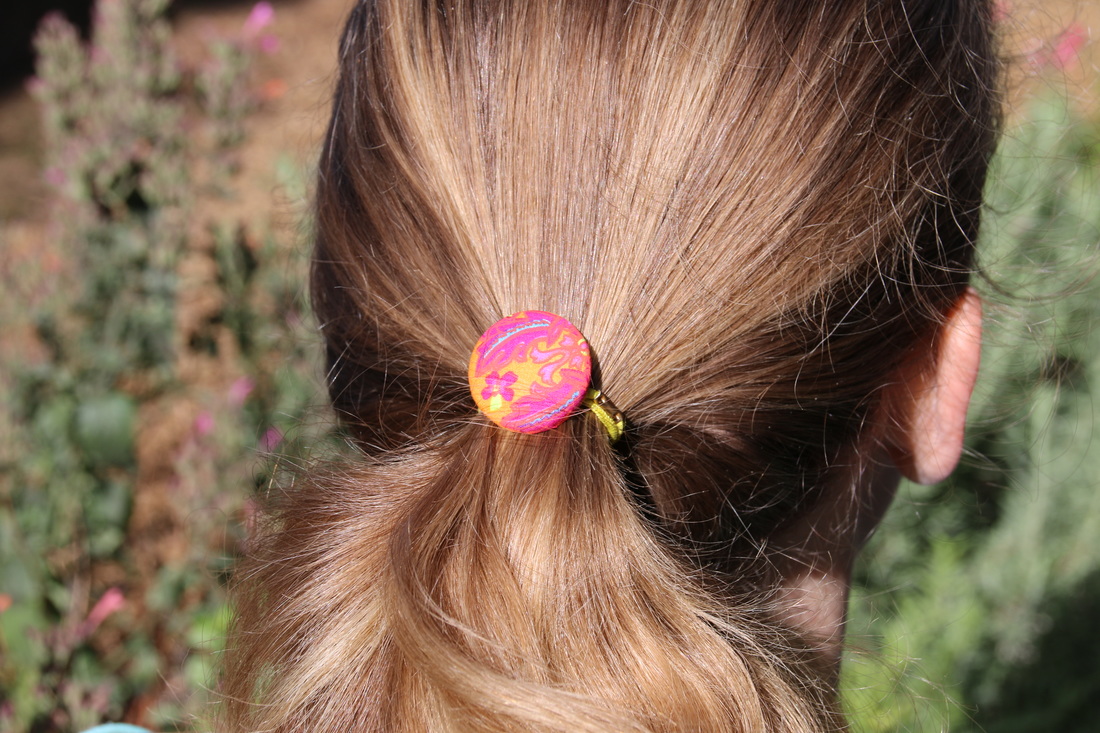
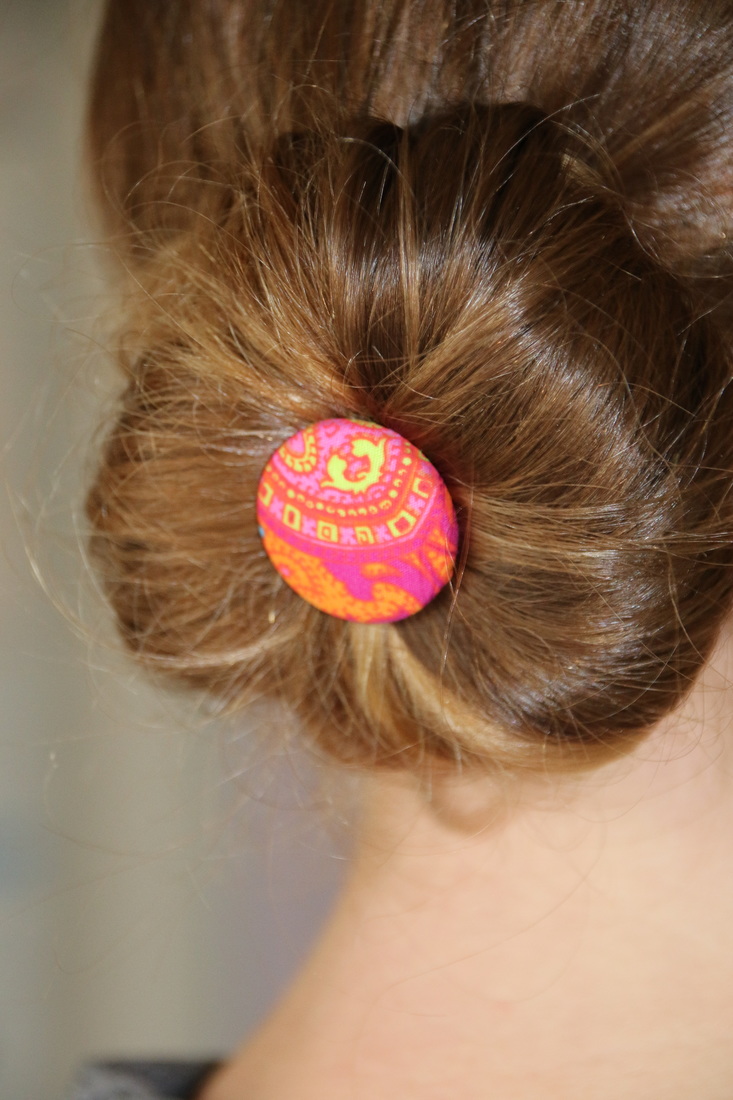
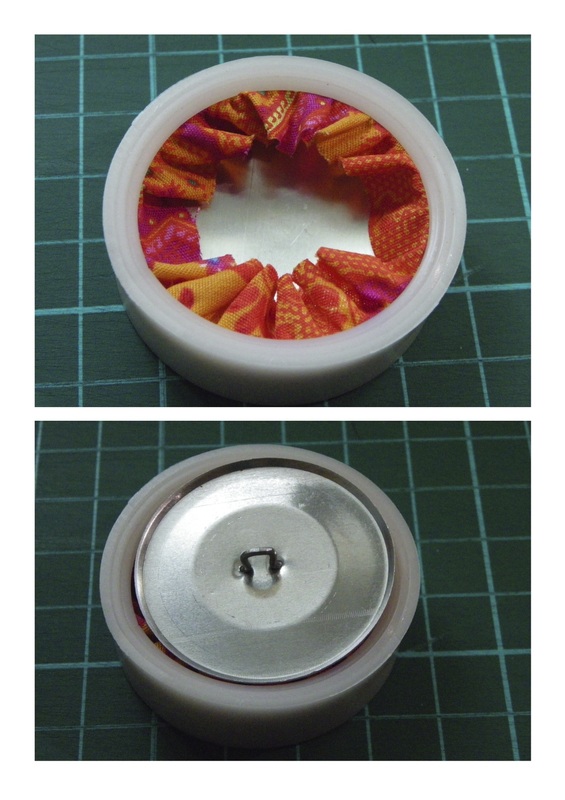
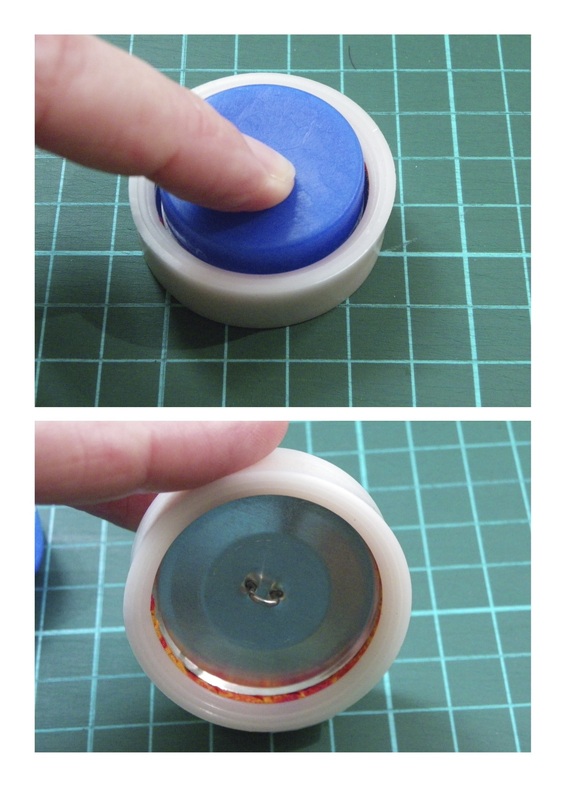
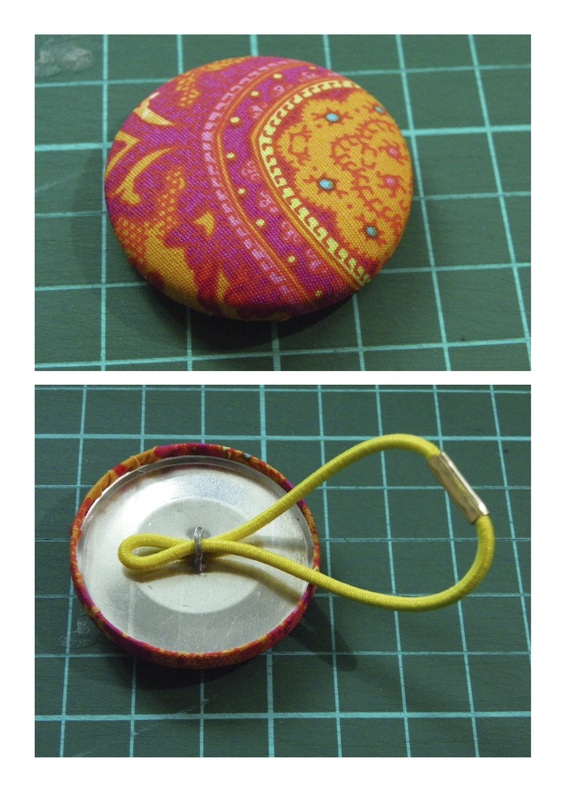
2. Thread the button onto your hair tie.
|

|
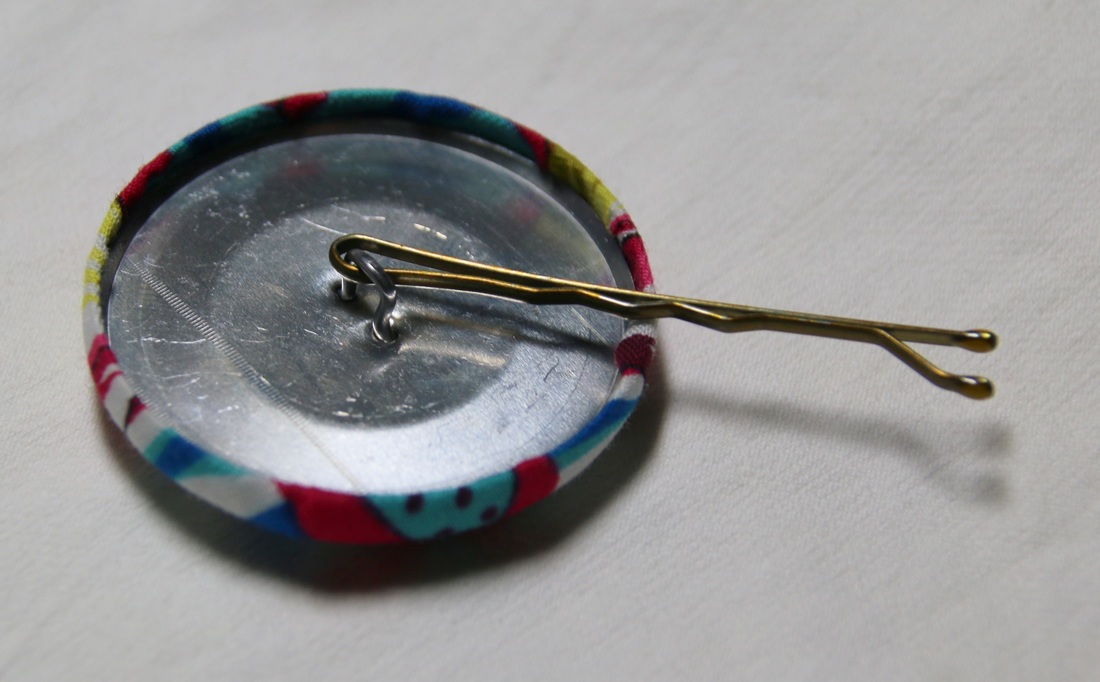
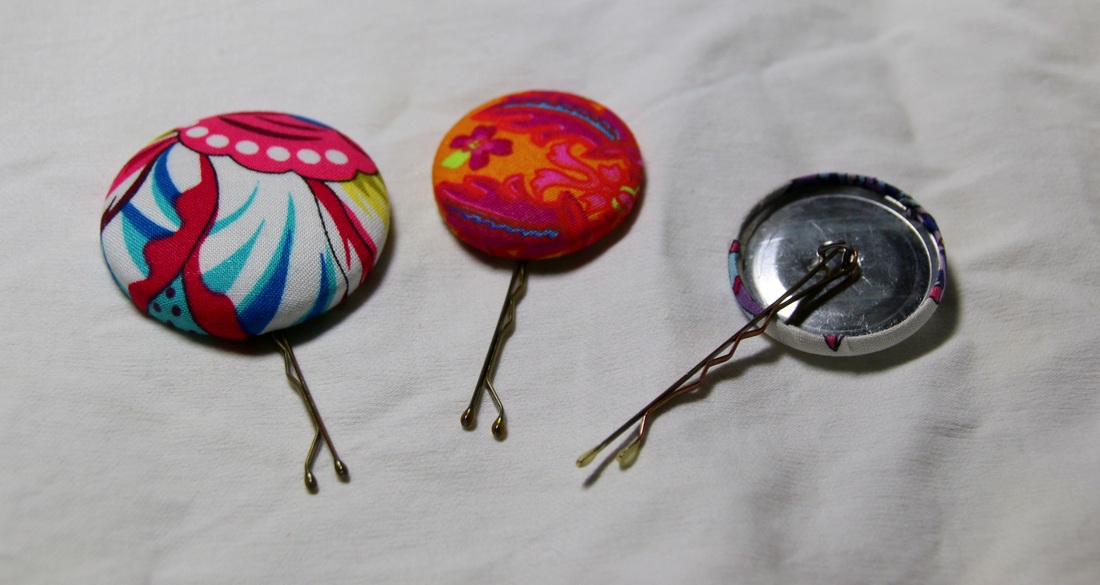
or push a bobby pin through the loop.
|
|