Welcome New Baby Card with Beaded Hand Embellishments
Thanks for your support!
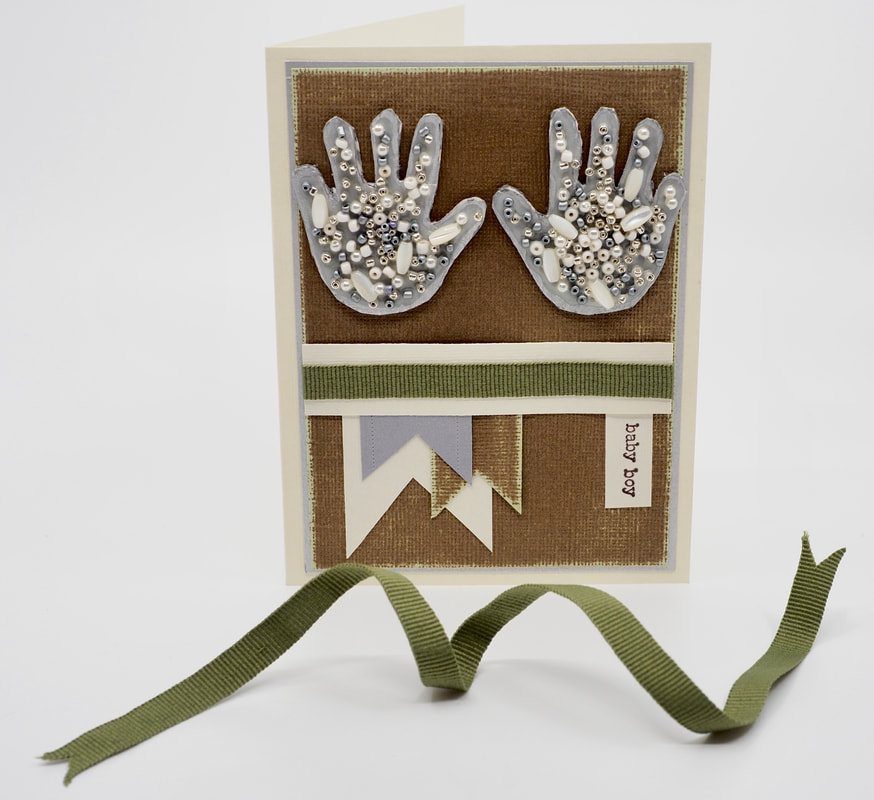
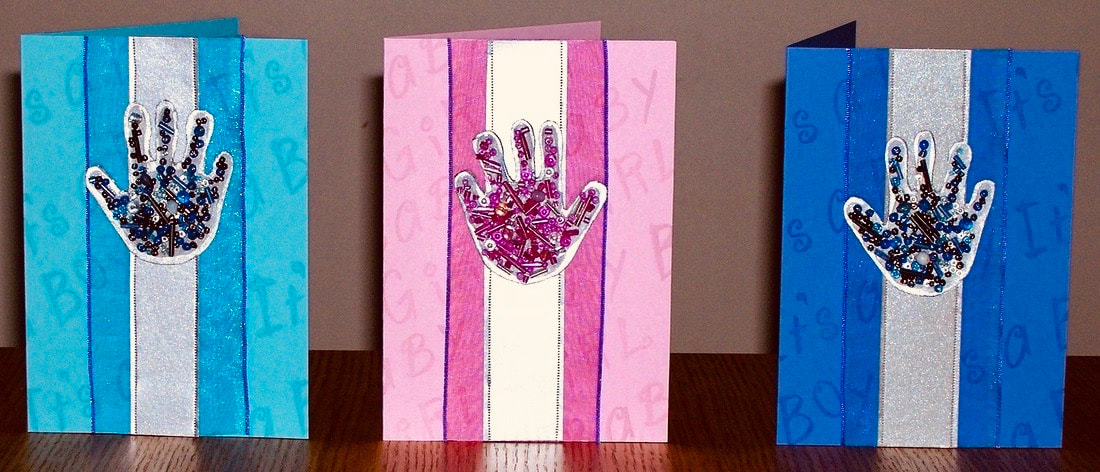
These gorgeous cards to welcome a new baby can be made in any colours you choose.
Make the Hand Embellishments
|
Materials
Instructions
1. Print out the hand template onto the piece of light card. Light card is required so that you can trace around the hand once you have cut it out. To print the Template - open the pdf (below) and print, or save the jpg image (right) to your computer and print.
|
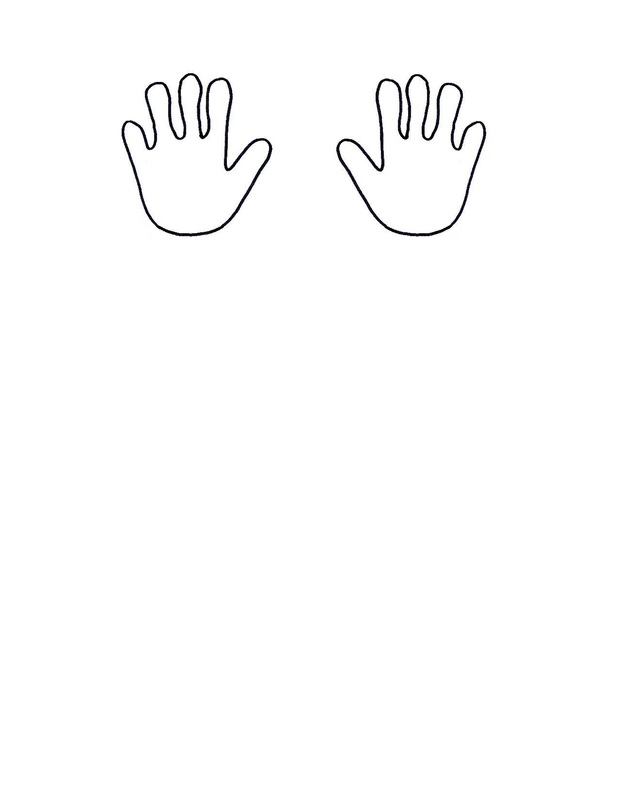
Hand Template
| ||
|
2. Cut out one of the baby hands.
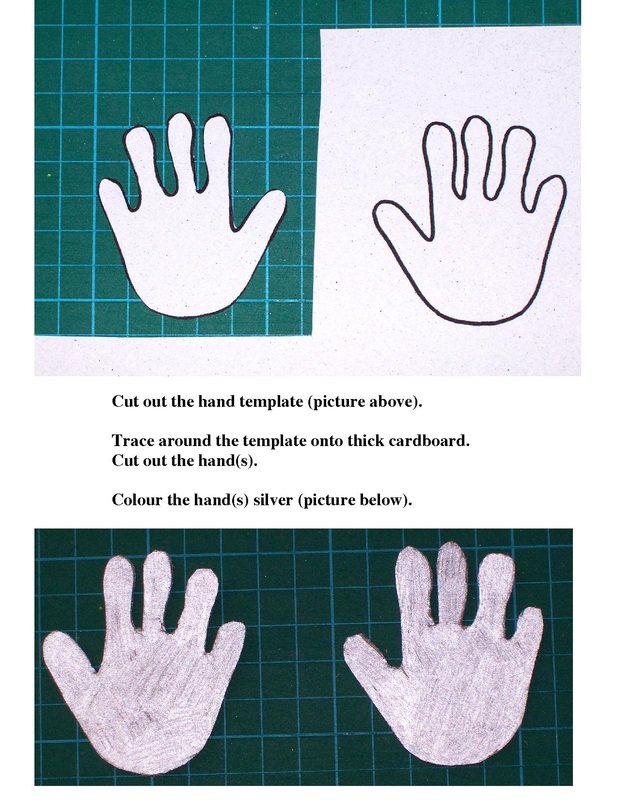
3. Trace the hand template onto the piece of thicker white card, then cut out the hand, using a craft knife or scissors . 4. Colour the top side of the hand completely with the silver paint pen. Don't forget to do the side edges. Depending on which way over you turn the hand to paint you will get a left or right hand (or you can make both) for your card. |
|
|
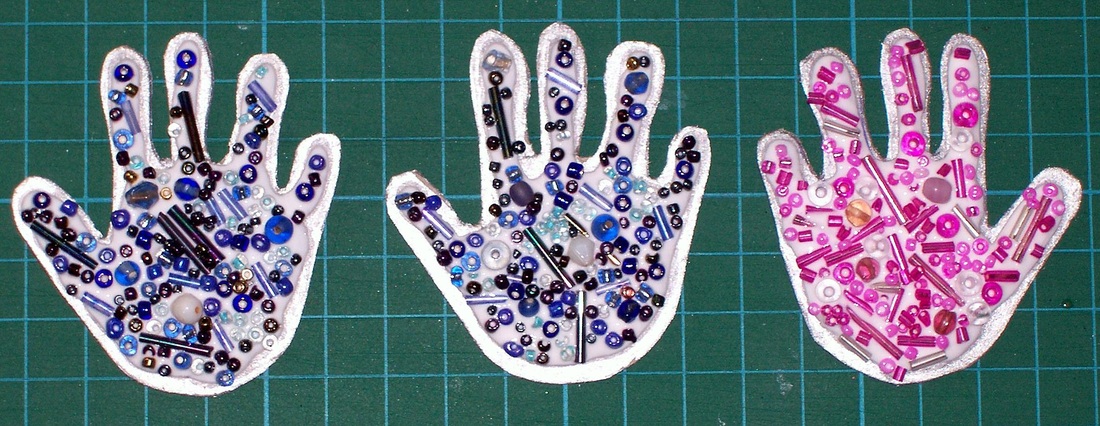
5. Lay the hand on a piece of scrap paper and cover it almost to the edges with a layer of PVA glue. Arrange your chosen beads onto the glue. Put it aside till dry.
A random arrangement of a few types of beads that differ in shades of colour (but within one colour scheme), style, shape and size look best. Make sure that there are several of each type of bead on the hand, and that the hand is well covered. There should be no large gaps left uncovered. Clear, silver or white beads blend well with any colour scheme. |
|