Advent Countdown Calendar
Please consider supporting me :)
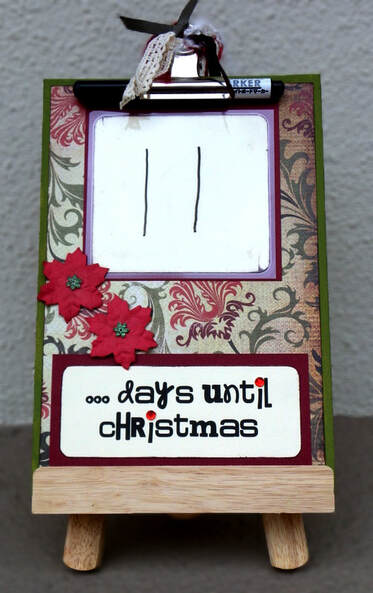
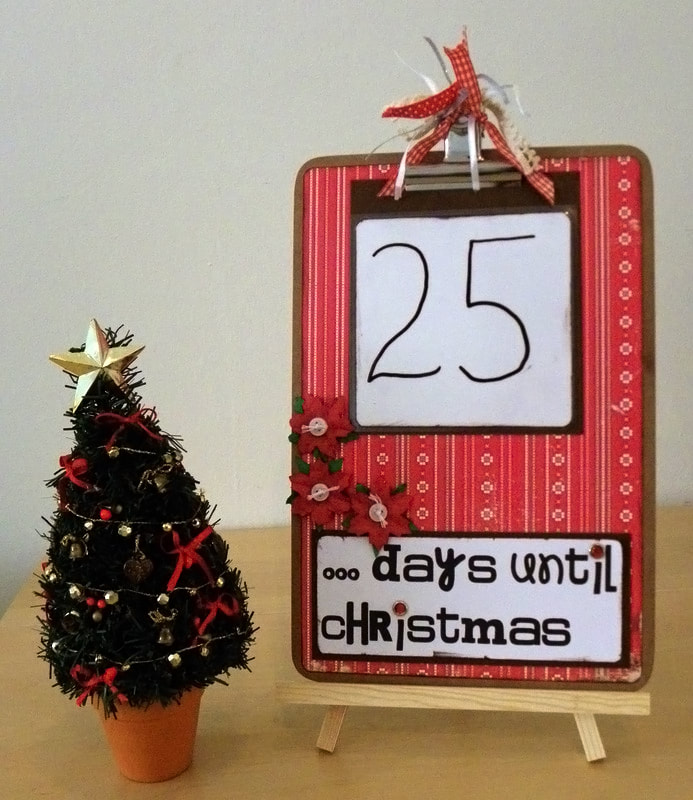
I have created two versions this countdown calendar...they both have their own hand-made "whiteboard" for recording how many days are left until Christmas..
Materials
- A4 Board - MDF or thick cardboard
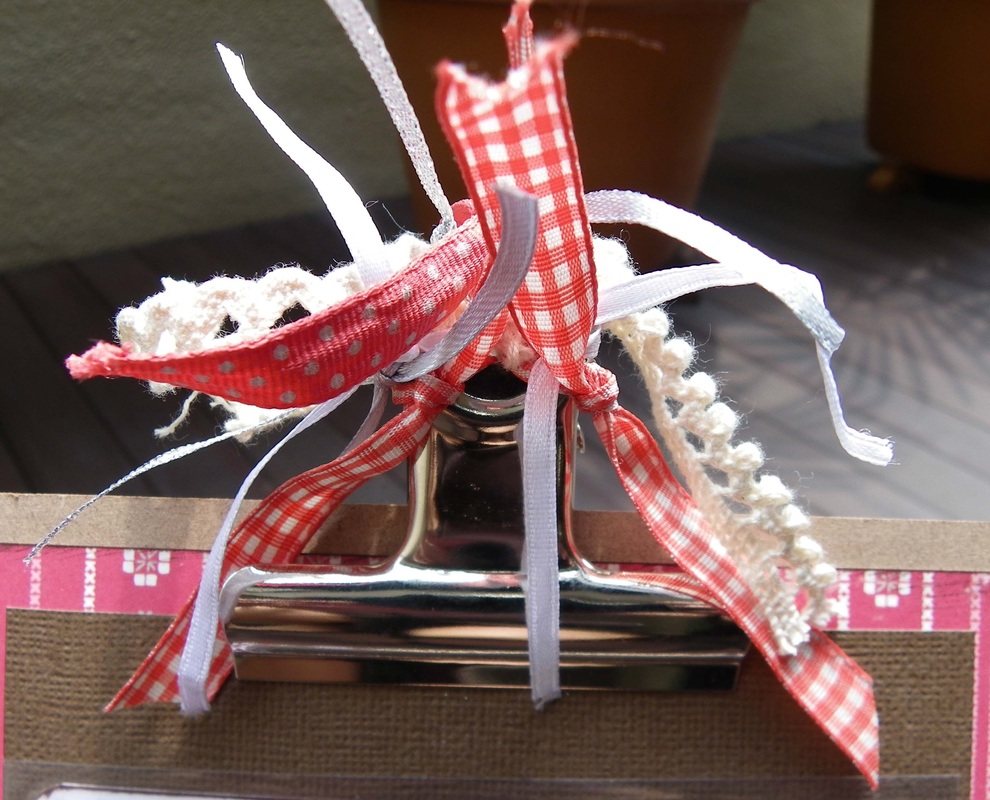
- Bulldog clip
- Christmas patterned craft paper
- Printer
- White light cardstock - it needs to go through your printer
- Textured craft cardstock
- Laminator and laminating sheets OR Self adhesive Laminating sheets
- White board pen or liquid chalk pen
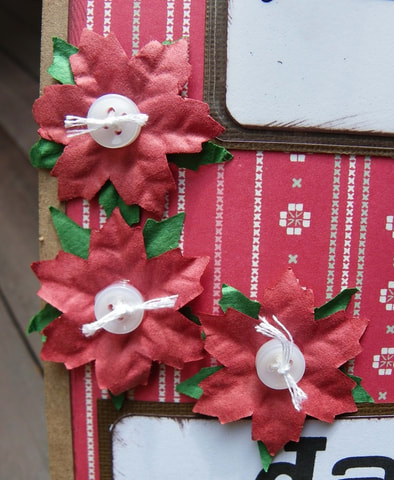
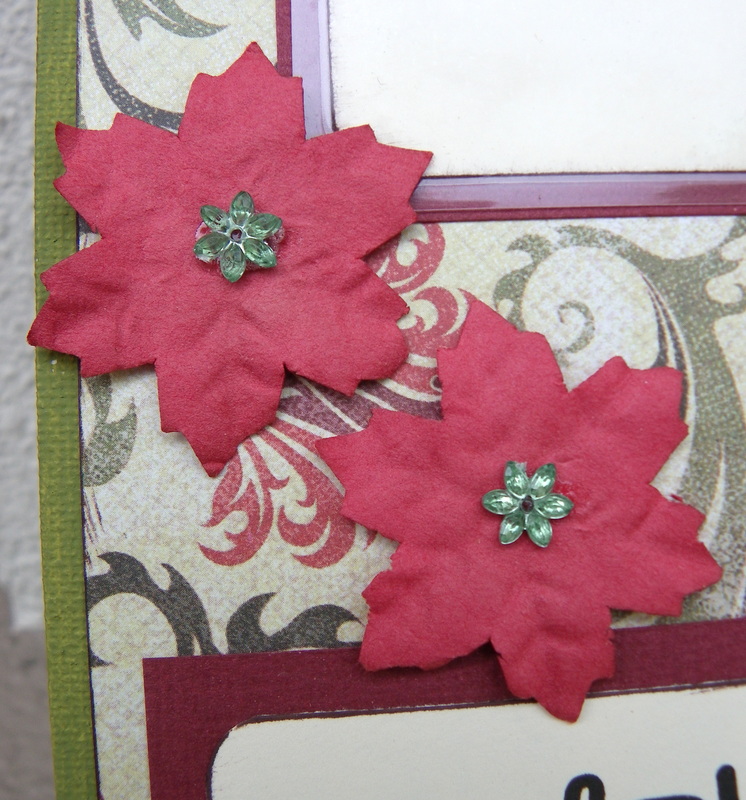
- Embellishments - flowers, buttons, self-adhesive rhinestones
- Papercraft Ink pad
- Ribbons
- Small wooden easel
- Paint and brushes
- Double sided sticky tape
- Craft glue
- Corner rounding punch
- Paper trimmer
- Scissors
Instructions
The A4 board can be either left plain or painted.
Cut a piece of Christmas paper to a slightly smaller size than the A4 board, leaving a 5-10mm border. Use a corner punch to round the corners, and then ink the edges of the paper using the ink pad. Use double sided sticky tape to adhere the paper to the front of the board.
|
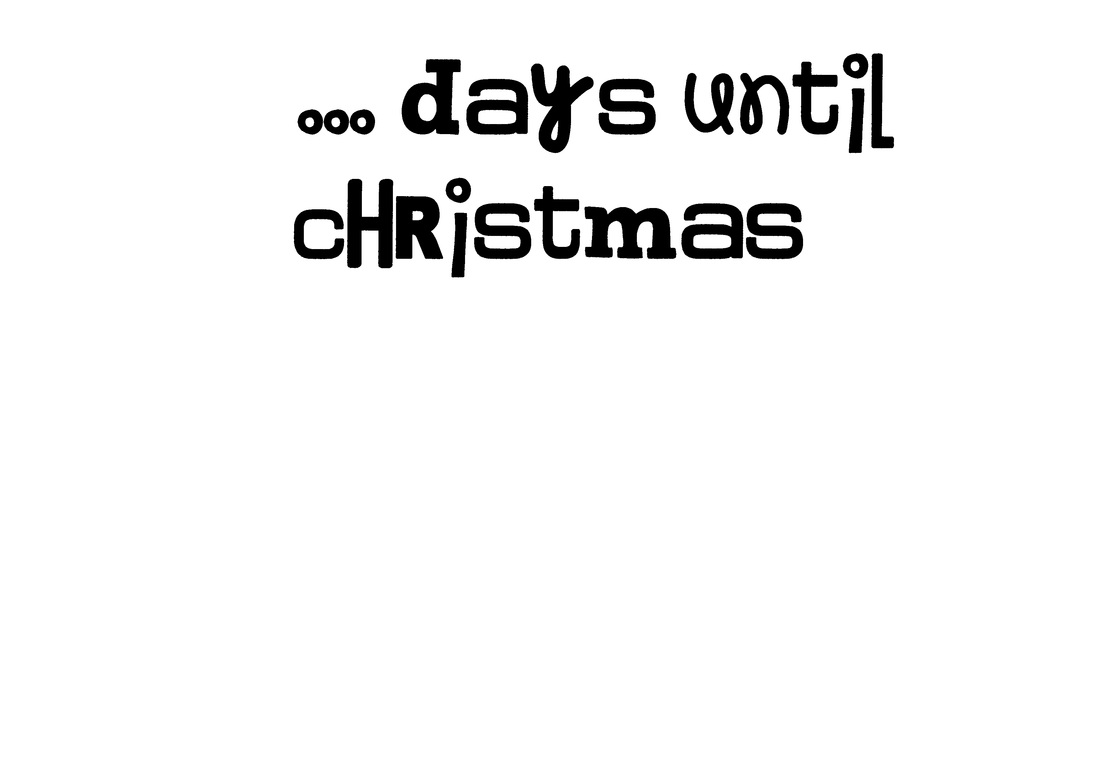
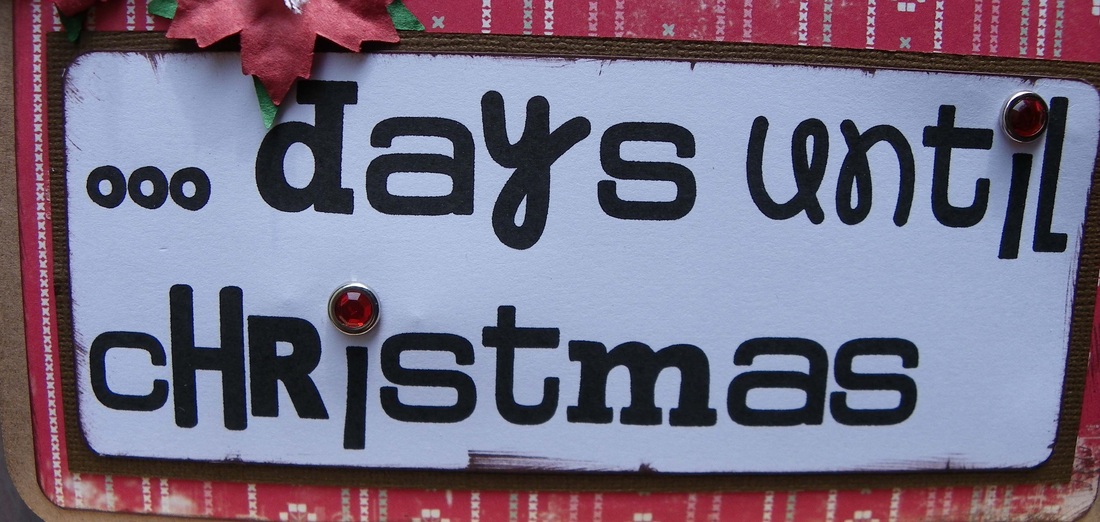
Print the wording "...days until Christmas" template (landscape orientation) onto the white card. Cut it out with a small border from the words (about 5mm), then round the edges with the corner punch .
Ink the edges using the ink pad. The wording template is available in pdf or jpg Cut a piece of card slightly larger than your words (3-5mm margin) and using double sided sticky tape, adhere the words onto the front of it. Use double sided sticky tape to attach the words to the bottom of the board. |
| ||||||
Cut a piece of square white card for the "white board". Round the corners and then ink the edges with the ink pad.
Laminate the "white board", then trim the plastic around it with a paper trimmer.
If you don't have a laminator, you could cover your piece of card with clear contact, or "cold laminate".
Cut a piece of card slightly larger than the "white board" (3-5mm margin) and using double sided sticky tape, adhere it to the back of the white board.
Use double sided sticky tape to attach the white board to the top the advent calendar.
Embellish the advent calendar - buttons, flowers, self-adhesive rhinestones, die-cuts...
|
|
All Crafts, Printables and Site Content are free for personal use only. Stock photos are free. If you find Craft n Home helpful, please buy me a coffee!
© craftnhome Privacy Policy |
