80th Card
I appreciate your support!
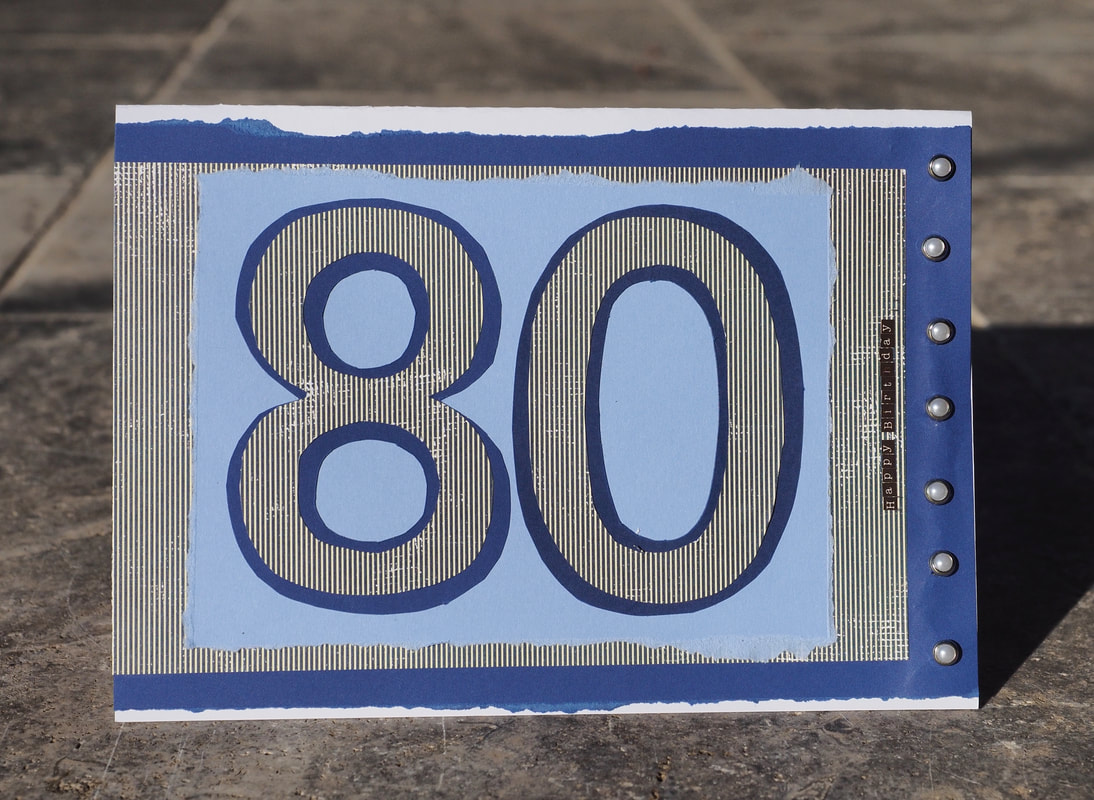
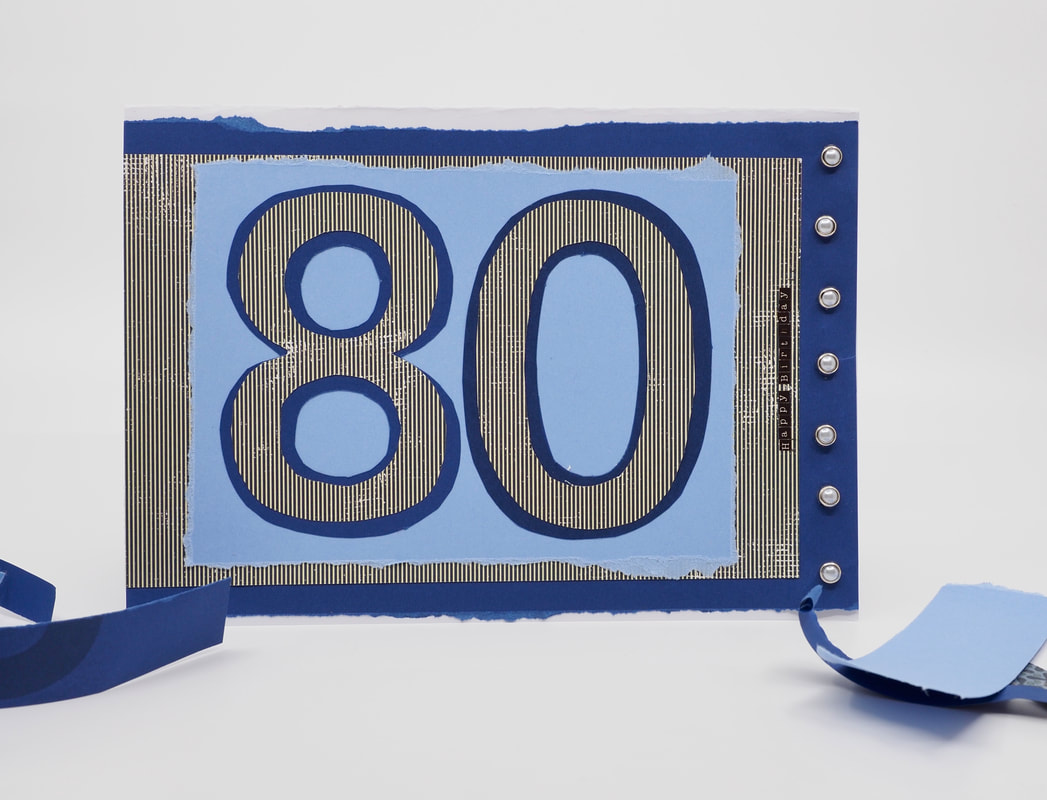
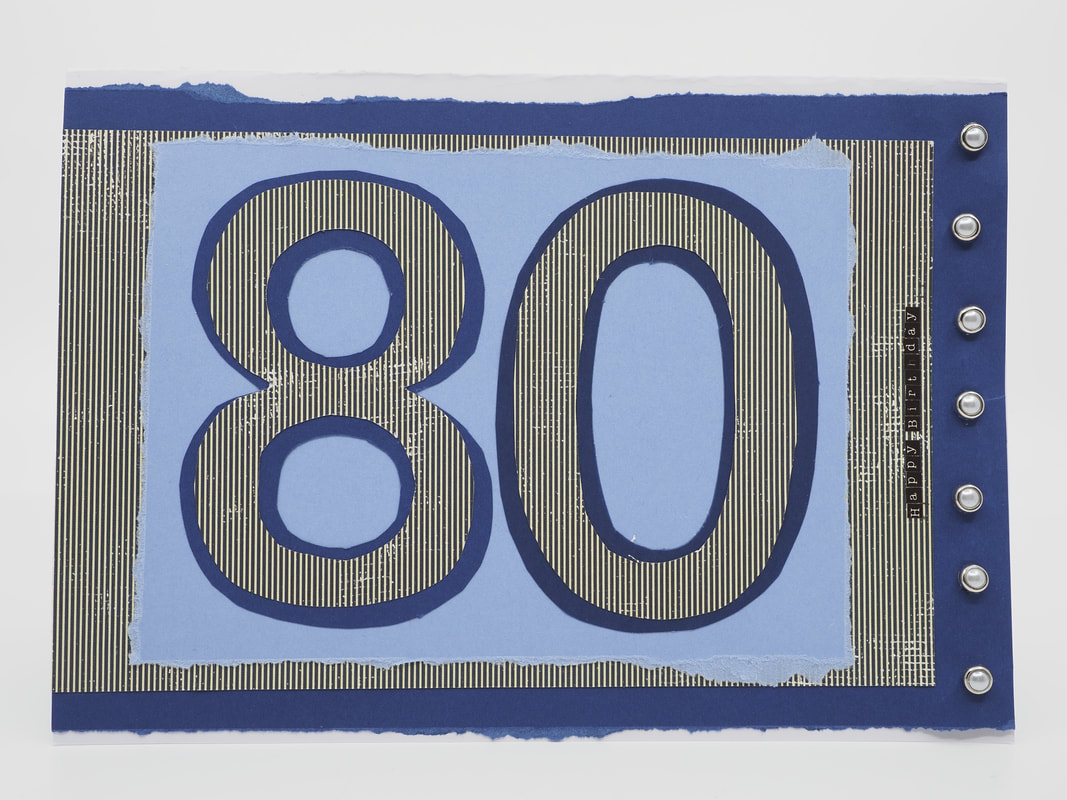
An special 80th Birthday card to celebrate a milestone...
Materials Required:
A4 piece of card (white)
A4 piece of paper or light card (Dark blue)
A4 piece of paper or light card (Striped)
Piece of light blue paper
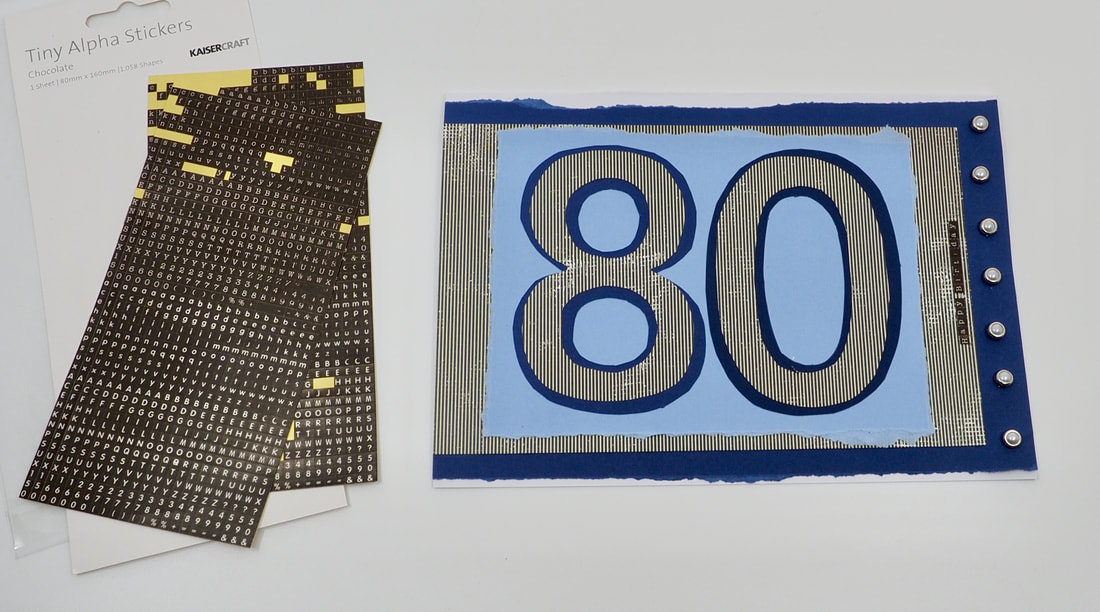
Alphabet stickers
7 pearl/ metal brads
Double sided sticky tape
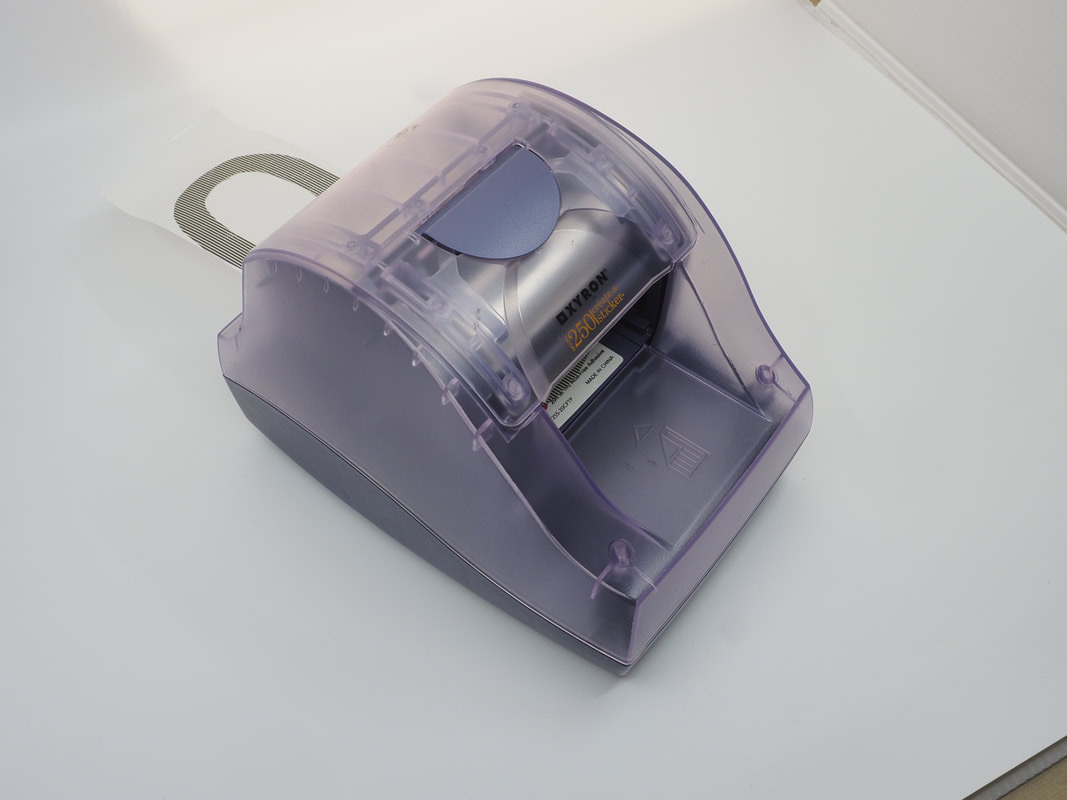
Sticker maker (or other adhesive)
Ruler
Pencil
Sharp instrument for piercing holes
Printer
Scissors and craft knife
Paper trimmer
This makes a card from a piece of A4 card folded in half (finished card 21cm wide x 15cm high)
A4 piece of card (white)
A4 piece of paper or light card (Dark blue)
A4 piece of paper or light card (Striped)
Piece of light blue paper
Alphabet stickers
7 pearl/ metal brads
Double sided sticky tape
Sticker maker (or other adhesive)
Ruler
Pencil
Sharp instrument for piercing holes
Printer
Scissors and craft knife
Paper trimmer
This makes a card from a piece of A4 card folded in half (finished card 21cm wide x 15cm high)
Instructions:
1. Print the A4 template onto the REVERSE side of the dark blue and striped paper
The template can be used wither as jpg or pdf below
1. Print the A4 template onto the REVERSE side of the dark blue and striped paper
The template can be used wither as jpg or pdf below
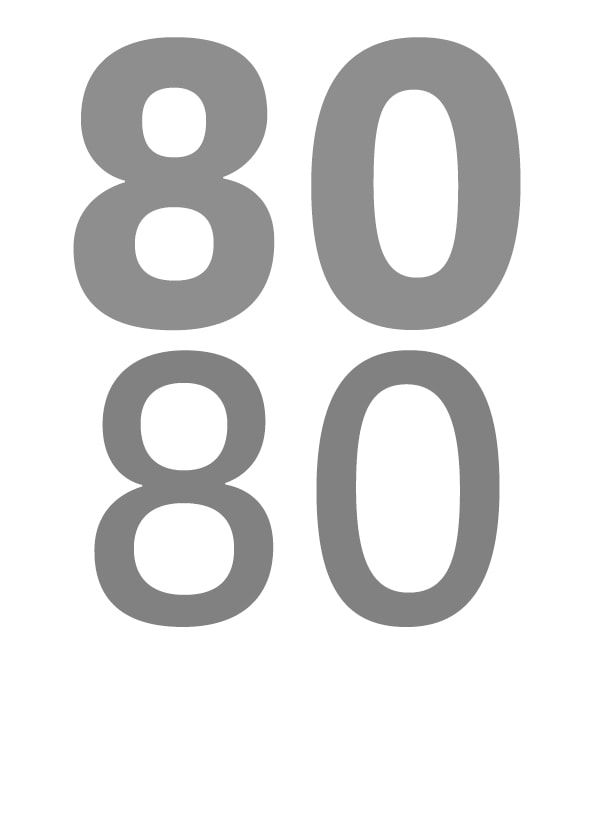
80 Template jpg
|
| ||
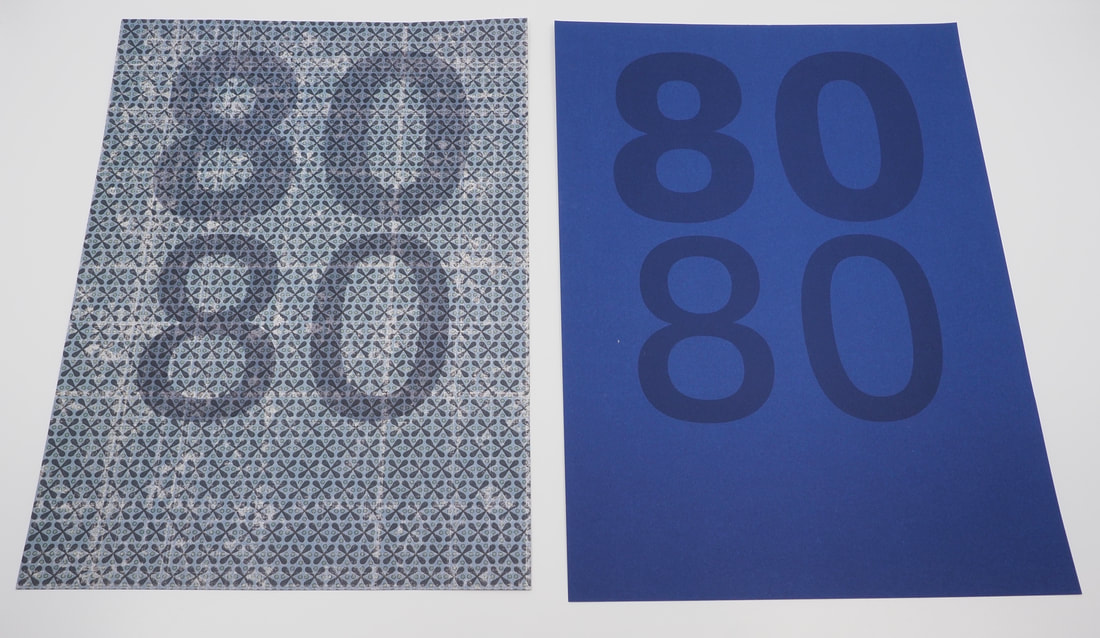
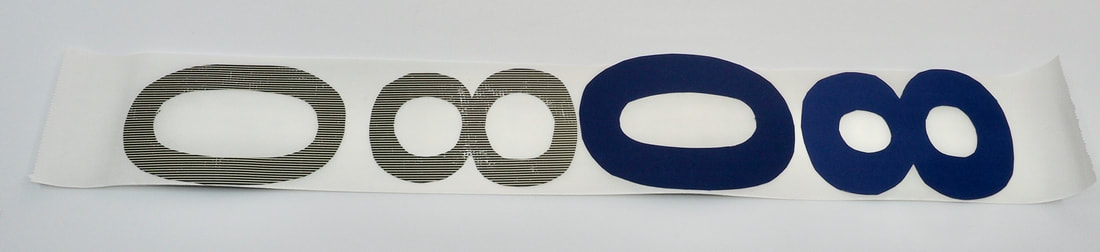
2. Using scissors or a craft knife, cut out the thicker 80 from the dark blue paper, and the thinner 80 from the striped paper. Make sure that you save the pieces of paper you don't need intact for using on the card.

|

|
3. Use a sticker maker (if you have one) to make add adhesive to the back of these numbers. Note - If you don't have a sticker maker, you can adhere the numbers using double sided tape or glue instead.
|
|
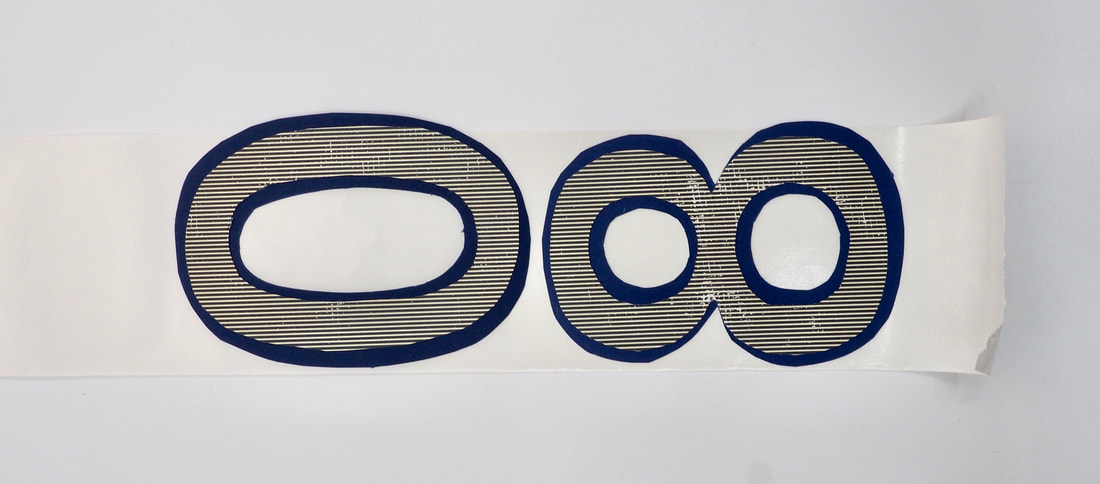
4. Stick the striped numbers onto the dark blue numbers
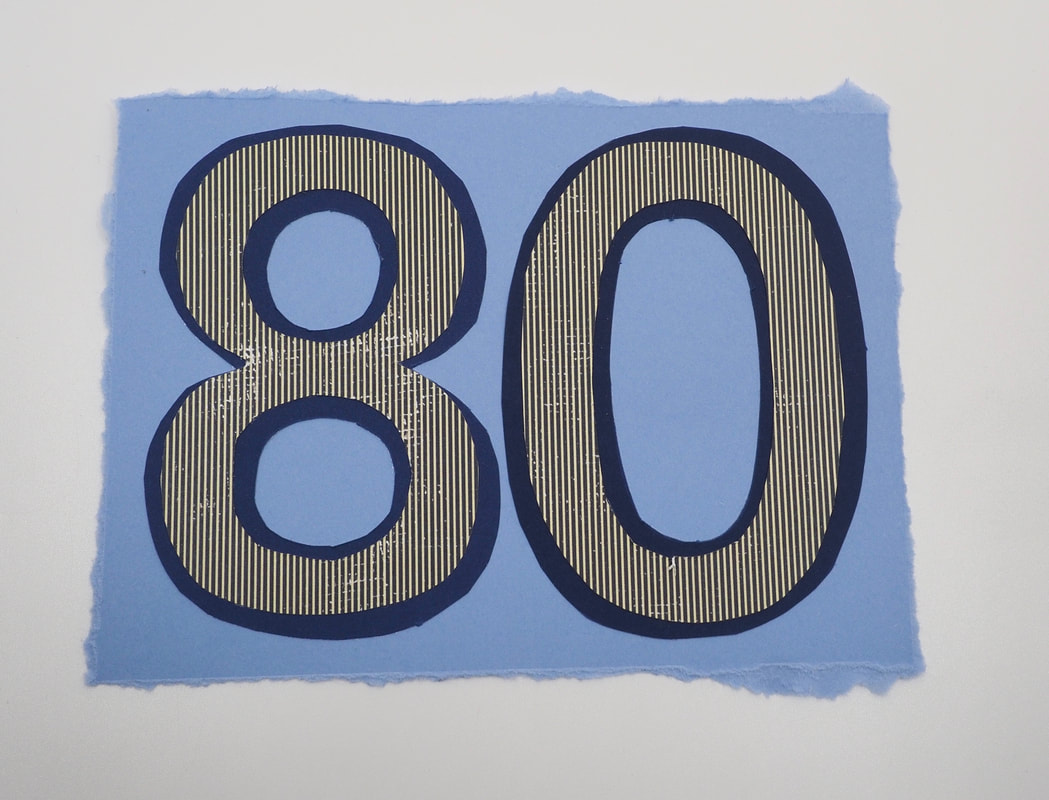
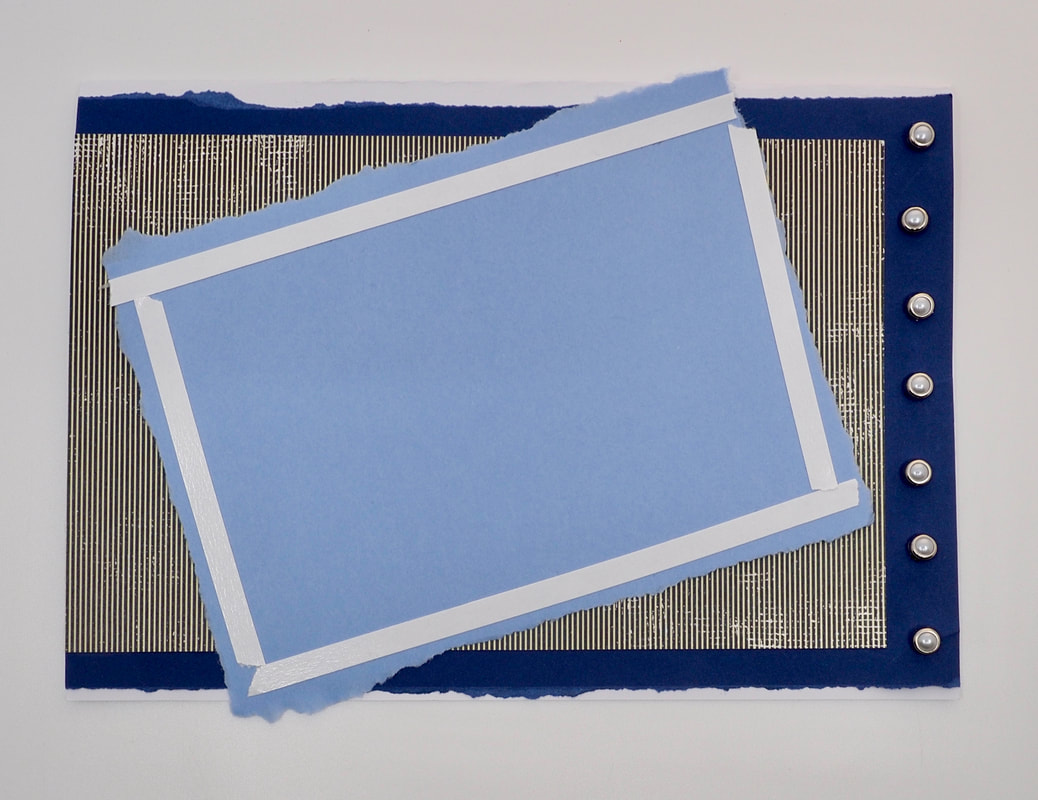
5. Using a ruler, tear a piece of light blue paper to a size to comfortably fit the '80' with a small margin, then adhere the '80' to the light blue paper
6. Tear a piece of the dark blue paper along the top and bottom so that it is approximately 13.5cm high. Leave the width at it's full 21cm
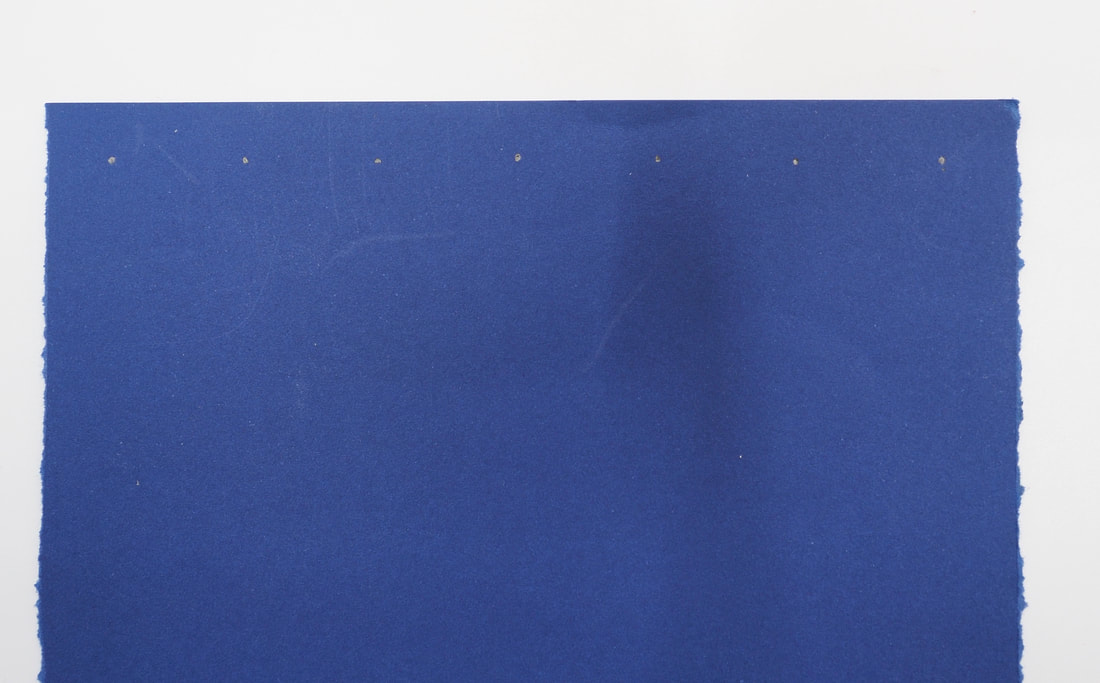
7. Along one edge, using a ruler and pencil, mark out 7 evenly spaced spots approximately 1cm from the edge of the paper where the brads will be inserted.
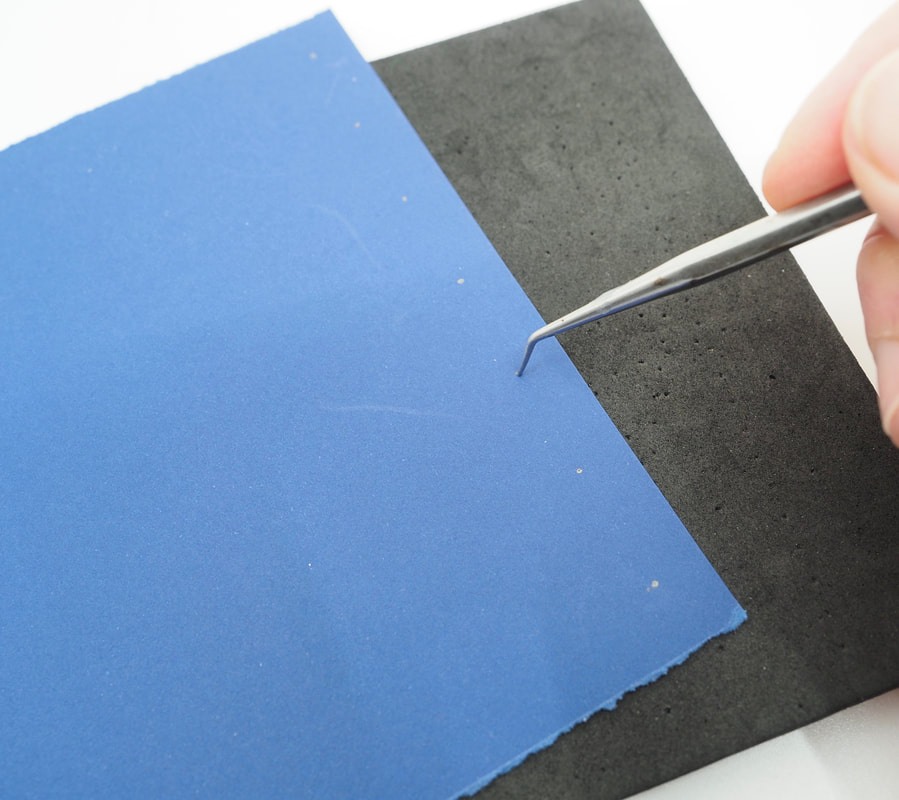
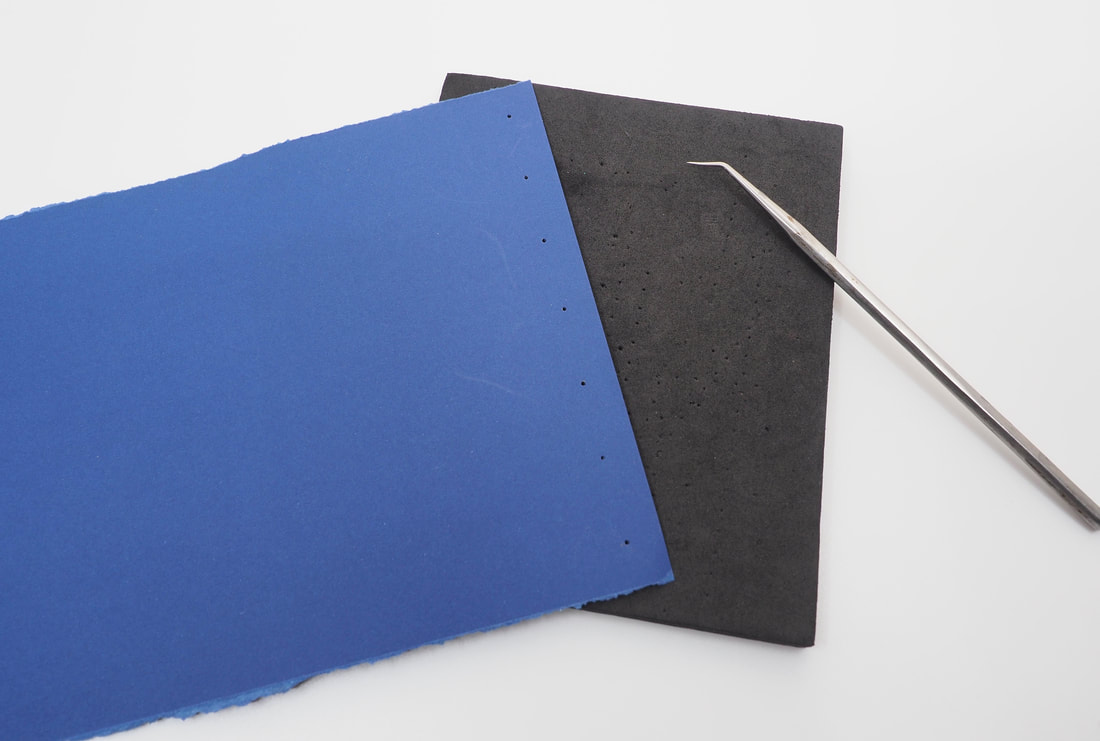
8. Using a sharp pointed instrument, pierce holes at each of these points to enable easy insertion of the brads.
7. Along one edge, using a ruler and pencil, mark out 7 evenly spaced spots approximately 1cm from the edge of the paper where the brads will be inserted.
8. Using a sharp pointed instrument, pierce holes at each of these points to enable easy insertion of the brads.
|
|
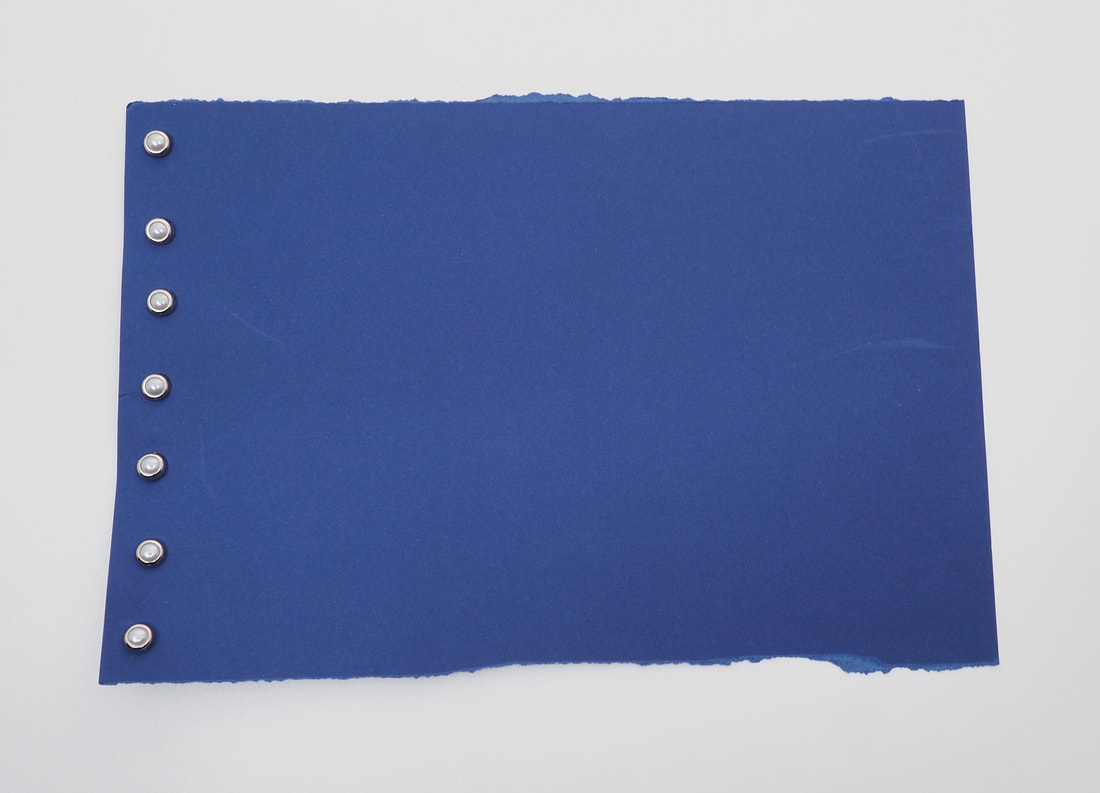
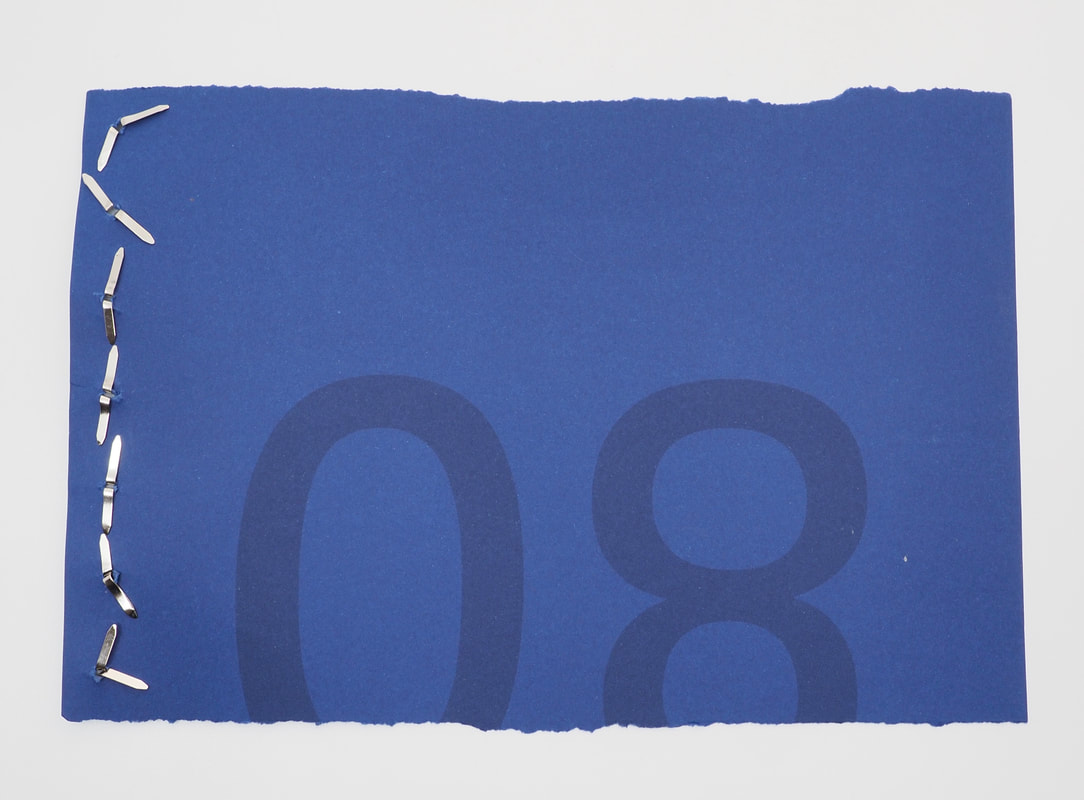
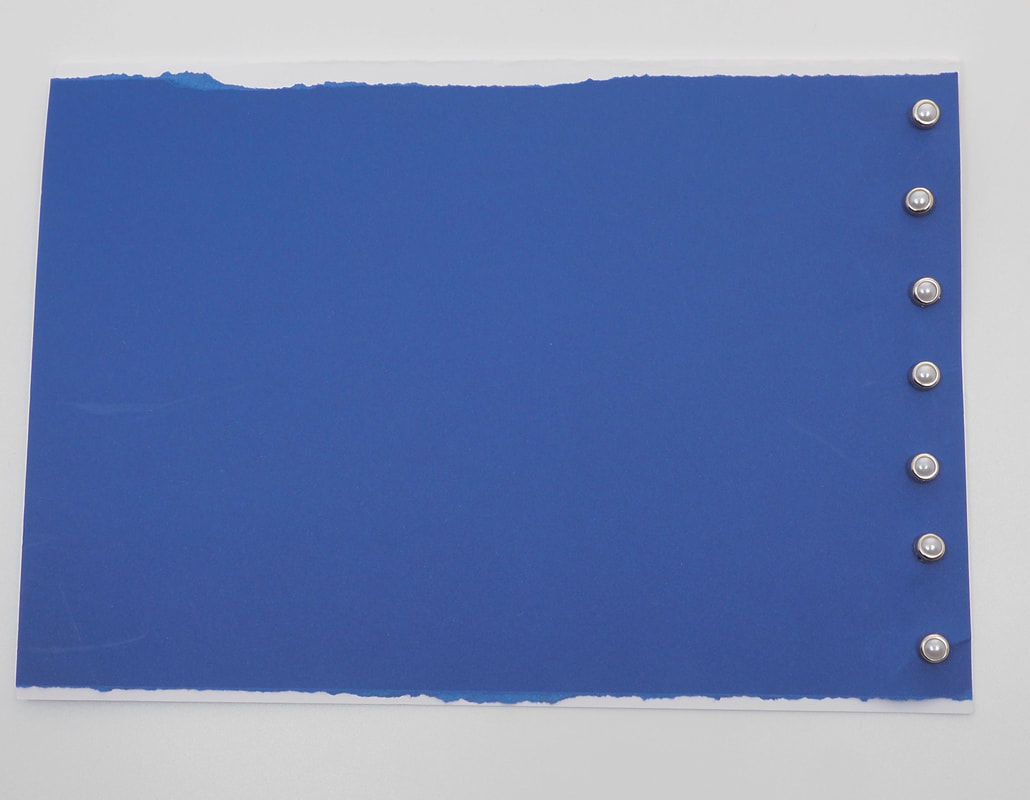
9. Insert the brads, taking care to fold them back flat on the reverse side where they won't stick out from underneath the paper.
|
|
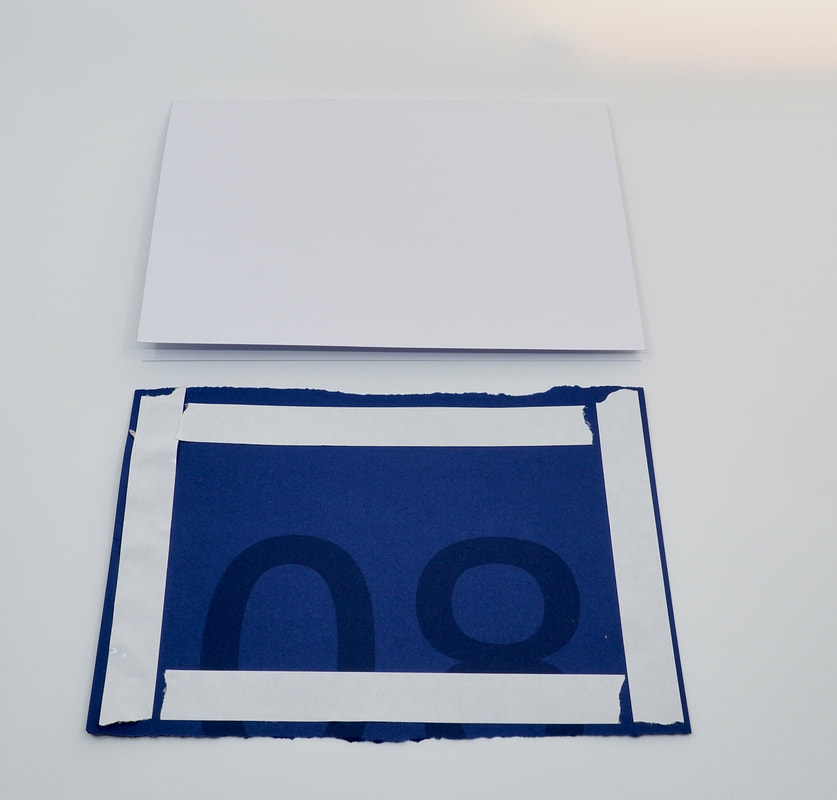
10. Fold the piece of A4 card in half to make you card base.
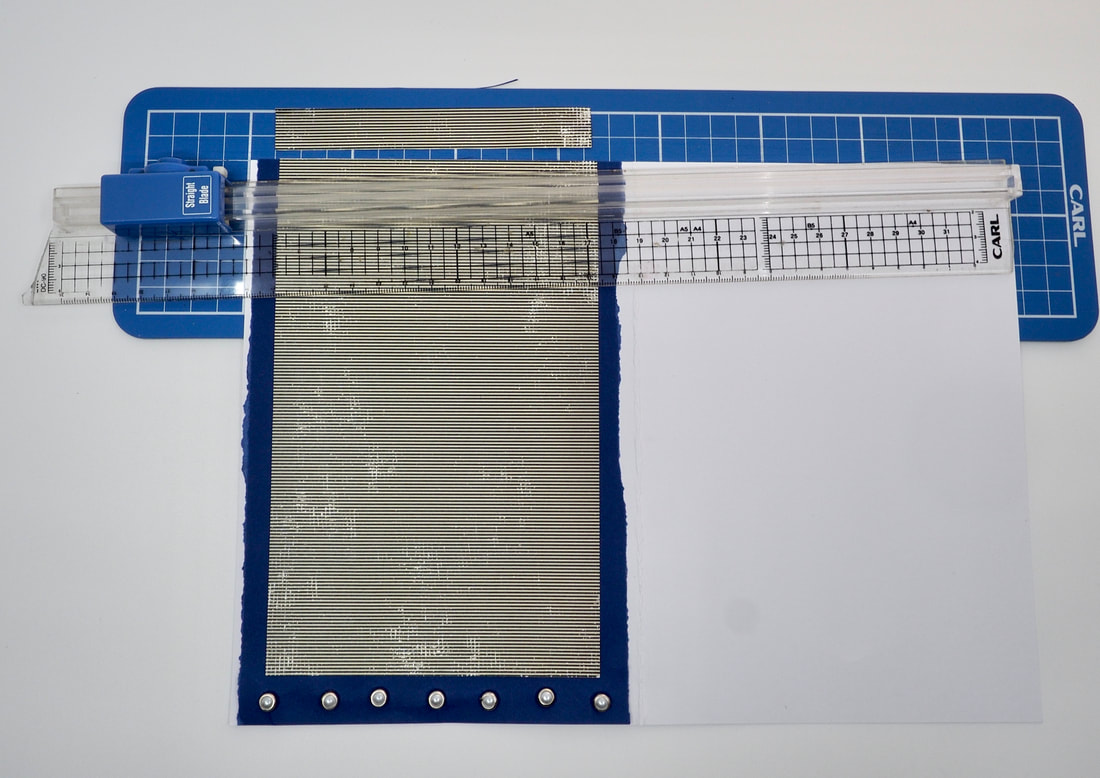
11. Place double sided sticky tape on the back of the dark blue paper, making sure you are near the edges and cover the brads. Adhere the dark blue paper to the card base, with the brads on the right hand side.
11. Place double sided sticky tape on the back of the dark blue paper, making sure you are near the edges and cover the brads. Adhere the dark blue paper to the card base, with the brads on the right hand side.
|
|
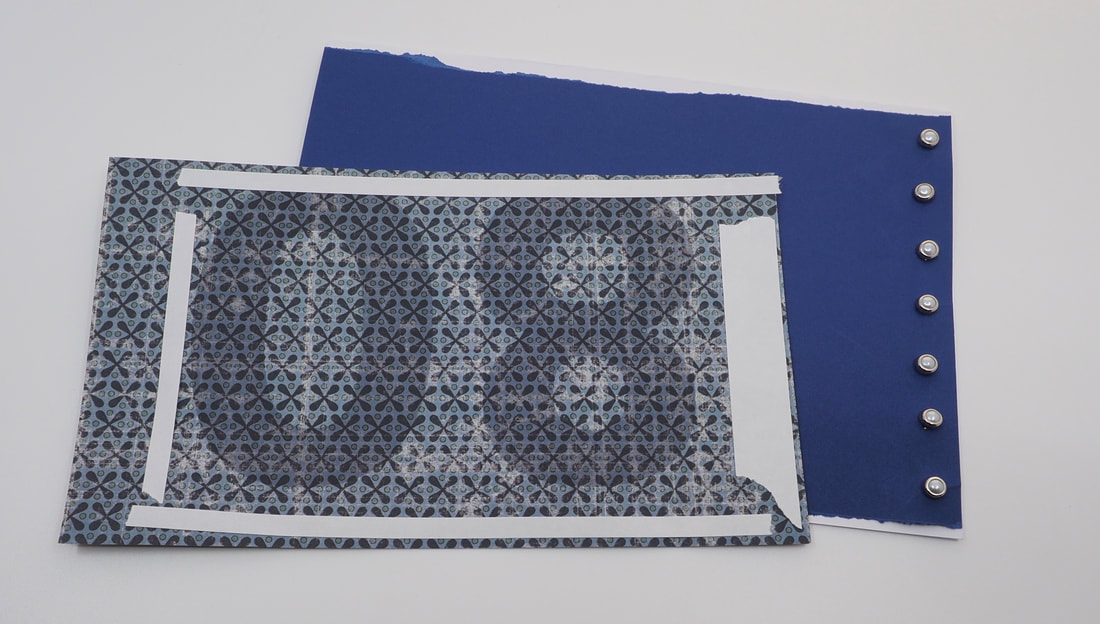
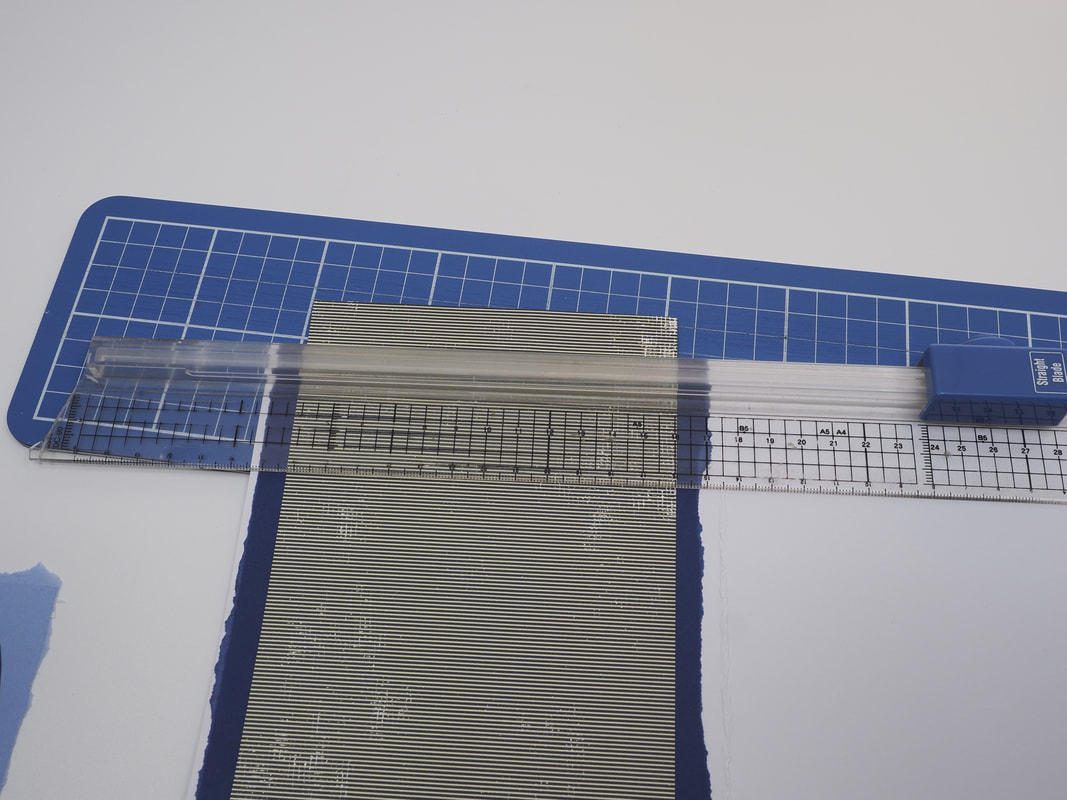
12. Take the leftover striped paper and cut it height wise so that it is a little shorter than the dark blue paper. Using double sided tape (when applying the tape allow for the edge to be removed), stick it onto the card base, on top of the dark blue paper, leaving room for the brads down the right hand side. Use a paper trimmer to cut it back level with the card edge
|
|
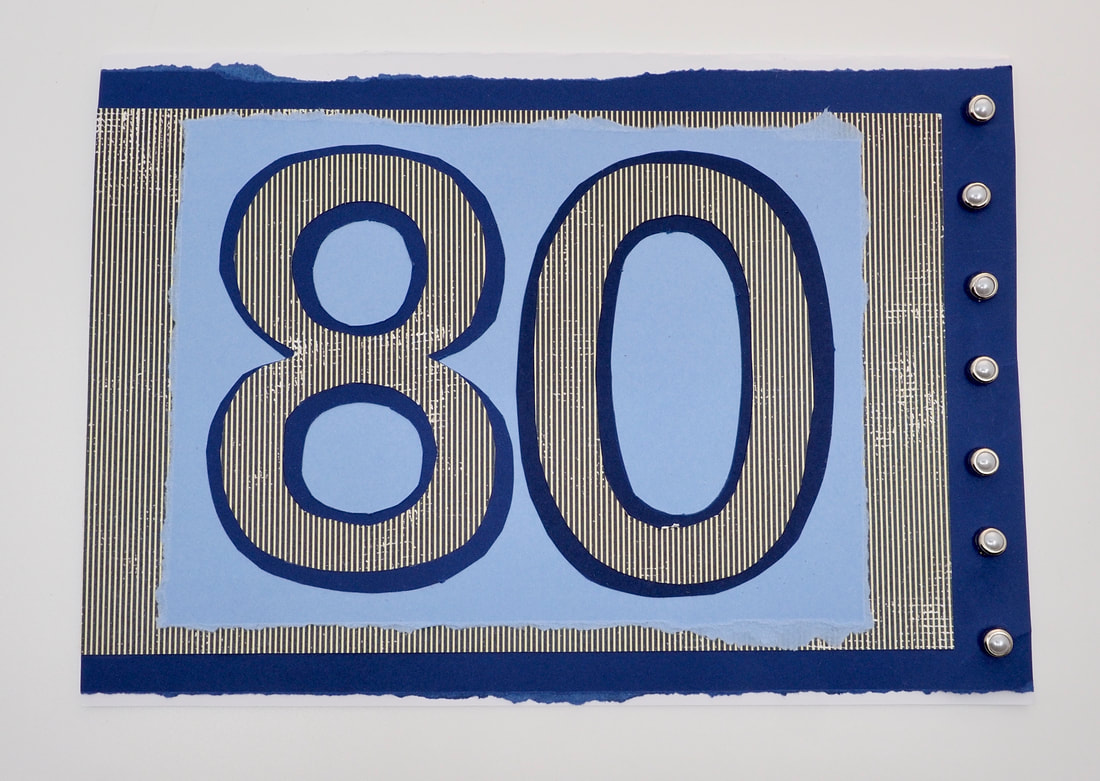
13. Use double sided sticky tape to adhere the light blue card with the '80' to the front of the card.
|
|
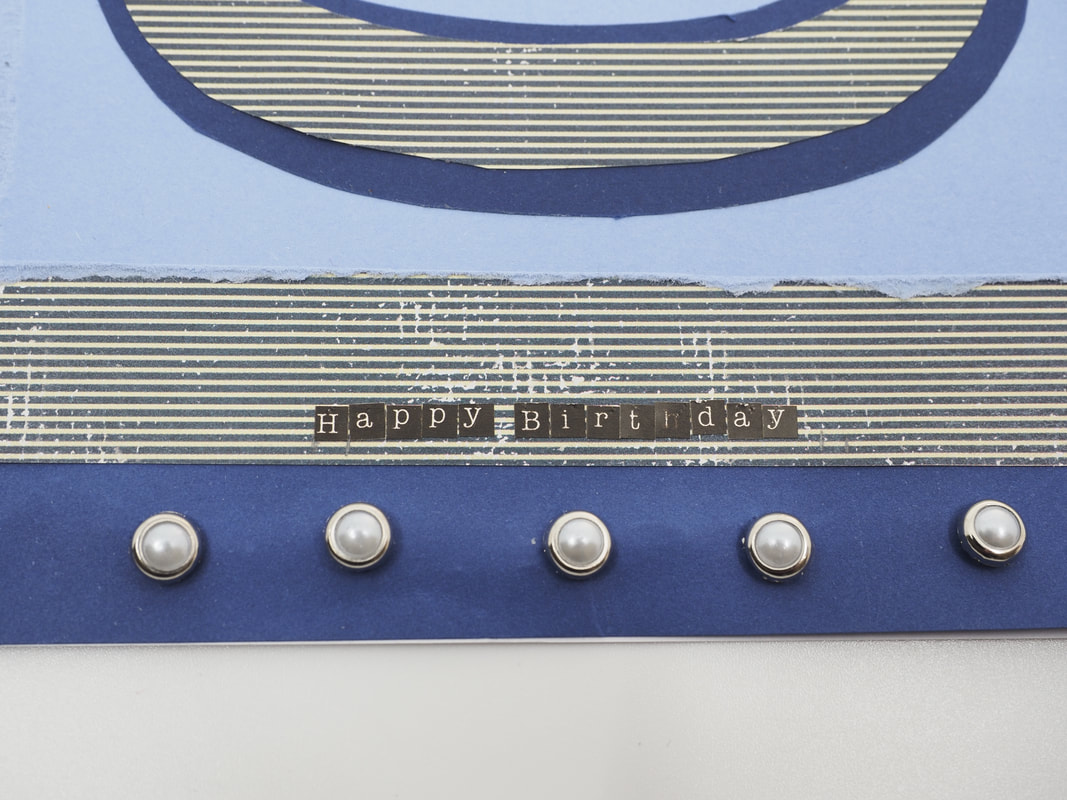
14. Use small alphabet stickers to write "Happy Birthday" down the right hand side of the striped paper
|
|
All done...