Digger Card for Kids
Thanks for your support!
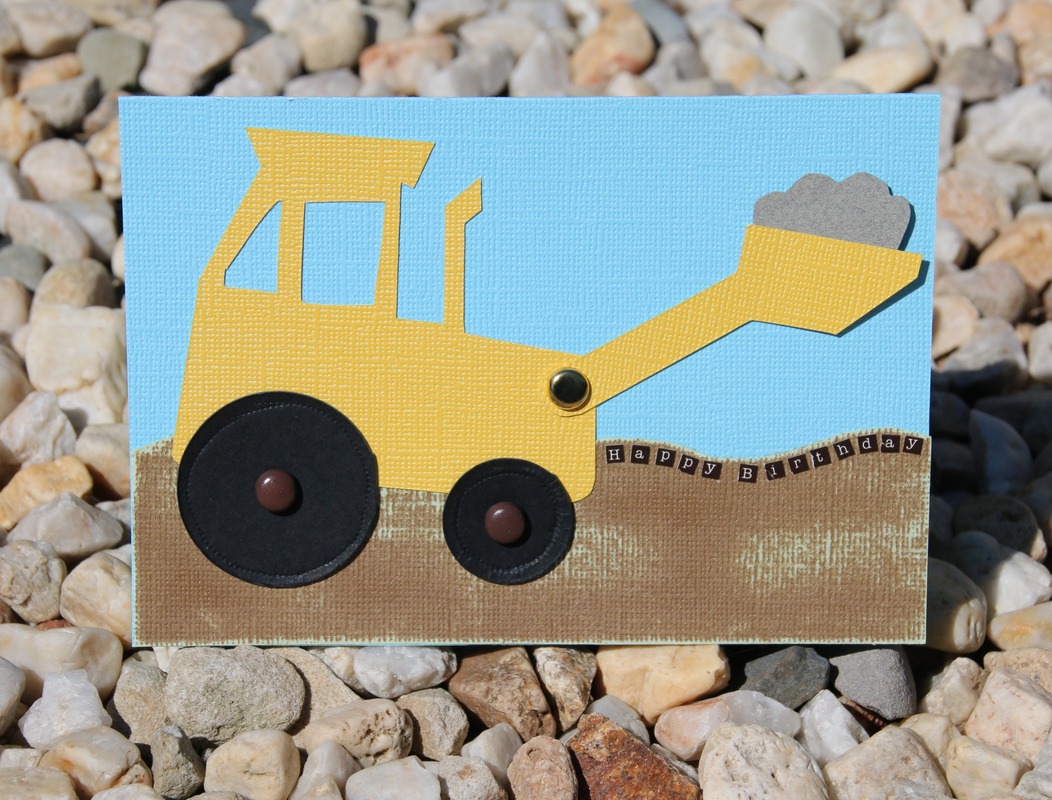
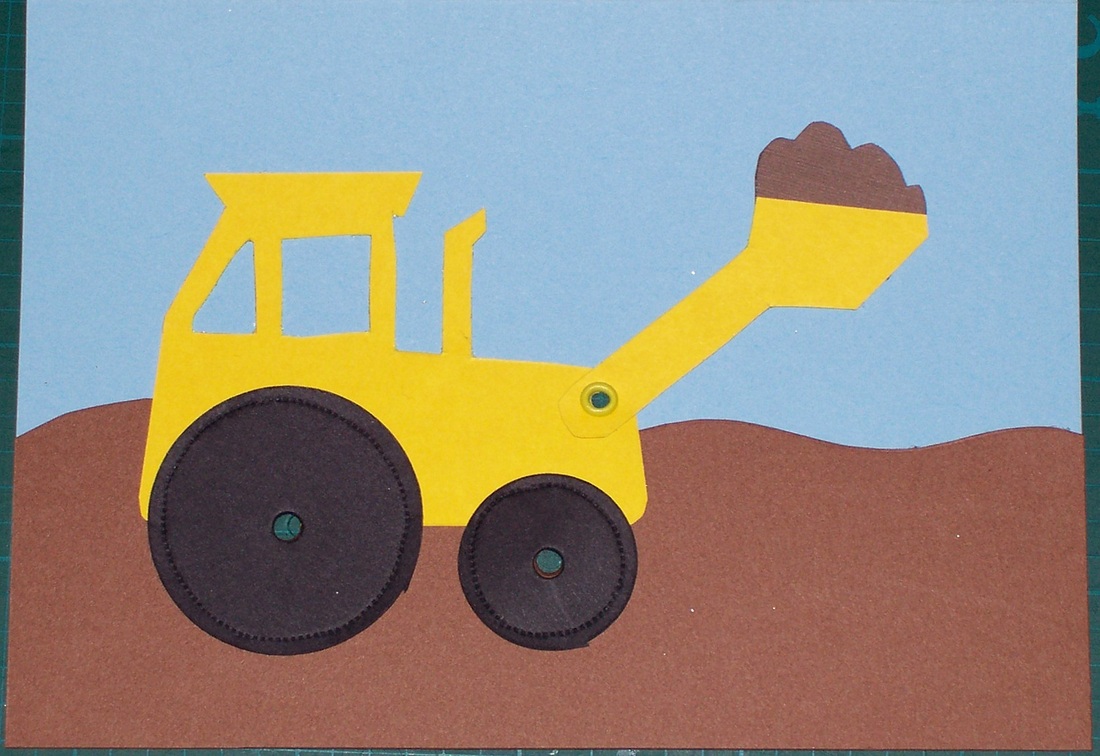
This card features a Digger with revolving wheels and a bucket that moves up and down.
Materials Required
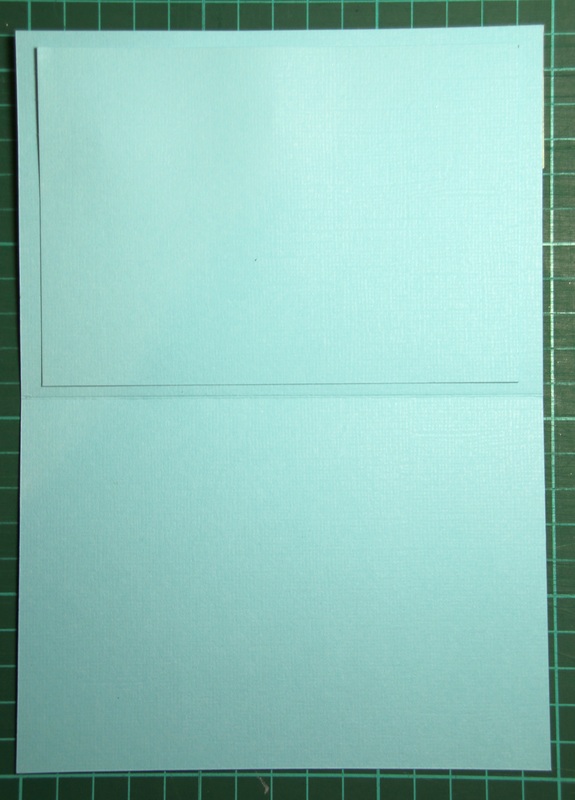
1. Light blue base card measuring 21cm x 15cm. Scored and folded in half to form a greeting card.
2. A piece of dark brown card measuring approx 16cm x 6 cm.
3. A4 Piece of textured brown/ grey card
4. A4 Piece of bright yellow card
5. A piece of black card measuring approx 10cm x 10cm
6. Two or three split pins (brads) of desired colour.
7. One small yellow eyelet (optional - a split pin can be used instead) and Eyelet setting kit (optional)
8. Double-sided tape
9. Scissors and craft knife
Materials Required
1. Light blue base card measuring 21cm x 15cm. Scored and folded in half to form a greeting card.
2. A piece of dark brown card measuring approx 16cm x 6 cm.
3. A4 Piece of textured brown/ grey card
4. A4 Piece of bright yellow card
5. A piece of black card measuring approx 10cm x 10cm
6. Two or three split pins (brads) of desired colour.
7. One small yellow eyelet (optional - a split pin can be used instead) and Eyelet setting kit (optional)
8. Double-sided tape
9. Scissors and craft knife

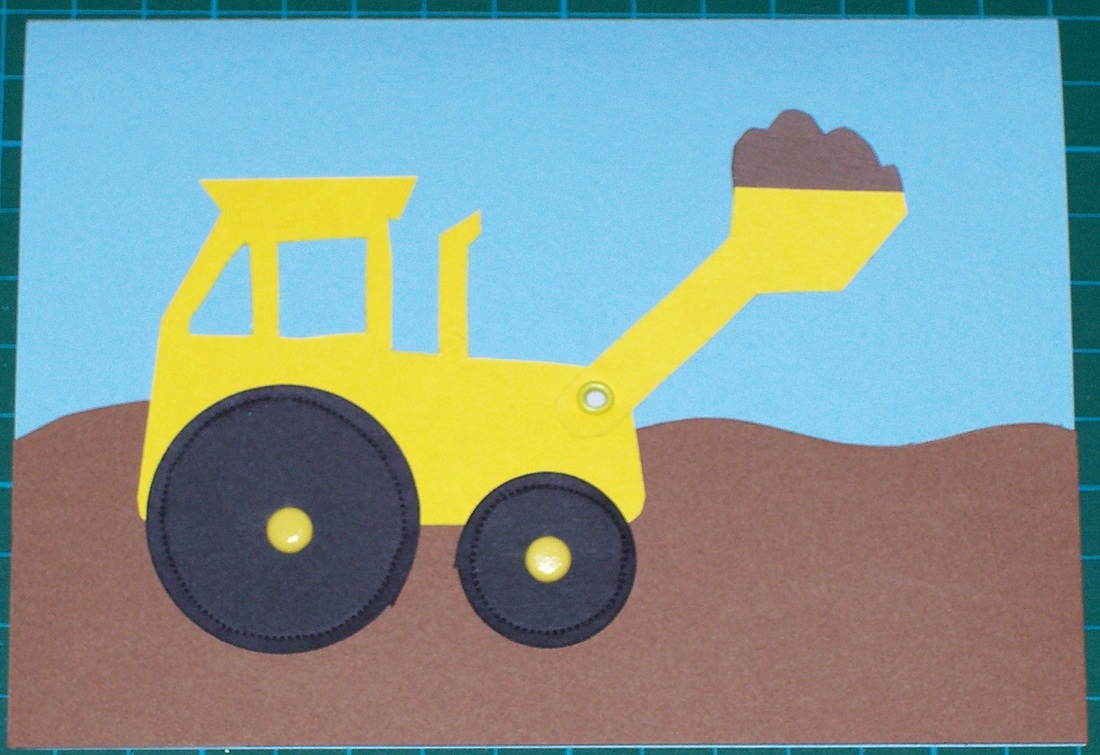
Card using Eyelet
|
Instructions
1. Print the template onto the A4 pieces of yellow and grey/brown card. Remember to print the image onto the BACK surface of the card that you are using. The A4 sized template is available in jpg image (right) and pdf doc (below).
|
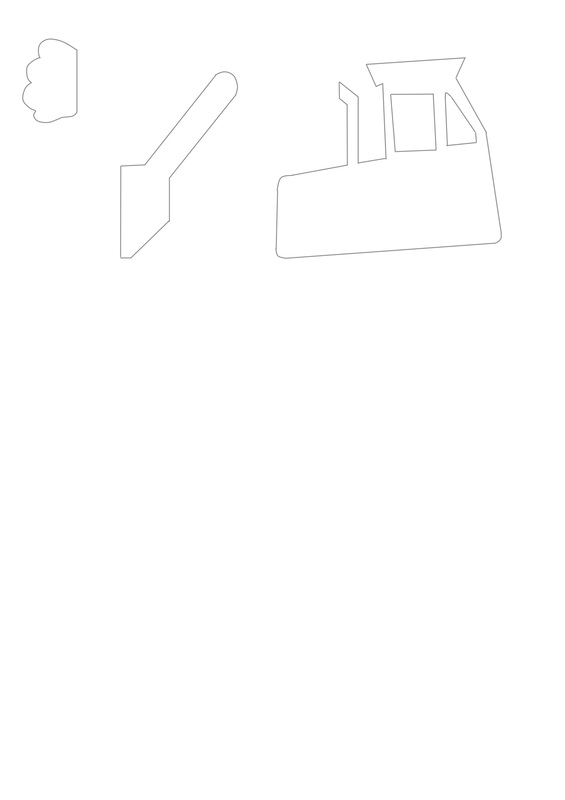
Template
| ||
|
2. Cut out the digger's body and bucket using the scissors and craft knife.
|

|
|
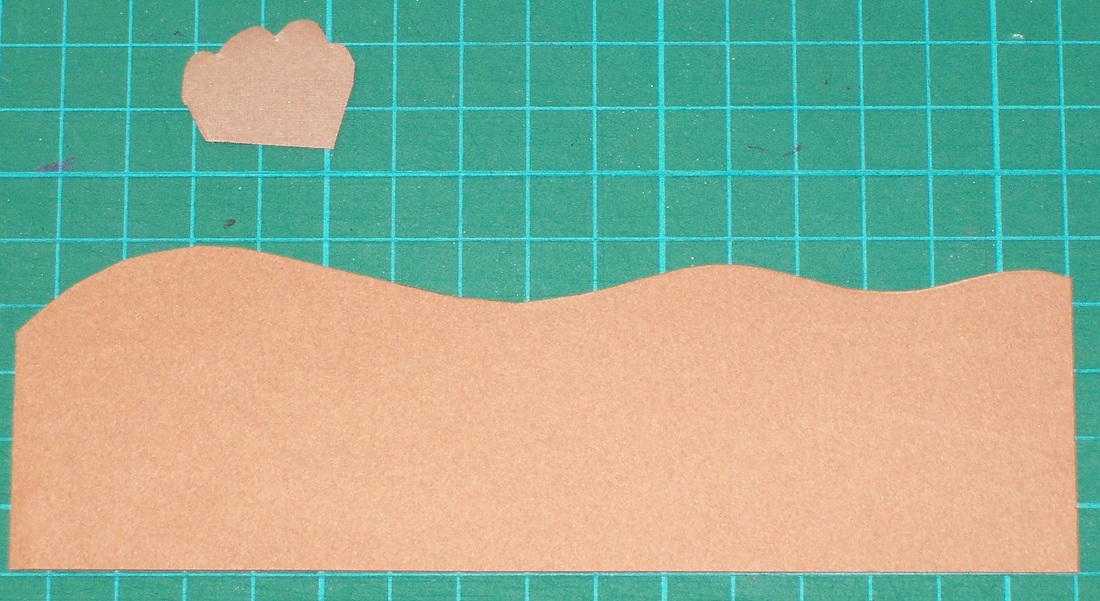
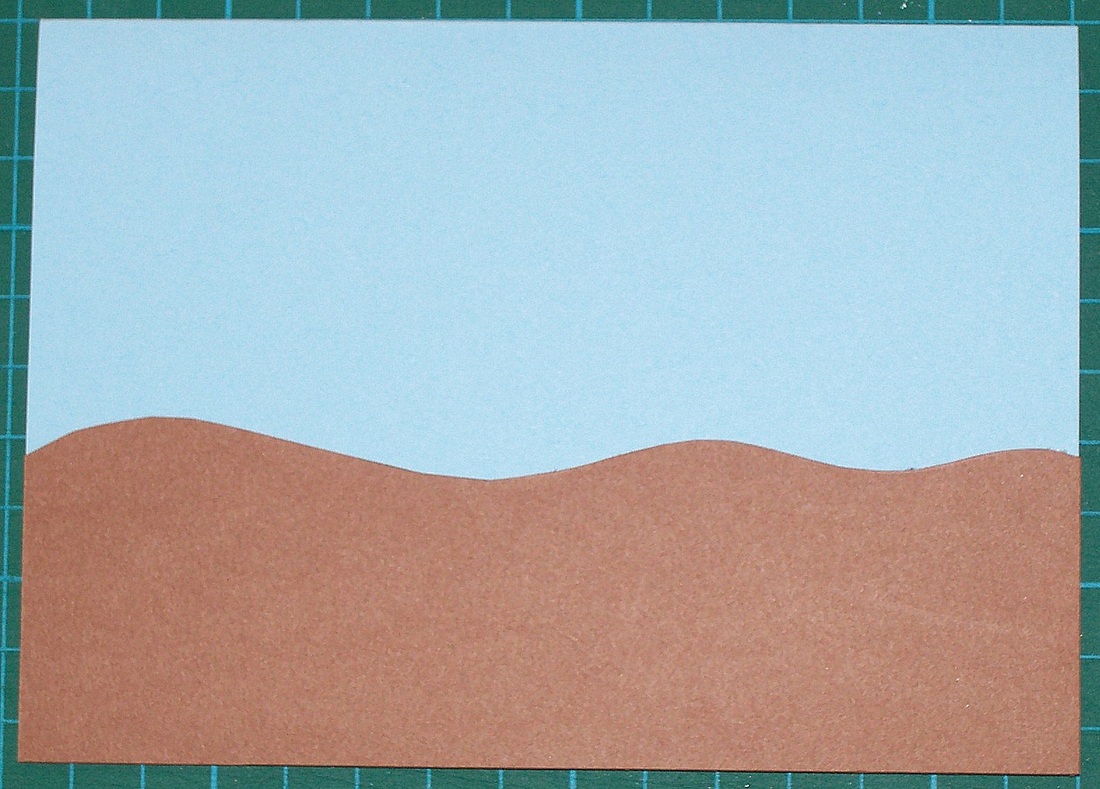
3. On the reverse side of the piece of brown card, draw a wavy line across the top - about 0-1.5 cm from the edge. Cut along the wavy line.
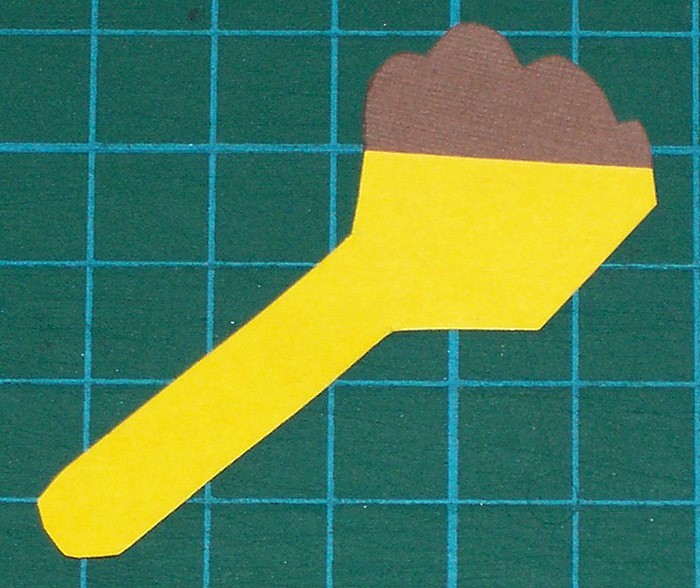
Cut out the load using the scissors and craft knife. |
|
|
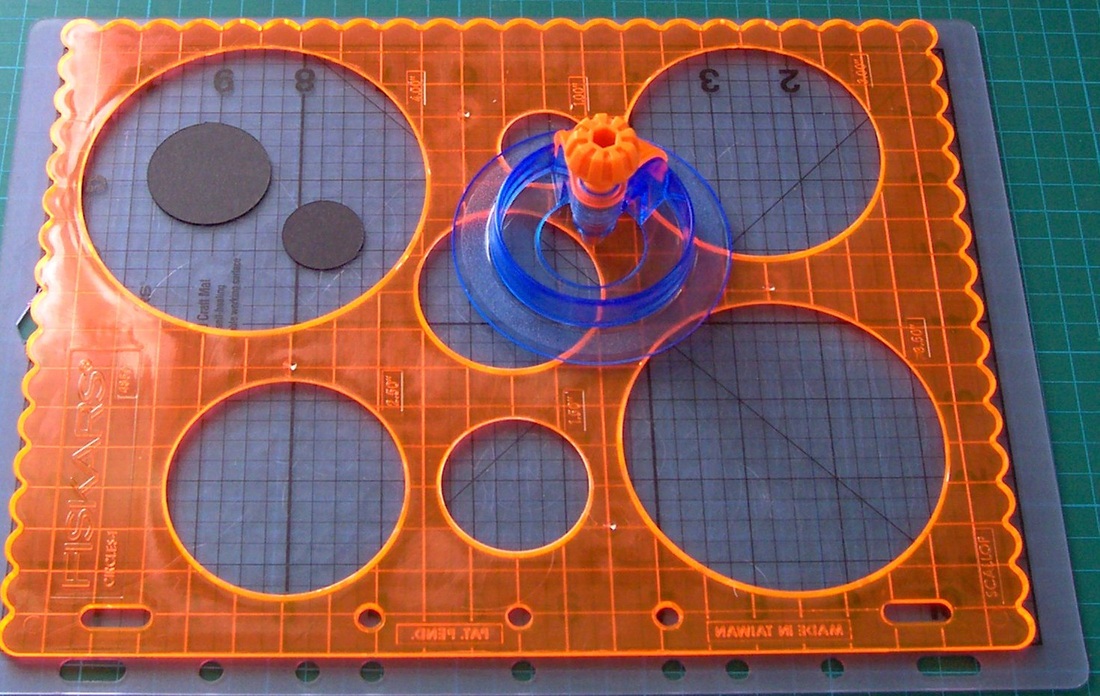
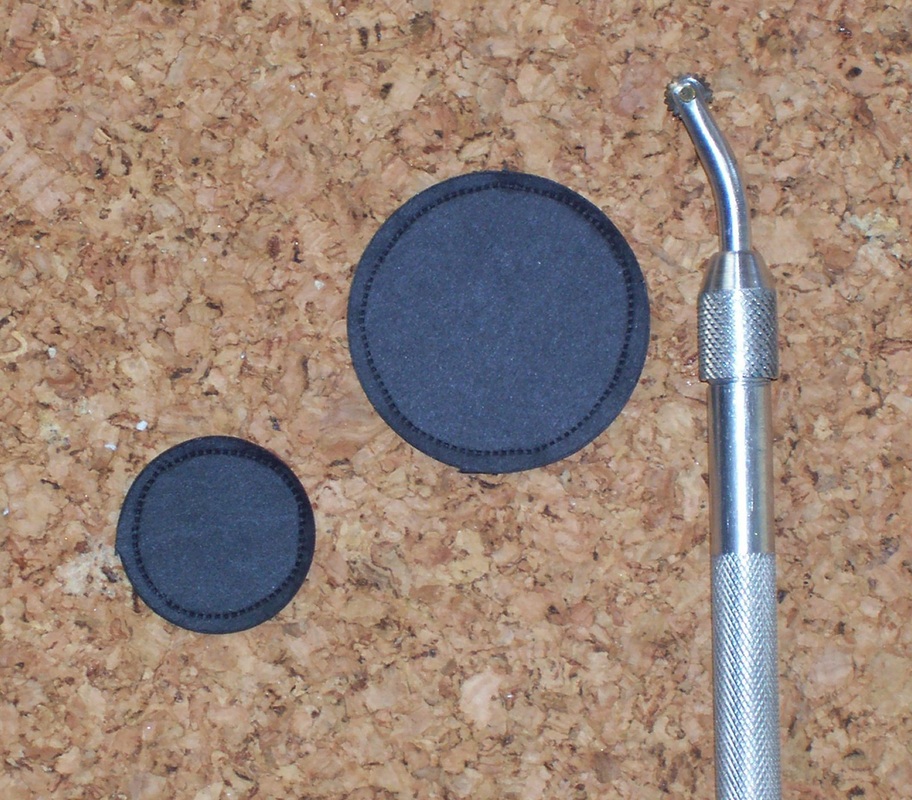
4. Cut out two black circles for the wheels.
I used the Friskars Shape Cutter system, template "circles-1". The 1.00" and 1.50" circles were good sizes. Alternately, use a compass to draw the two circles and cut them by hand (Make the diameters approx 4cm and 2.5cm). If you have circle punches of appropriate sizes, you could use these as well. You can also trace around bottle lids, just get circles about the right size. |
|
|
6. Use the double-sided tape to adhere the wavy-topped card to the bottom of the blue card (The fold of the card is at the top). Trim the edges of the brown card flush with the edges of the blue card.
|
|
|
7. Use double-sided tape to adhere the brown digger load to the back of the yellow bucket. (See picture)
|
|
|
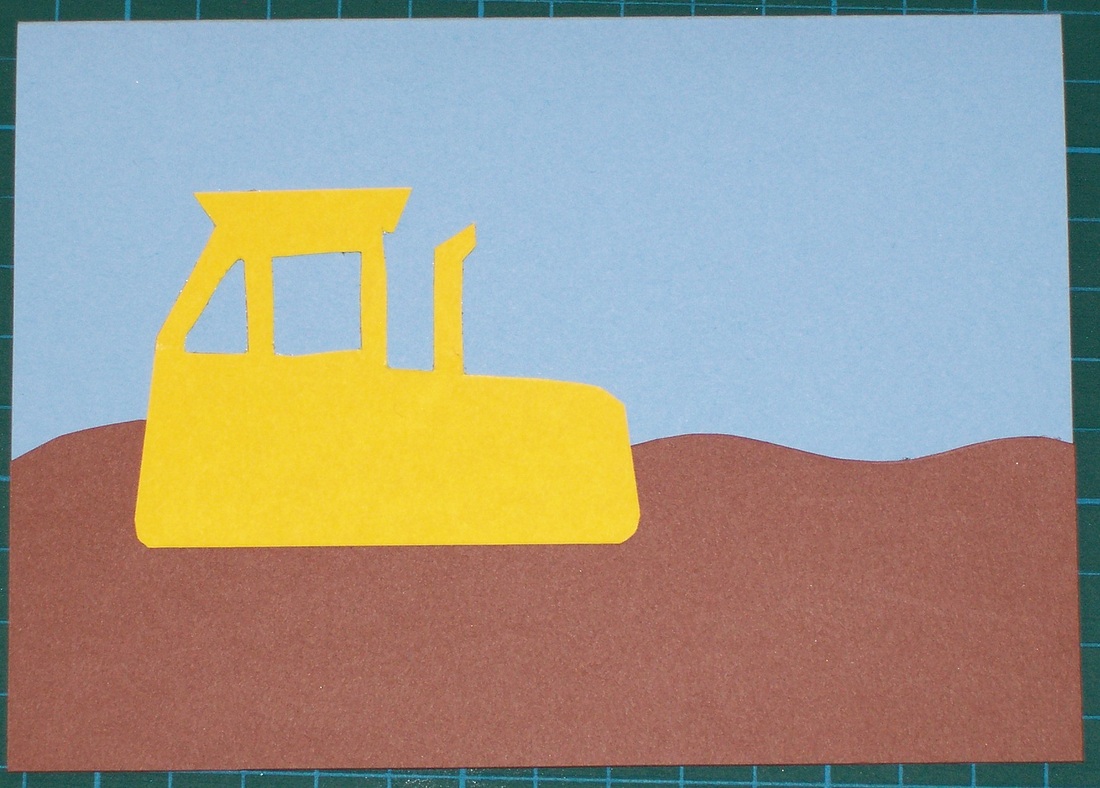
8. Use double-sided tape to adhere the digger body onto the card.
Check the positioning of the wheels and bucket before you stick it down. |
|
|
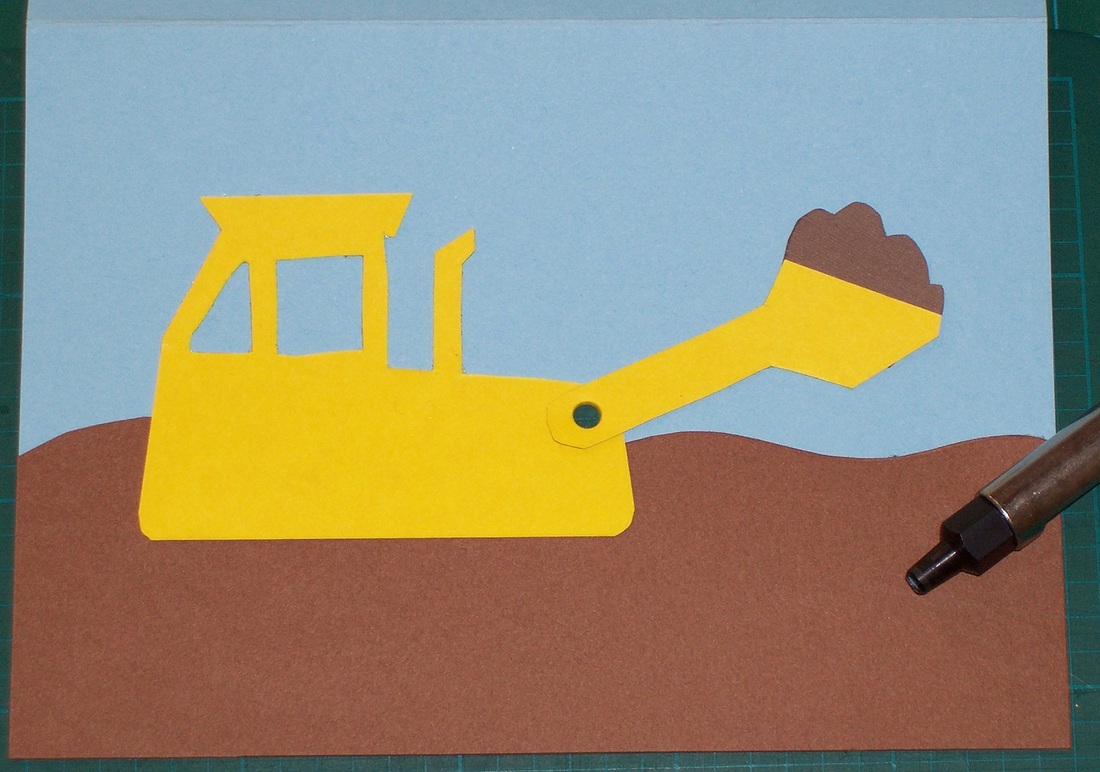
9. Punch a hole for the eyelet / split pin using a hole punch. Punch only through the FRONT side of the card - open the card up before punching.
Position and fix the yellow eyelet so that it holds the digger's bucket onto the body. See the picture for positioning. Try not to make the eyelet too tight, so that the digger's bucket will be able to move freely up and down. OR Use the split pin to attach the bucket. If you don't have a hole punch, use a paper punch to make the hole in the bucket's strut and something sharp like a skewer to carefully make the hole in the card. |
|
|
10. If you have a punch wheel, mark around the edge of the wheels.
|
|
|
11. Place the wheels onto the body of the digger and work out their positioning. The BOTTOM of both wheels should sit on the same horizontal level. See picture below for positioning.
Punch a hole in the centre of each wheel and through the front layer of the card also - make sure the card is laid out open to do this. |
|
|
12. Position the yellow split pins (brads) through the wheel holes.
|
|
|
13. Cover the split pins / Eyelet inside the card with a piece of card cut to size. Adhere using double sided tape.
|

|
